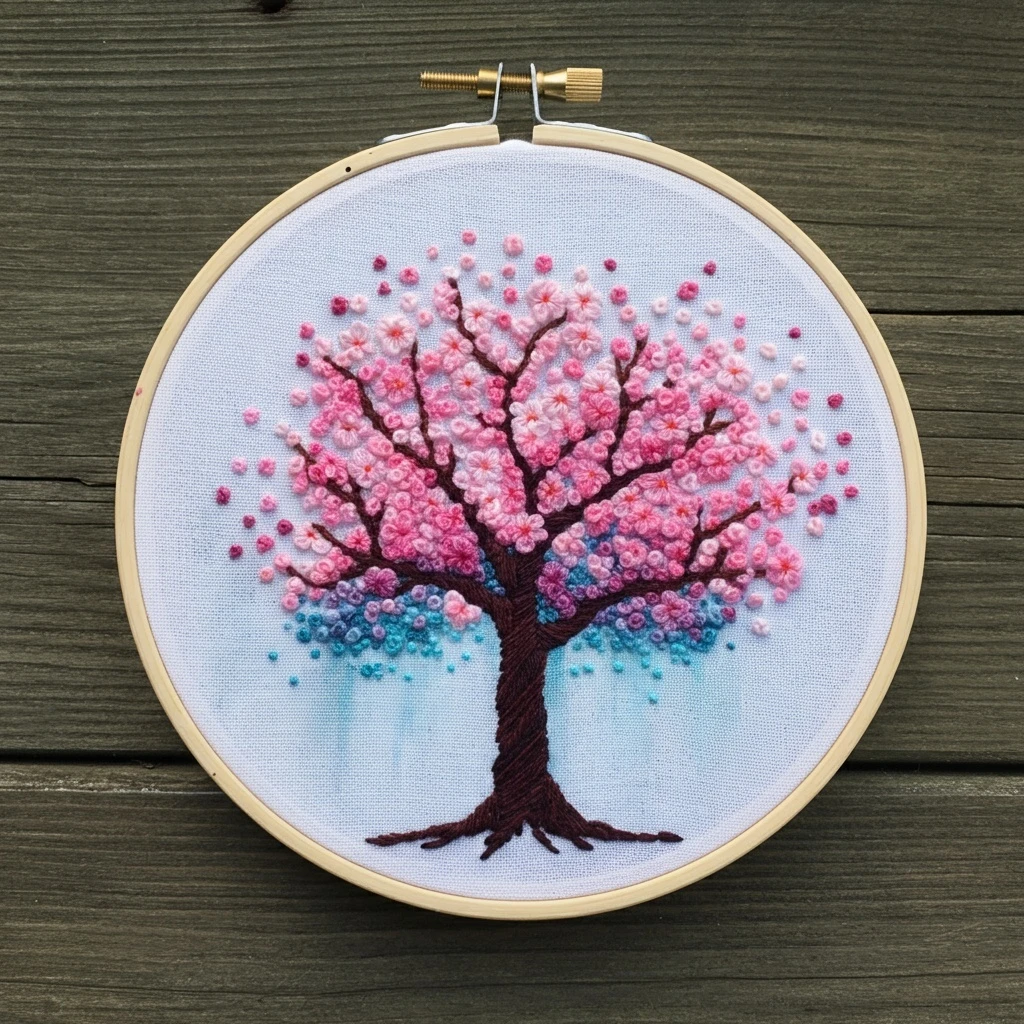

Cherry Blossom Tree Beginner
This beginner-friendly cherry blossom tree design is ideal for practicing simple outlines, clustered blossoms, and light texture. The stitched version should feel soft and springlike: a warm brown trunk, easy curved branches, pale pink blossom clusters, a few deeper rose centers, tiny buds, and simple highlight stitches that make the tree feel full without requiring complex shading.
Polished DMC Color Palette
This palette keeps the project approachable: a compact pink family for blossoms, four warm browns for the trunk, a few soft greens for buds and leaves, and optional sky-blue or cream accents for highlights. Beginners can complete the design beautifully with the first eight colors, then add the extras for more polish.
Stitch Map by Design Element
Thread Count & Blending Guide
Beginner linework
Use 1 strand for twig tips, tiny blossom centers, small bud stems, petal veins, and final detail stitches. This keeps the delicate spring look clean.
Main stitching
Use 2 strands for the trunk, main branches, simple petals, blossom clusters, and larger buds. This is the easiest all-purpose count for a beginner project.
Raised flower dots
Use 2–3 strands for larger French-knot blossoms if you want extra texture. Use three strands only on foreground clusters so the tree does not become bulky.
Shading, Outlining & Texture Suggestions
Easy blossom fullness
- Place larger blossoms first, then fill gaps with tiny pink knots.
- Use pale pink around the outer canopy and deeper pink closer to branch lines.
- Mix full flower shapes with simple dot clusters for a natural beginner finish.
- Leave open fabric between clusters so the tree feels light and springlike.
Simple bark texture
- Use the darkest brown at branch forks and the lower side of the trunk.
- Keep bark highlights short and broken rather than continuous long lines.
- Follow the direction of the trunk and branches with every stitch.
- Do not overfill twigs; thin lines look more natural and graceful.
Beginner-friendly outlines
- Outline trunk and main branches after filling so edges look tidy.
- Use brown for branches and soft rose only for selected petal overlaps.
- Avoid black outlines; they can make the blossoms look too heavy.
- Back stitch is easiest for straight twig segments; stem stitch is smoother for curves.
Petal and bud depth
- Use 3722 or 315 only in tiny amounts at the base of buds and flower centers.
- Add 3865 or 746 at a few petal tips for a fresh highlight.
- Use green sepals under buds to make them feel attached to the branches.
- Stop before the canopy becomes a solid pink mass.
Beginner-Friendly Stitching Order
- Transfer lightly: mark the trunk, main branches, larger blossom positions, and a few bud clusters. Leave tiny filler blossoms freehand for later.
- Stitch the trunk: outline and fill the trunk first so the tree has a strong structure.
- Add branches and twigs: work from the trunk outward, tapering smaller branches to one strand at the tips.
- Place large blossoms: stitch the biggest flowers first with lazy daisy, detached chain, or small satin petals.
- Fill with blossom clusters: add French knots, seed stitches, and tiny petal marks around branch tips.
- Finish with details: add buds, tiny leaves, gold centers, petal highlights, and final outline corrections last.
Practical Tips for a Clean Finish
Fabric & hoop
Warm cream cotton, natural linen, or pale blush cotton-linen keeps the project soft and beginner-friendly. Keep the hoop drum-tight so the small knots and branch lines do not pucker.
Needle choice
Use a sharp embroidery needle size 7–9 for one- and two-strand stitching. A slightly larger needle can help with three-strand French knots, but most of this design works best with two strands.
Simple blossom spacing
Think in clusters rather than individual flowers everywhere. A few dense groups near the branch tips plus scattered dots around them will look more natural than evenly spaced blossoms.
Preventing show-through
Do not carry dark brown thread behind pale blossom areas. End the branch thread cleanly and restart nearby so the light pink petals remain fresh.


