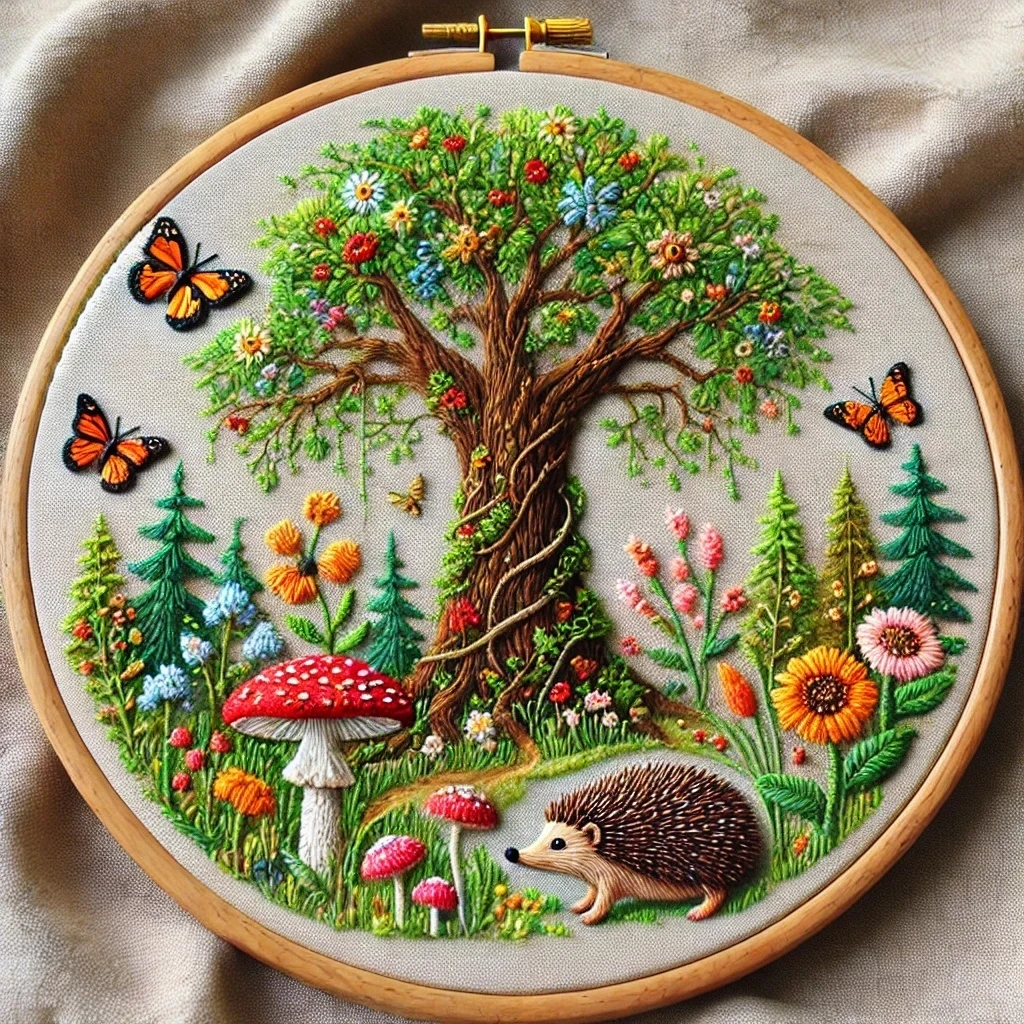

Enchanted Forest Tree of Life Hedgehog
A warm woodland hoop with a twisting tree of life, bright wildflowers, amanita mushrooms, butterflies, evergreens, and a softly textured hedgehog. The palette balances deep bark browns, mossy greens, berry reds, golden florals, sky-blue blossoms, and creamy mushroom highlights.
Likely DMC Color Palette
Palette based on the visible tree trunk, layered leafy canopy, red mushrooms and berries, orange butterflies, pink and yellow blooms, blue flowers, evergreen shapes, hedgehog body, and light linen ground. Coverage percentages are practical visual estimates, not exact thread usage.
Stitching Suggestions
Work from the large anchor shapes outward: tree and path first, then evergreens and hedgehog, followed by mushrooms, flowers, butterflies, and tiny knot details. This keeps small accents clean and prevents the foreground from being crushed by later stitches.
| Element | Best Stitch Types | Practical Notes |
|---|---|---|
| Tree of life trunk | Split stitch, stem stitch, long and short stitch | Use 2 strands for the trunk fill. Follow the curve of each twisting root and branch; add 1-strand dark grooves last for bark depth. |
| Fine branches and vines | Stem stitch, whipped backstitch, couching | Use 1 strand for delicate branch lines. Couch a lighter brown vine over the trunk so it appears to wrap around the bark. |
| Leafy canopy | Detached chain, fly stitch, seed stitch, tiny straight stitches | Mix dark, mid, and bright greens. Scatter highlight stitches loosely so the crown feels airy rather than filled like a solid block. |
| Evergreen trees | Fishbone stitch, stacked straight stitch, fly stitch | Build from top to bottom with angled strokes. Use darker green underneath and bright green on outer branch tips. |
| Hedgehog quills | Short straight stitch, turkey-work accents, split stitch outline | Layer 1-strand dark brown and black-brown strokes over a medium brown base. Keep strokes radiating backward from the face. |
| Hedgehog face and feet | Long and short stitch, satin stitch, backstitch | Use tan shades with a few darker contour stitches under the cheek, belly, and legs. Place the black nose and eye at the very end. |
| Amanita mushrooms | Satin stitch, long and short stitch, French knots | Fill caps in red, shade the lower edge with deeper red or brown, then add white knots/spots after the cap is finished. |
| Wildflowers | Lazy daisy, satin stitch, woven wheel, French knots | Use 2 strands for main petals and 1 strand for tiny blossoms. Group colors in uneven clusters for a natural meadow look. |
| Butterflies | Satin stitch, backstitch, straight stitch | Fill orange wing sections first, add yellow wing highlights, then outline with black using short backstitches for clean edges. |
| Grass and path | Straight stitch, seed stitch, split stitch | Vary stitch lengths around the path. Use lighter greens at the front and darker greens at the base of plants for depth. |
Thread Count, Blending & Shading
Thread-count guide
Use 2 strands for most filled shapes: trunk, mushroom caps, larger flowers, and hedgehog body. Use 1 strand for branch outlines, facial details, leaf sparkle, butterfly markings, and tiny flower stems. Use 3 strands only for bold French-knot flower centers or raised berry dots.
Bark blending
Blend one strand DMC 801 with one strand DMC 975 for warm mid-bark. Blend DMC 801 with DMC 3371 for the deepest cracks. Place the darkest lines after the mid-tones so the twisted trunk keeps its strong sculptural rhythm.
Greenery depth
Keep dark greens toward the trunk interior and under evergreens, medium greens for the main foliage, and bright chartreuse on tips. This three-step shading prevents the canopy from looking flat.
Soft meadow color
Repeat small dots of red, yellow, pink, blue, and white across the base. Do not make every flower identical; uneven spacing and mixed stitch lengths create the enchanted, hand-grown feeling.
Outlining, Texture & Finishing Details
- Outlines: Use DMC 3371 sparingly around the butterfly wings, mushroom underside, hedgehog nose, and deepest tree grooves. Too much black-brown can flatten the softer woodland areas.
- Texture: Save French knots for the final pass: berry clusters, flower centers, mushroom spots, and tiny seed-like ground flowers.
- Needle direction: Follow natural growth lines. Bark stitches should twist upward, evergreen stitches angle down, flower petals radiate from centers, and hedgehog quills sweep backward.
- Layering: Stitch the tree and background evergreens before the foreground flowers. Add mushrooms and hedgehog next, then butterflies and small highlights last.
- Fabric handling: Keep the hoop drum-tight but not stretched. Dense knots and bark stitches can pucker loose fabric quickly.
- Beginner shortcut: If long-and-short shading feels difficult, use split stitch outlines with simple satin fills and add darker backstitch lines on top for instant dimension.
Suggested Stitching Order
- Transfer the main tree, hedgehog, mushroom, butterfly, and flower placements lightly.
- Stitch the tree trunk, roots, and branch structure with brown mid-tones, then add dark bark grooves.
- Add background evergreens and the leafy canopy, reserving bright green highlights for later.
- Complete the hedgehog body, face, and quills, leaving eye and nose until the end.
- Fill mushroom caps and stems, then add white spots and underside lines.
- Stitch large flowers, then smaller meadow flowers, grasses, and berry knots.
- Finish with butterflies, fine outlines, catchlights, and a final scattering of leaf-tip highlights.


