
Succulent
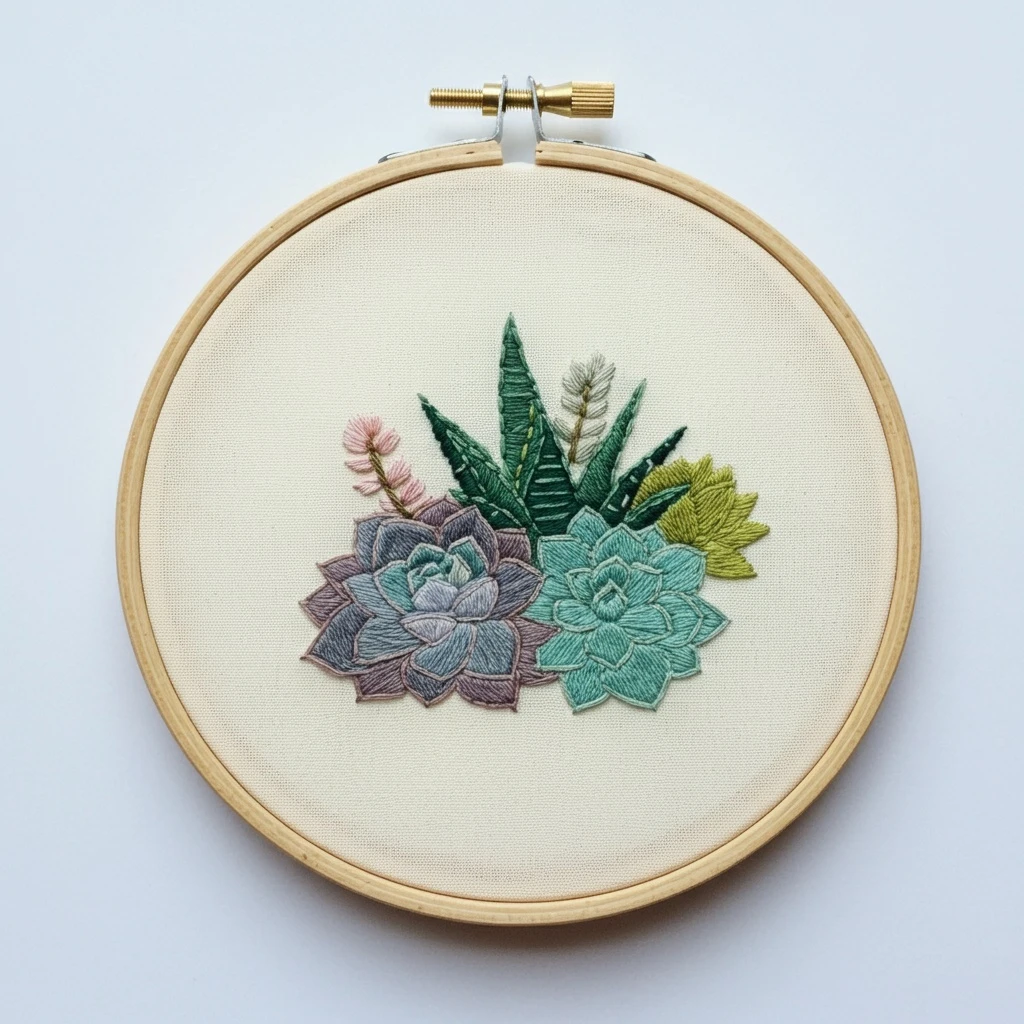
A calm, modern succulent hoop with layered blue-green leaves, soft gray shadows, pale linen space, and warm earthy pot accents. This guide translates the reference artwork into practical floss choices, stitch direction, blending, and beginner-friendly finishing notes.
Suggested DMC floss palette
These DMC matches are selected for the visible succulent tones: pale highlights, dusty leaf greens, blue-green midtones, deep central shadows, neutral gray outlines, and warm earthy accents. Use the notes to decide where each shade belongs.
Stitch plan
- Outlines: Use back stitch or stem stitch with 1 strand of DMC 413. For softer outer leaf edges, switch to 415 or 927.
- Leaf fills: Work long-and-short stitch from the base of each leaf toward the tip, following the natural curve. This keeps the succulent dimensional.
- Leaf veins: Add single-strand split stitch or tiny straight stitches in 928, 927, or 3816. Do not vein every leaf; leave some areas clean.
- Center rosette: Use smaller satin stitches and tighter shading with 501/500 so the center reads as tucked and shadowed.
- Pot or base details: Use satin stitch for smooth surfaces and seed stitch for grainy soil texture.
Thread-count guidance
- 1 strand: Outlines, fine veins, tiny highlights, central shadows, and delicate overlap lines.
- 2 strands: Most leaf filling, satin stitch patches, and balanced visible texture on cotton or linen.
- 3 strands: Use only for bold outer shapes or thicker pot accents; it can look bulky in pointed leaves.
- Needle choice: A size 7–9 embroidery needle works well for 1–2 strand botanical detail.
Blending, shading & texture
For a natural succulent look, avoid flat blocks of green. Blend each leaf with a pale tip, a soft middle, and a darker base where it disappears under another leaf.
Beginner-friendly order
- Transfer the outline lightly; keep pencil or water-soluble marks thin around pale leaves.
- Back stitch the main silhouette first with 1 strand of 413 or 415.
- Fill the largest outer leaves in 927/522 before moving inward.
- Add midtone shadows with 3816, then deepen overlaps with 501.
- Finish with a few 928 highlight stitches and beige/brown base details.
Practical hoop tips
- Keep fabric drum-tight so satin-filled leaves stay smooth and even.
- Use shorter thread lengths, about 14–16 inches, to prevent pale floss from fuzzing.
- Rotate the hoop as you stitch each leaf so the needle always follows the easiest curve.
- For clean points, end stitches just inside the outline instead of piling thread at the tip.
- Press from the back over a towel after stitching to preserve raised texture.
Finishing suggestion
This design looks best with a quiet background fabric: natural linen, warm ivory cotton, or pale oatmeal. If you want extra dimension, pad two or three front leaves with a first layer of split stitch before covering them with satin or long-and-short stitch. Keep the surrounding space clean so the succulent’s cool greens and tidy geometry remain the focus.


