
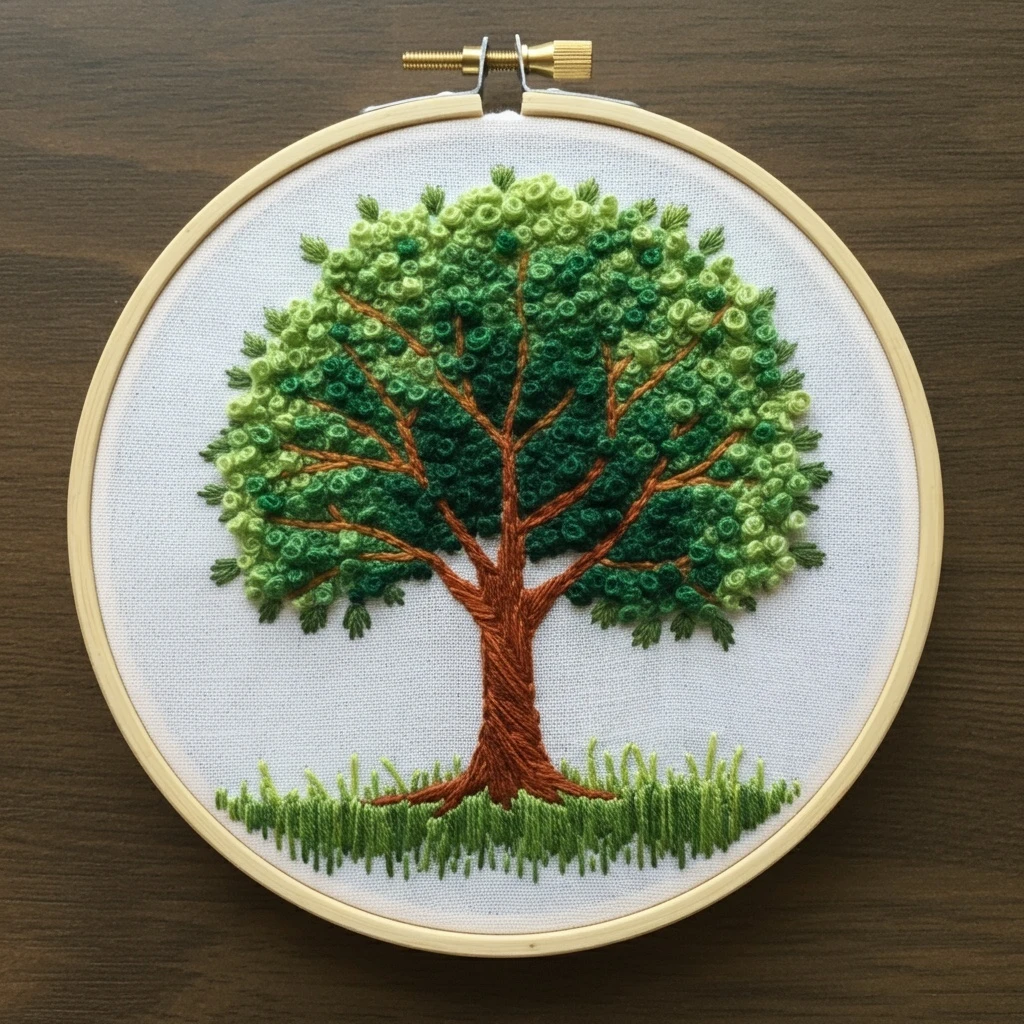
Classic Green Tree with Spring Flowers
This spring tree design combines a sturdy brown trunk, a rounded green canopy, fresh leaf clusters, and small blossoms scattered through the branches. The embroidery should feel calm and lively: layered greens for the tree crown, warm bark texture, pale new-growth highlights, tiny pink and cream flowers, and a few golden centers that make the spring details sparkle without overpowering the tree shape.
Polished DMC Color Palette
This palette focuses on classic spring greens with enough bark, blossom, and highlight tones to keep the tree dimensional. Use dark greens inside the canopy, medium greens for the main mass, and pale yellow-greens on the outer leaf tips.
Stitch Map by Design Element
Thread Count & Blending Guide
Fine details
Use 1 strand for twig tips, tiny flower centers, small leaf veins, blossom outlines, and final correction stitches. One strand keeps the spring details delicate.
Main areas
Use 2 strands for trunk fills, main branches, canopy stitches, leaves, and most blossoms. Two strands gives good coverage while staying beginner-friendly.
Raised blossoms
Use 2–3 strands for selected French-knot flower clusters or foreground blossom dots. Use three strands sparingly so the canopy does not become bulky.
Shading, Outlining & Texture Suggestions
Rounded green canopy
- Build the canopy from dark inner greens to lighter outer leaf tips.
- Use uneven clusters instead of solid fill so the tree feels leafy and natural.
- Place flowers in small groups rather than evenly spacing them like dots.
- Leave small open spaces near branches so the structure remains visible.
Bark texture
- Follow the trunk’s vertical curve with every bark stitch.
- Place darkest browns at the roots, branch forks, and underside of branches.
- Add short light strokes on raised ridges instead of long continuous lines.
- Keep twig tips thinner than the trunk to preserve scale.
Spring blossom detail
- Use pale petals first, then add a few darker pink centers or buds.
- Keep blossom centers tiny; one knot is enough for most flowers.
- Add white highlights last so they remain crisp on top of the green canopy.
- Balance flower clusters across the canopy but keep them slightly irregular.
Outlining approach
- Outline the trunk and main branches after filling so they stay tidy.
- Use dark green for selected canopy edges instead of black.
- Use brown split stitch for bark curves and tiny detached stitches for leaf edges.
- Break canopy outlines with leaf stitches so the edge stays organic.
Beginner-Friendly Stitching Order
- Transfer the main shapes: mark the trunk, major branches, canopy outline, flower clusters, and a few leaf groups. Keep tiny leaf and blossom details freehand for later.
- Stitch the trunk and branches: complete the brown structure first, adding dark creases and light bark ridges.
- Build the green canopy: place dark greens near the inner branches, then layer medium and light greens outward.
- Add leaf highlights: stitch pale green tips and small detached leaves on the upper and outer canopy.
- Add spring flowers: place pale pink and white blossoms in clusters, then add small golden centers.
- Finish with texture: add buds, extra leaf dots, tiny branch corrections, and final highlights last.
Practical Tips for a Clean Finish
Fabric & hoop
Warm cream, natural linen, or pale oatmeal cotton-linen suits the spring palette and keeps both greens and blossoms visible. Keep the hoop drum-tight so dense canopy stitches do not pucker.
Needle choice
Use a sharp embroidery needle size 7–9 for one- and two-strand stitching. Use a slightly larger needle only for raised flower knots if the thread feels tight.
Keeping the tree natural
Avoid filling the canopy as a solid green circle. Layer small stitches in clusters and vary the greens so the tree looks leafy and alive.
Preventing flower clutter
Use blossoms as accents, not full coverage. A few well-placed pink and white clusters will read more like spring flowers than a canopy covered in polka dots.


