
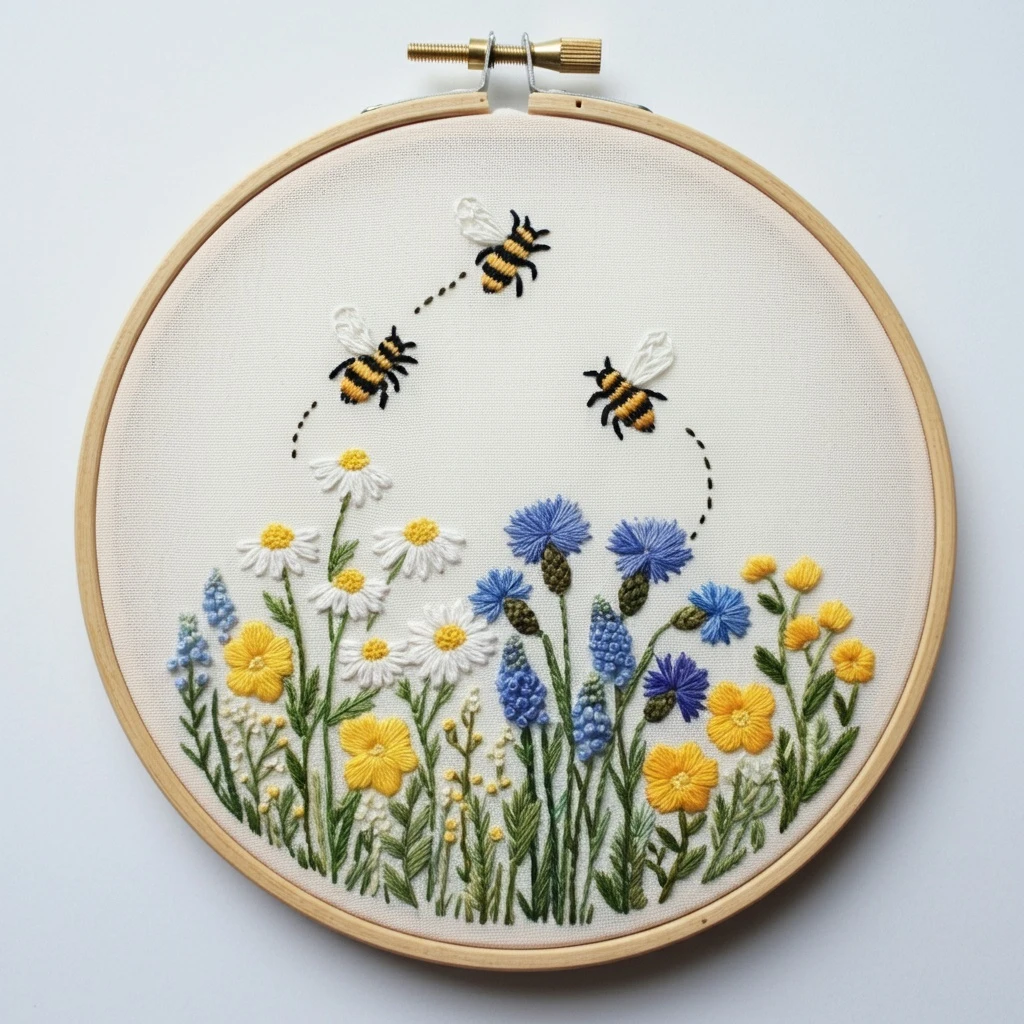
Buzzing Bee Meadow Floral
This cheerful meadow hoop combines a small buzzing bee, golden pollen, airy wildflowers, curved stems, and soft green foliage. The stitched version should feel lively and sunlit: a fuzzy striped bee floating above loose meadow blooms, with enough fine linework to suggest movement without making the design crowded.
Polished DMC Color Palette
This palette blends honey yellows for the bee and pollen, black-brown for soft bee striping, muted meadow greens, coral and lavender wildflowers, and pale blue-gray wing highlights. Keep the bee crisp and the flowers slightly softer so the whole scene feels light and natural.
Stitch Map by Design Element
Thread Count & Blending Guide
Fine details
Use 1 strand for antennae, legs, wing veins, tiny flower stems, bee eyes, and final outline corrections. This keeps the small flying bee readable and graceful.
Main fills
Use 2 strands for bee body stripes, wing fills, flower petals, leaves, and most visible stems. Two strands give good color while preserving an airy meadow look.
Raised texture
Use 2–3 strands for French knots, pollen dots, and larger flower centers. Three strands is best for focal knots; two strands keeps tiny flowers neat.
Shading, Outlining & Texture Suggestions
Bee movement
- Angle body stitches with the curve of the abdomen so the bee feels rounded.
- Keep the antennae and legs thin; bulky black details can overpower the meadow.
- Place pollen knots unevenly around the bee to imply buzzing motion.
- Use 3371 at fuzzy edges where pure black would look too harsh.
Wing softness
- Let fabric show between wing stitches for a translucent effect.
- Use 762 only for a few vein lines and 3865 for the brightest shine.
- Add 928 sparingly near the outer edge for a cool glassy tint.
- Outline wings lightly rather than enclosing them with heavy dark thread.
Meadow balance
- Repeat coral, lavender, and blue accents in small groups across the hoop.
- Keep dark greens lower and pale greens at the tips of stems.
- Use tiny filler flowers to soften gaps, but leave some open fabric for airiness.
- Vary stem height so the bee appears to hover above a natural field.
Outlining approach
- Outline after filling so details sit cleanly on top of petals and wings.
- Use matching darker colors instead of black for flowers and foliage.
- Use split stitch for curves and back stitch for tiny straight details.
- Keep outlines selective; this design should feel light and breezy.
Beginner-Friendly Stitching Order
- Transfer lightly: mark the bee body, wings, antennae, main flower centers, stem directions, and largest leaf shapes. Avoid drawing every pollen dot or tiny grass line.
- Stitch meadow stems first: use 3052 for main stems and add darker or lighter greens as needed before petals overlap them.
- Add larger flowers: stitch coral and lavender blooms first, then add small blue and blush fillers.
- Work the bee body: stitch yellow stripes, then black stripes, keeping edges slightly fuzzy.
- Add wings: use pale, airy stitches after the body so the wings can sit naturally on top.
- Finish with details: antennae, legs, pollen knots, flower centers, wing veins, and final outlines come last.
Practical Tips for a Clean Finish
Fabric & hoop
Warm cream cotton, linen, or cotton-linen makes honey yellows glow and keeps pale wing stitches visible. Maintain firm hoop tension so stems and wing lines stay smooth.
Needle choice
Use a sharp embroidery needle size 7–9 for one- and two-strand work. For three-strand knots, choose a slightly larger needle so pollen dots pull through cleanly.
Preventing dark show-through
Do not carry black or dark green floss behind pale wings, light flowers, or open fabric areas. End threads cleanly and restart nearby for a tidier back.
Keeping the composition airy
After stitching the main bee and flowers, step back before adding more dots. A few well-placed pollen knots suggest motion; too many can make the meadow feel crowded.


