
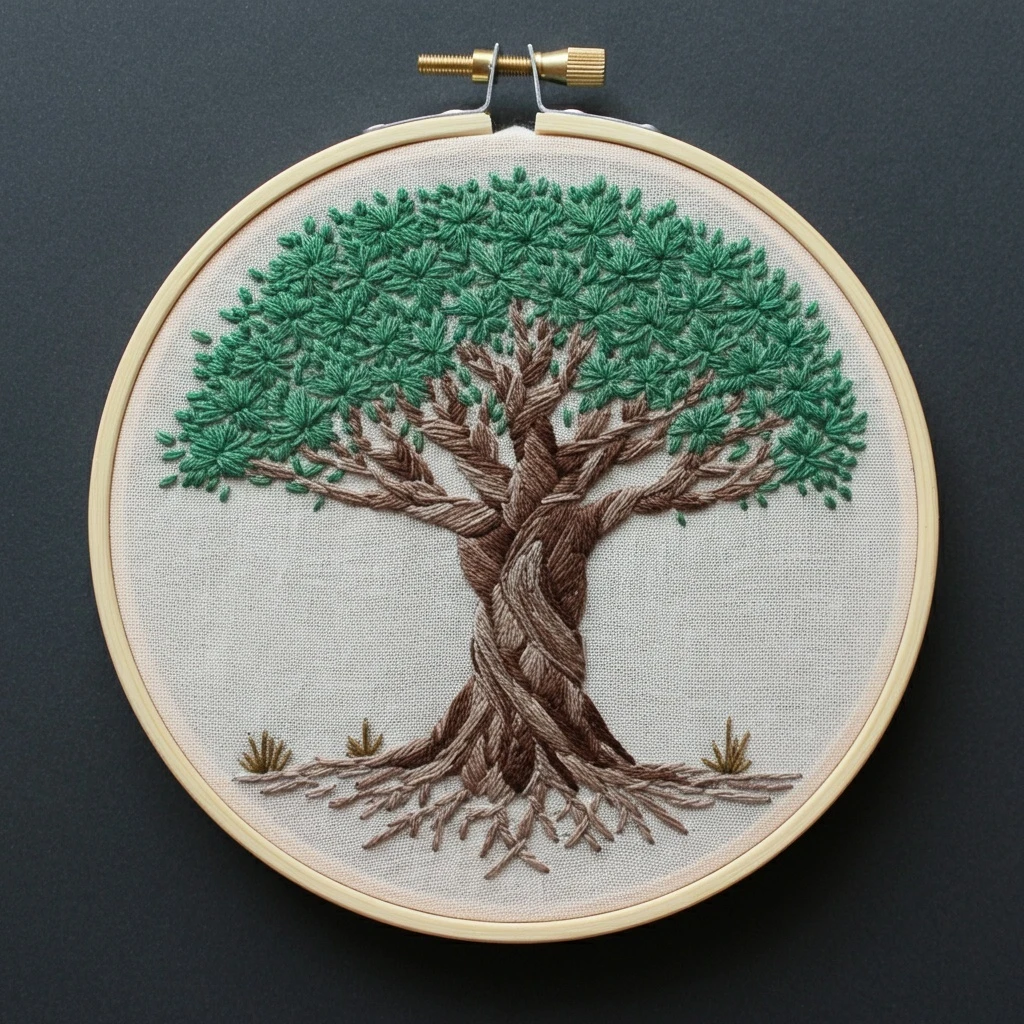
Braided Tree
A braided tree design depends on graceful movement: interwoven trunk strands, visible bark ridges, twisting branches, soft leafy accents, and a grounded natural base. The palette below balances warm bark browns, copper highlights, olive foliage, mossy greens, and small golden details so the braid reads clearly without becoming too busy.
Polished DMC Color Palette
This palette is made for a warm, dimensional braided trunk with soft botanical accents. Use the darkest browns only inside overlaps and root shadows; let the mid browns carry most of the braid so the structure stays readable.
Stitch Map by Design Element
Thread Count & Blending Guide
Fine braid definition
Use 1 strand for bark creases, overlap lines, root tips, branch tapering, and final outline corrections. This keeps the braided structure crisp.
Main trunk fill
Use 2 strands for long-and-short bark fills, split-stitch braid sections, branch bodies, and most leaf accents. Two strands give coverage while preserving flow.
Textured accents
Use 2–3 strands for French knots, raised moss, or thicker root texture. Three strands works well for a few foreground knots; two strands is cleaner for small details.
Shading, Outlining & Texture Suggestions
Make the braid readable
- Decide which strand passes over before stitching each crossing.
- Place the darkest shade just under the overlapping strand to create depth.
- Use highlights on the center or upper edge of each raised section.
- Keep stitch direction aligned with each strand’s curve so the braid flows naturally.
Create bark texture
- Layer fine split stitches over filled areas instead of using too many heavy outlines.
- Alternate warm browns so the trunk looks organic rather than striped.
- Add a few short broken lines in 938 inside deep grooves.
- Use 3864 very sparingly as a dry-bark glint on the highest raised ridges.
Leaf and canopy balance
- Cluster leaves in uneven groups; avoid perfectly mirrored placement.
- Use darker leaves behind branches and lighter leaves around outer tips.
- Mix lazy daisy leaves with tiny straight stitches for natural variation.
- Leave small spaces between clusters so the tree keeps an airy silhouette.
Outlining approach
- Outline after the fills are complete so braid edges sit cleanly on top.
- Use 801 for most outlines and reserve 938 for the deepest overlap cracks.
- Use stem stitch on flowing branches and split stitch on braided edges.
- Soften root outlines with short side stitches so they blend into the ground.
Beginner-Friendly Stitching Order
- Transfer the braid clearly: mark the main trunk strands, overlaps, branch exits, root direction, and leaf cluster positions. Keep lines light under pale highlights.
- Stitch the under-strands first: fill the braid pieces that appear behind other sections before adding raised foreground strands.
- Add trunk mid-tones: use 433 as the base, then deepen tucked edges with 801 and 938.
- Place highlights: add 434, 435, and a few 3864 stitches along raised curves where light would hit.
- Work roots and branches: stitch outward from the trunk, tapering the ends with one-strand details.
- Finish with foliage and texture: add lazy daisy leaves, mossy knots, golden flecks, bark creases, and final selective outlines last.
Practical Tips for a Clean Finish
Fabric & hoop
Natural linen, cotton-linen, or tightly woven cotton in cream or oatmeal complements the warm bark palette beautifully. Keep the fabric drum-tight so long braid stitches stay smooth and do not pucker.
Needle choice
Use a sharp embroidery needle size 7–9 for one- and two-strand bark lines. Switch to a slightly larger needle for three-strand knots or heavier moss texture.
Managing direction
Before filling a braid section, lightly pencil or mentally note the stitch direction. Direction changes are what make the trunk look woven, so avoid filling all sections with the same vertical stitch angle.
Preventing bulk
A braided trunk can become thick quickly. Use padding only on one or two foreground sections, not the entire trunk. For small hoops, rely on shading rather than raised layers.


