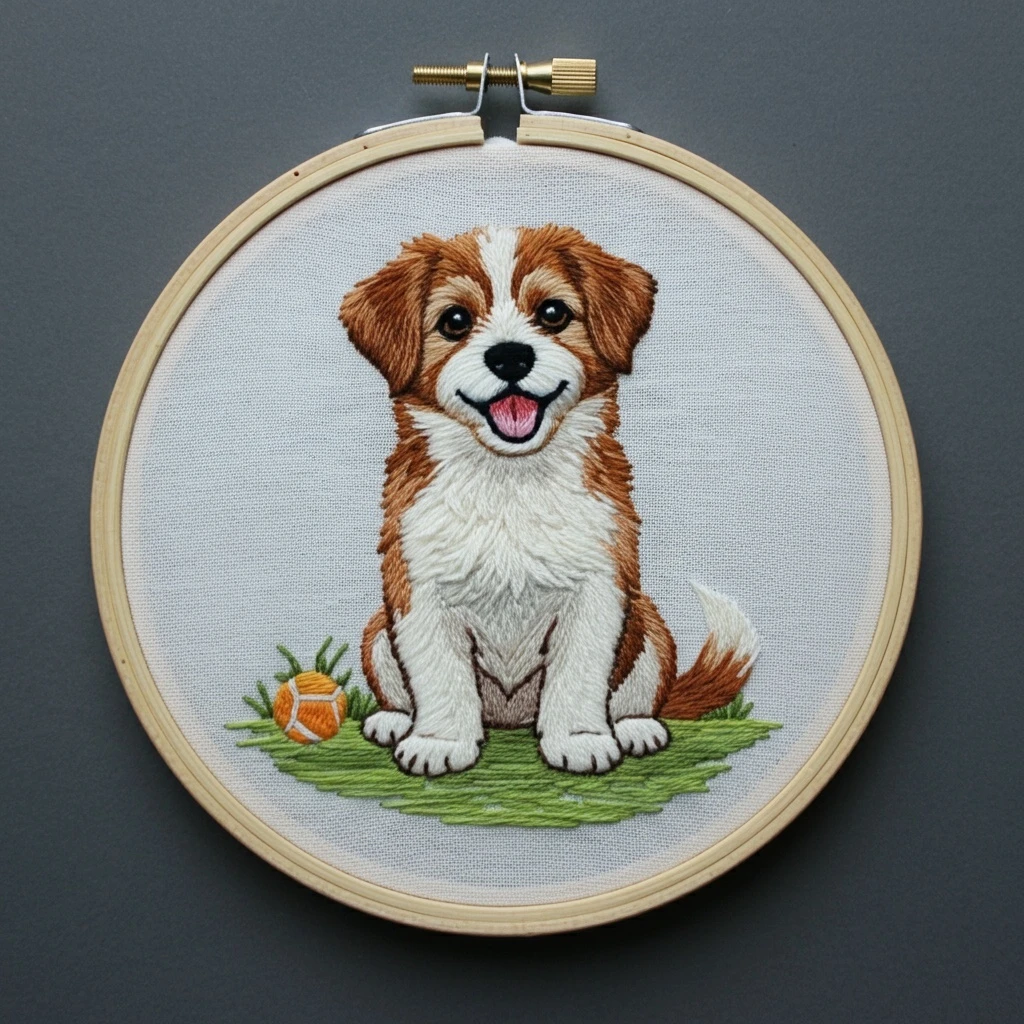

Happy Spaniel Puppy
This design is all about soft, affectionate expression: glossy dark eyes, a rounded muzzle, silky drooping spaniel ears, and warm caramel-to-cream fur. The most effective embroidery approach is to use gentle fur direction, rich ear shading, and a few crisp highlights so the portrait feels lively and sweet without becoming overworked.
Suggested DMC Floss Palette
A happy spaniel portrait usually sits in a warm range of honey, caramel, and chestnut browns balanced by creamy muzzle highlights and very dark accents for the eyes and nose. Keep the face warm rather than gray, and use the darker shades mainly where the ears fold, the muzzle curves inward, or the eyes need crisp definition.
DMC 3865 — Winter White
Use for the brightest muzzle highlights, chest fluff, and the final little sparkle strokes where the fur catches light.
DMC 822 — Beige Gray Light
A soft bridge between cream highlights and tan fur. Helpful on the muzzle, brow, and around the lower cheeks.
DMC 437 — Tan Light
Main pale golden coat tone. Ideal for the forehead, cheek tops, and any lighter patches on the body.
DMC 434 — Brown Light
The core mid-tone for the puppy’s face. Use in directional long-and-short stitch for the main coat coverage.
DMC 435 — Brown Very Light
Warm caramel shading for ears, cheek curves, and the areas around the muzzle and mouth line.
DMC 433 — Brown Medium
Use for the richer ear folds, lower side shadows, and areas that need more depth without going too dark too soon.
DMC 801 — Coffee Brown Dark
Best for inner ear depth, lower muzzle shadows, and the crease line where fur overlaps or turns under.
DMC 3371 — Black Brown
Use for eyes, nose edges, mouth corners, and fine outlining. This gives strong detail without the harshness of pure black.
DMC 310 — Black
Reserve for only the tiniest pupils, nostril centers, or the deepest point of the mouth line.
DMC 414 — Steel Gray Dark
Helpful for cool shading in the nose and a touch of reflected shadow under the eyes.
DMC 415 — Pearl Gray
Use as a subtle transition in the nose highlight and very light reflected detail near whisker pads.
DMC B5200 — Snow White
For tiny eye catchlights, nose shine, and one or two crisp highlight points that make the puppy feel bright and alert.
DMC 3712 — Salmon Medium
Use sparingly for the tongue or gentle inner-ear warmth if the design shows those details.
DMC 761 — Salmon Light
Blend with 3712 for a soft tongue highlight or a touch of rosy warmth inside the ears.
Stitch Map by Design Area
Forehead and cheeks
- Use long-and-short stitch in 437, 434, and 435, following the direction the fur grows outward from the eyes and muzzle.
- Keep the stitches shorter around the facial features and slightly longer across broader cheek areas.
- Layer 822 and 3865 on the highest points to keep the face open and youthful.
Long spaniel ears
- Work the ears with slightly longer, flowing stitches to suggest silky fur.
- Use 435 and 433 as the main ear colors, then deepen the inner folds with 801.
- Let the stitch direction curve downward naturally so the ear reads soft and drooping.
Eyes and expression
- Outline the eye shape with 3371 and fill with satin stitch or dense split stitch.
- Add a tiny B5200 catchlight near the same upper quadrant in both eyes to keep the expression lively.
- Use a small ring of 433 or 801 around the eyes for warmth instead of a heavy black outline.
Nose and mouth
- Use 3371 with 414 for the nose, then soften the shine area with 415 before placing the final B5200 highlight.
- Work the mouth line in fine back stitch or split stitch so it stays delicate.
- Feather nearby fur lightly into the mouth corners so the line sits naturally in the face.
Chest and lower fluff
- Use staggered straight stitches, feather stitch, or broken long-and-short stitch for the fluffy chest area.
- Blend 3865, 822, and 437 so the chest feels airy rather than densely packed.
- Keep chest texture a little looser than the face so the portrait focus remains on the eyes.
Final fur wisps and soft details
- Use 1 strand for whisker dots, fine muzzle flicks, and tiny wispy fur edges around the ears.
- Add the lightest detail strokes last for the most natural finish.
- Resist over-outlining—small directional strokes usually look more realistic than hard borders.
Thread Counts, Blending & Shading Guidance
| Area | Recommended strands | Practical guidance |
|---|---|---|
| Facial details | 1 strand | Use for eyes, nostrils, mouth line, whisker dots, and fine highlight strokes where precision matters most. |
| Main fur fills | 2 strands | Best for long-and-short shading across the face, ears, and upper body. Two strands give softness without becoming bulky. |
| Chest fluff | 2–3 strands | Use slightly looser stitches for fluffy texture, but vary stitch length so the area stays soft rather than blocky. |
| Blended needle | 1 + 1 strands | Blend 437 with 434 for light tan fur, 434 with 435 for caramel transitions, and 435 with 433 in the ears for silky depth. |
| Bright highlights | 1 strand | Use B5200 very sparingly. A tiny amount in the eyes and nose is enough to add life. |
Beginner-Friendly Stitching Sequence
Transfer only the key landmarks
Mark the eyes, nose, mouth line, ear edges, and the major highlight zones. Fur texture is usually better suggested with stitch direction than with a lot of drawn lines.
Start with the eyes and nose
Set the expression first. Once the eyes and nose are placed cleanly, the rest of the portrait becomes much easier to balance.
Build the face with mid-tones
Work 434 and 437 across the forehead, cheeks, and muzzle, keeping your stitches aligned with fur growth. Add darker shades later instead of starting too dark.
Shape the ears and shadows
Use 435, 433, and 801 to deepen the ears and the lower face. Slightly longer stitches help the ears feel silky and characteristic of a spaniel.
Finish with soft highlights and fur flicks
Add 822, 3865, and tiny B5200 highlights last, along with chest fluff and a few fine muzzle strokes. This is what gives the portrait its happy, polished finish.
Texture Suggestions & Practical Tips
For silky ears
- Use longer, slightly curved stitches rather than short choppy ones.
- Keep the ear edges soft by tapering the stitches toward the outline.
- Layer darker tones underneath and lighter tones on top to keep them glossy.
For a youthful puppy face
- Keep the muzzle highlights broad and gentle rather than sharply outlined.
- Do not over-darken around the eyes; a light ring of warm brown is usually enough.
- A small bright catchlight instantly makes the puppy look alert and cheerful.
For smooth shading
- Overlap long-and-short stitches slightly so color changes look natural.
- Use blended needles when changing between two close browns.
- If a transition feels abrupt, soften it with a few scattered stitches in the lighter tone.
Beginner-friendly finishing
- Keep the fabric drum-tight so the portrait stitches stay smooth.
- Trim jump threads often because pet portraits look cleaner when the back remains neat.
- Press the finished piece face-down on a towel to protect raised texture and highlights.
Finishing Notes
The charm of a spaniel portrait comes from warmth and softness: silky ears, bright dark eyes, and gentle muzzle shading. Let the direction of the stitches describe the puppy’s fur instead of relying on heavy outlines. A restrained palette of warm browns with just a few bright highlights will keep the design polished, friendly, and very beginner approachable.


