
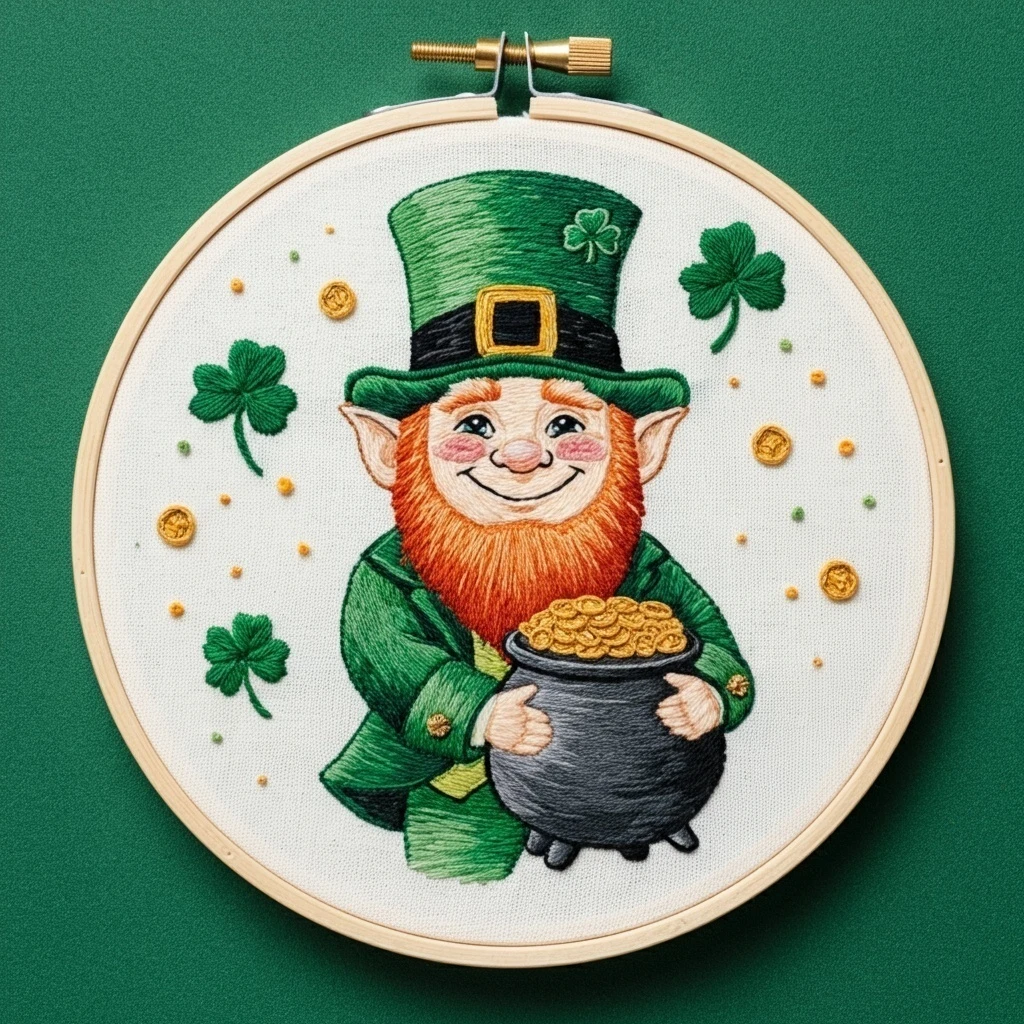
Cheerful Leprechaun with Pot of Gold
This playful St. Patrick’s Day design combines a cheerful leprechaun, bright green clothing, a warm orange beard, a black pot, and sparkling gold coins. The stitched version should feel lively and storybook-like: clean facial details, textured beard strokes, crisp hat and coat edges, rounded shiny coins, and enough golden highlights to make the pot of gold feel magical without becoming bulky.
Polished DMC Color Palette
This palette gives the leprechaun a classic festive look: saturated greens for hat and outfit, copper-orange for the beard, peach tones for the face, black-gray for the pot, and layered golds for coins.
Stitch Map by Design Element
Thread Count & Blending Guide
Fine details
Use 1 strand for eyes, mouth, fingers, beard curl lines, buckle outlines, coin glints, and tiny shamrock stems. This keeps the leprechaun’s face and accessories neat.
Main fills
Use 2 strands for hat, jacket, trousers, beard, face, pot, and larger coins. Two strands provide good color coverage while keeping the design manageable.
Raised sparkle
Use 2–3 strands for coin knots, buckle shine, and pot-of-gold texture. Use three strands only on the largest foreground coins to avoid bulky clusters.
Shading, Outlining & Texture Suggestions
Cheerful green clothing
- Keep hat and jacket shadows under brims, sleeves, and folded edges.
- Use bright green highlights on top edges so the outfit feels festive.
- Add belt and buckle details after green fills so the accessories sit cleanly on top.
- Use dark green outlines instead of black wherever possible.
Curly beard texture
- Follow the curl direction with every stitch to avoid a flat orange mass.
- Use the darkest copper near the chin, underside, and curl overlaps.
- Add lighter copper on lifted curl tips and the mustache edge.
- Use a few one-strand lines after filling to define individual curls.
Pot and coins
- Make the pot darkest along the lower edge and inside the rim.
- Layer coins in front of and behind the pot rim for depth.
- Use small bright highlights on only a few coins so the gold looks sparkly, not noisy.
- Use French knots for loose coins and satin ovals for larger visible coins.
Facial expression
- Use one strand for eyes, eyebrows, mouth, and nose details.
- Keep cheek color small and soft so the face remains cheerful.
- Stitch facial features after the skin and beard are finished.
- A tiny white eye glint can brighten the expression if the eye is large enough.
Beginner-Friendly Stitching Order
- Transfer lightly: mark the hat, face, beard curls, outfit, pot, coin pile, shamrocks, and key facial features. Keep tiny details faint.
- Stitch green clothing first: fill hat and jacket, then add shadows and bright highlights.
- Work face and beard: stitch the face smoothly, then build beard texture from dark curl bases to bright copper tips.
- Add pot shape: fill the pot body and rim before placing individual coins.
- Build the gold pile: stitch larger coins first, then add knots and small sparkle dots.
- Finish details: add buckles, buttons, shamrocks, facial features, final highlights, and outline corrections last.
Practical Tips for a Clean Finish
Fabric & hoop
Warm cream cotton, linen, or cotton-linen makes the greens, copper beard, and gold coins glow. Keep the fabric drum-tight so satin-stitch coins and small facial details remain crisp.
Needle choice
Use a sharp embroidery needle size 7–9 for one- and two-strand work. For raised coin knots, use a slightly larger needle so the wraps pull through without puckering.
Keeping colors balanced
Repeat small touches of gold on the buckle, pot, and coins so the design feels unified. Let the green outfit remain the biggest color area and the gold act as sparkle.
Preventing clutter
Do not overfill the coin pile with knots. A few larger satin coins plus scattered small knots will read more clearly than a dense mound of identical dots.


