How to start embroidery thread – Beginner Tips
What this means (and why it gets annoying fast)
If you’ve been searching how to start embroidery thread, I’m guessing something went a little… off. Don’t worry—most embroidery “disasters” are just tiny, fixable problems (and not a personal failure).
Think of this as your how to start embroidery thread tips that doesn’t assume you were born holding an embroidery hoop. We’ll go step-by-step, call out the common mistakes, and I’ll point out when to slow down so you don’t stretch needle holes or fray floss strands.
Want something pretty to stitch once you’ve got the basics down? Cosmic Burst Thread Art | Hand Embroidery Pattern PDF is a solid next project.
- How to avoid puckering, fraying, and messy backs
- How to prep your fabric so it doesn’t fight you
- A step-by-step process you can repeat on any project
- Quick fixes when things go sideways
- Which tools make the job easier (and which ones are optional)
Tools + materials you’ll want nearby
Before you jump in, grab a few basics. The right tools keep you from accidentally shredding thread or stretching fabric fibers. Quick plug for sanity: embroidery stabilizer sheets makes layout and alignment so much easier.
- Embroidery scissors (sharp enough to actually cut, not just bully the thread)
- Seam ripper (for clean undo work—no stabbing required)
- Tweezers (great for grabbing tiny thread tails)
- Needle threader (because eyes get tired)
- Embroidery hoop (stability = fewer stretched needle holes)
- Stabilizer (especially for knits or machine work)
- Thread conditioner (optional, but nice for smooth floss strands)
One more thing: if you’re on a machine, tension and bobbin thread choice matter more than people admit out loud.
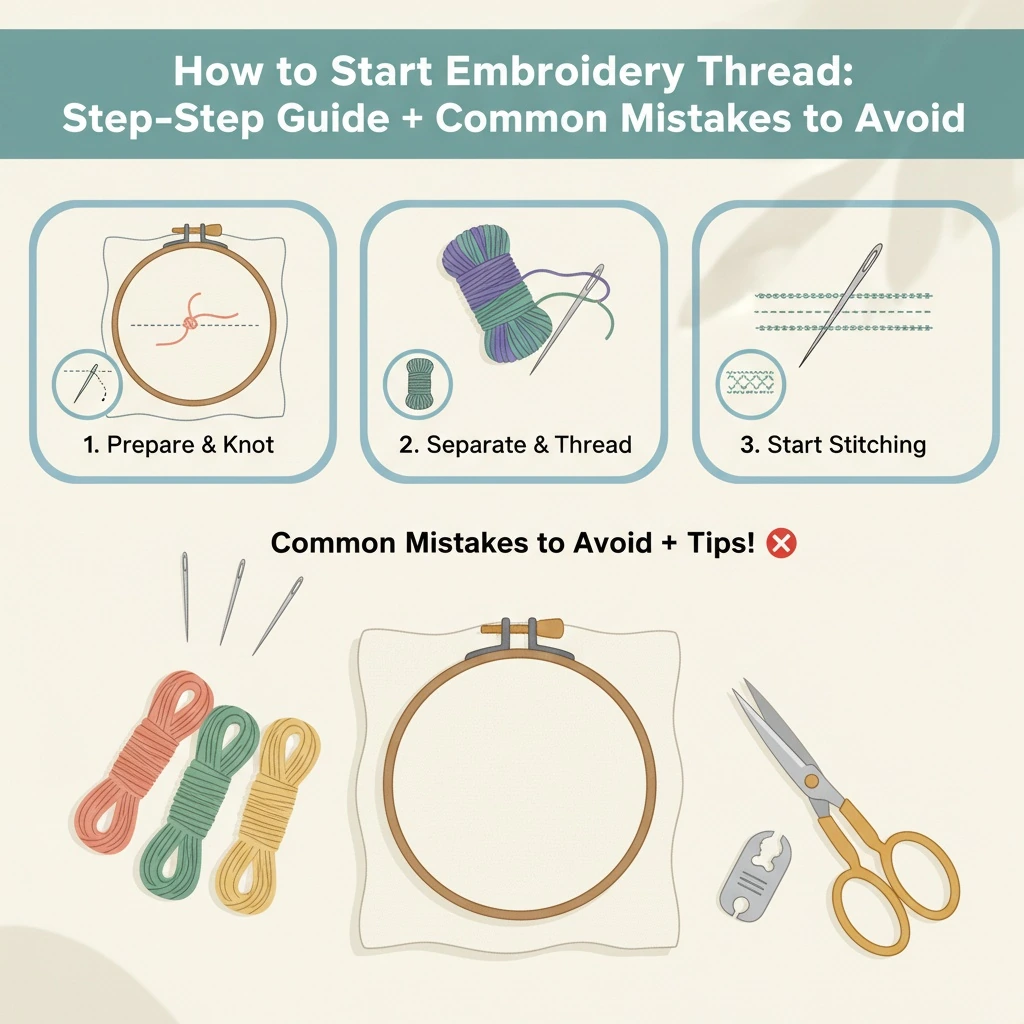
How to start embroidery thread: step-by-step
Let’s break it down into easy steps. Nothing fancy—just the stuff that actually works.
- Cut a fresh length of floss or thread (not the fuzzy end from your last project). Shorter lengths tangle less.
- If you’re using floss, separate the strands and recombine the number you want. Smooth them between your fingers.
- Optional but helpful: run the thread through a tiny bit of thread conditioner to reduce fuzz and knots.
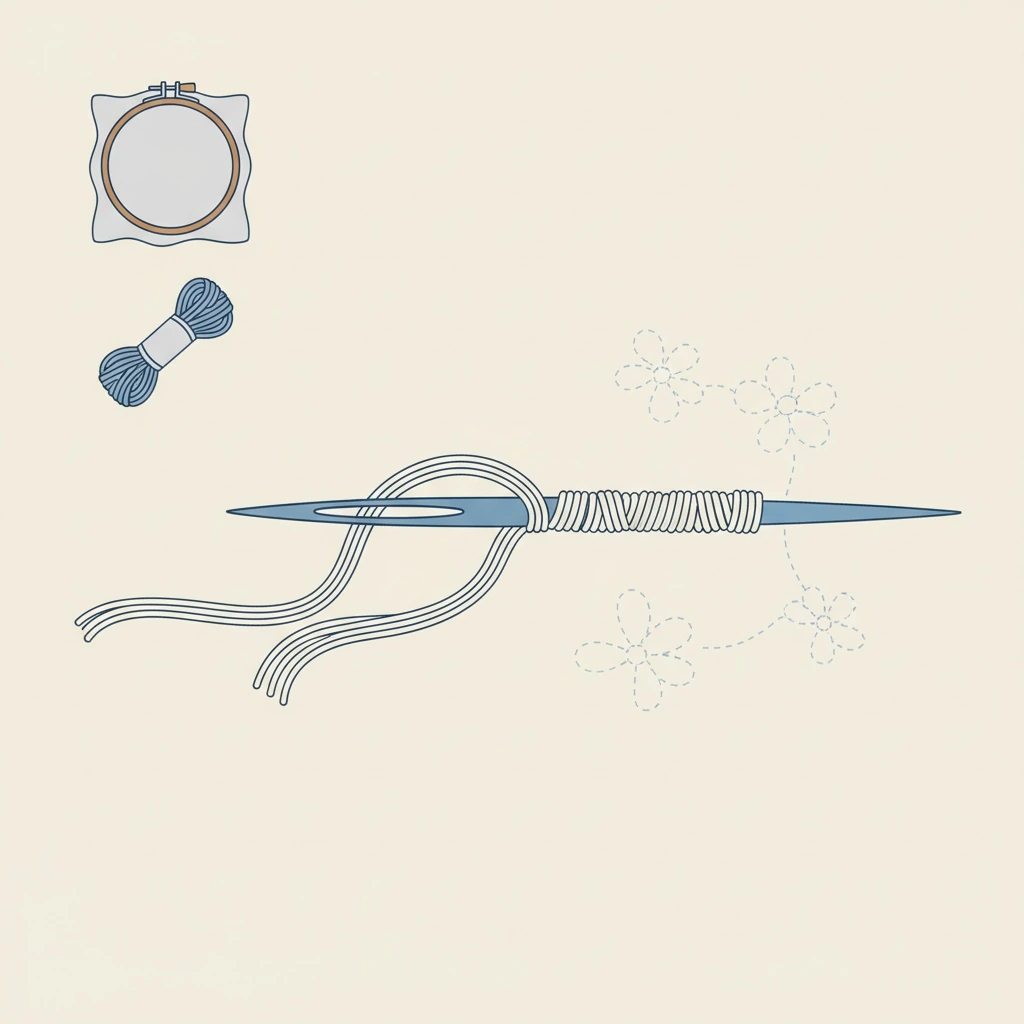
- Choose a needle size that matches your thread and fabric. Too small = frustration; too big = noticeable needle holes.
- Pinch the thread end flat and feed it through the eye—or use a needle threader if your eyes are staging a revolt.
- Pull through, leaving a tail that won’t slip out while you stitch. If needed, knot the end (or use a waste knot).
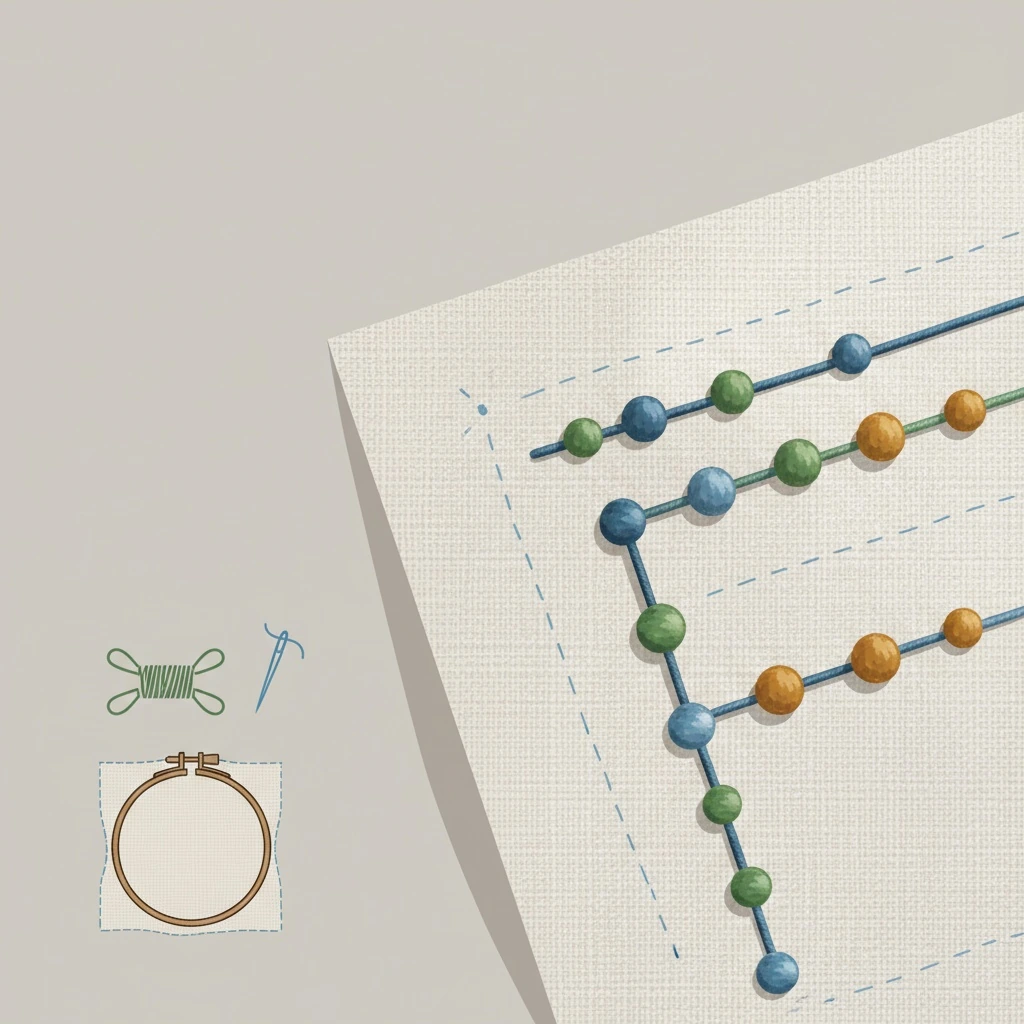
- Do a couple test stitches on the edge of your fabric to make sure the thread glides smoothly and the tension feels even.
Finish strong: trim cleanly, smooth the fabric, and don’t forget to remove stabilizer the right way (slowly, not violently).
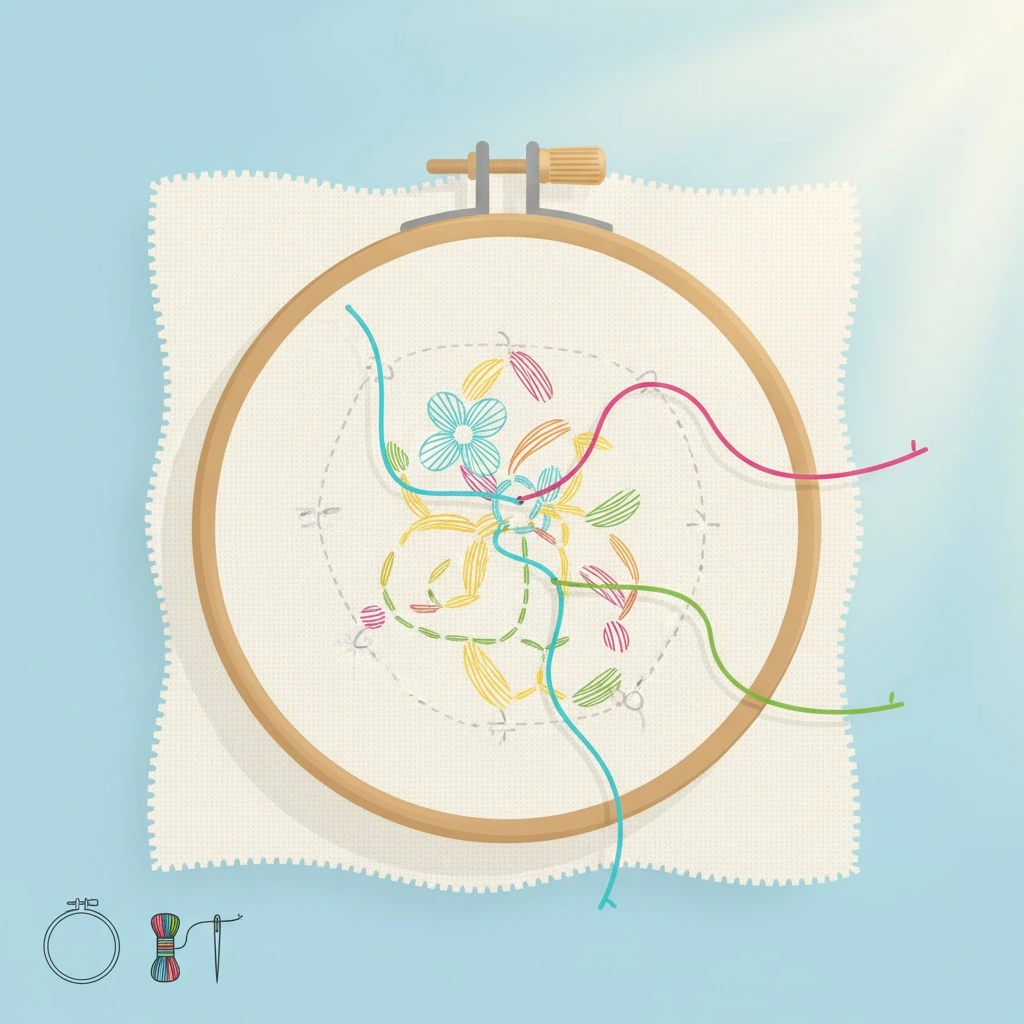
Troubleshooting + common mistakes
When things look “off,” it’s usually one of these simple issues—not some mysterious embroidery curse.
- Fraying floss strands: shorten your thread length and consider a tiny bit of thread conditioner.
- Visible needle holes: use a smaller needle size and avoid pulling stitches too tight.
- Fabric puckering: loosen tension, use a hoop, and add stabilizer on stretchy fabrics.
- Messy back: secure thread tails and avoid long jumps—park the needle and re-enter nearby.
- Stitches look uneven: slow down and use consistent stitch lengths (a quick guideline mark helps).
Tiny adjustments beat big dramatic changes. Change one thing, test, then decide.
You might also like: Cosmic Burst Thread Art | Hand Embroidery Pattern PDF
Fabric, thread types, and when to avoid the “just force it” method
Let’s talk materials for a second. Fabric fibers, weave, and stretch will change how clean your results look.
If you’re working on knits, stretchy tees, or anything drapey, stabilizer is your best friend. It supports the stitches and keeps the design from warping.
If you’re ready for more practice projects, browsing hand embroidery patterns is a fun way to find something at your skill level.
- Thick fabrics: choose a sturdy needle and go slower
- Delicate fabrics: test first and keep tension relaxed
- Cotton/linen: beginner-friendly and shows stitches nicely
If something feels “fight-y,” it’s usually the fabric-stabilizer-thread combo—not you.
Final thoughts on how to start embroidery thread
If you remember one thing about how to start embroidery thread, let it be this: small, careful moves beat fast, messy ones. Your fabric fibers (and your future self) will be way happier.
If it feels fiddly, that’s normal. Do it a couple times and it gets dramatically easier.
You might also like: Stick N Stitch Self Adhesive Wash Away Stabilizer Twelve Sheets of 8-1/2 x 11 • DMC step-by-step embroidery stitch guide
FAQ
Here are the common “wait, but what about…” questions:
What’s the easiest way to start how to start embroidery thread if I have shaky hands?
Start simple, test on scrap fabric, and change one thing at a time. Keep your floss strands smooth (a tiny bit of thread conditioner helps).
How many floss strands should I use when I’m doing how to start embroidery thread?
Most issues come down to tension, stabilizer, or pulling the thread too hard. For machine work, recheck needle size, bobbin thread, and machine settings/tension.
Does thread conditioner help with how to start embroidery thread?
A quick sample stitch-out (or mini practice patch) saves a ton of frustration. For machine work, recheck needle size, bobbin thread, and machine settings/tension.
Why does my thread keep slipping out after I how to start embroidery thread?
Start simple, test on scrap fabric, and change one thing at a time. Keep your floss strands smooth (a tiny bit of thread conditioner helps).
What needle size is best for how to start embroidery thread?
If it feels fiddly, that’s normal—your hands learn faster than your brain. Use a hoop to stabilize the fabric fibers so the needle holes don’t stretch out.
Can I use a needle threader for how to start embroidery thread without bending my needle?
If it feels fiddly, that’s normal—your hands learn faster than your brain. Don’t be afraid to undo a few stitches—clean fixes always look better.
Key Takeaways
Quick recap before you go:
- Trim cleanly with embroidery scissors (not kitchen scissors)
- Match needle size to thread so needle holes don’t get huge
- When it’s messy, undo a few stitches and reset calmly
- Keep tension even—no yanking, no slack spaghetti
- Use stabilizer on stretchy or tricky fabrics
- Support the fabric with a hoop so stitches stay neat
- Test on scrap fabric before doing the real thing


