
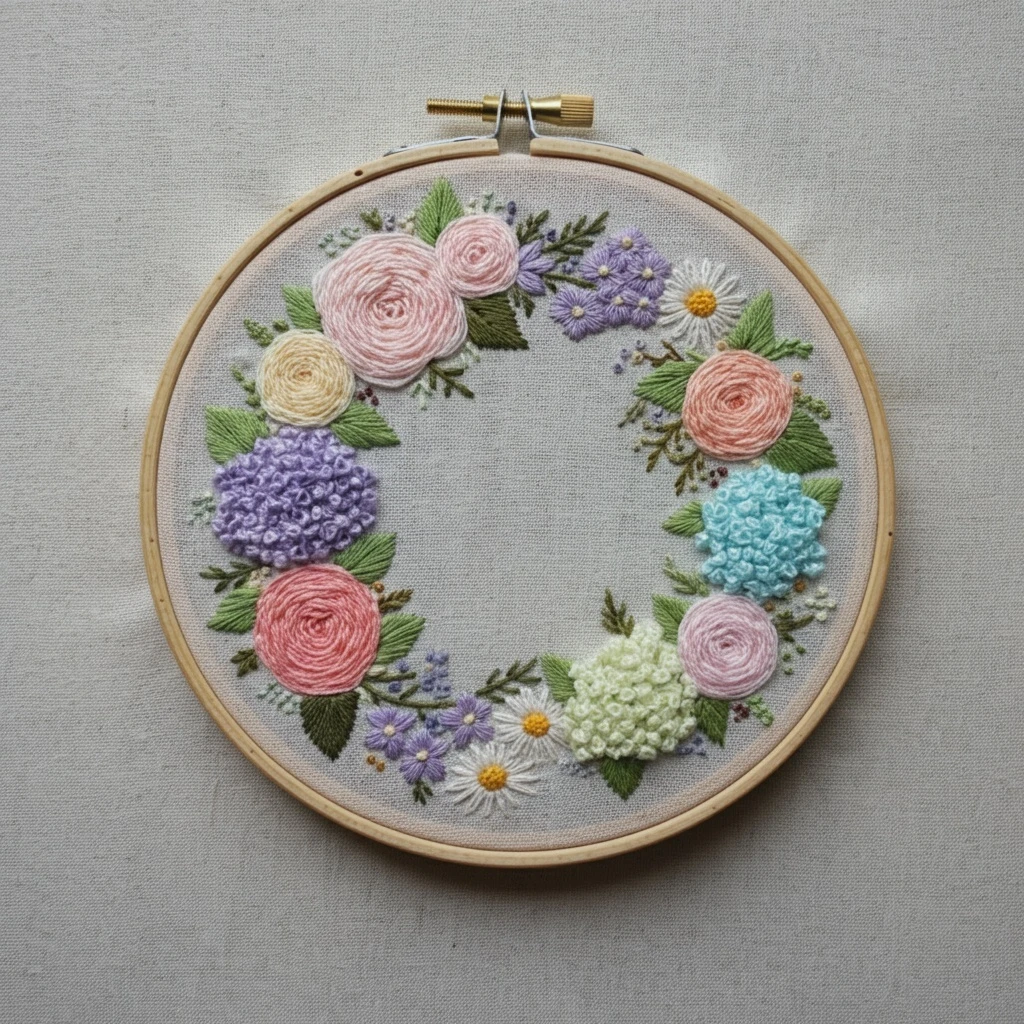
Blush Pink And Ivory Classic Rose
This design reads as a classic rose wreath with soft ivory petals, blush-pink petal edges, muted green foliage, and warm twig details. The palette should feel romantic and refined rather than bright: creamy whites for the open rose faces, pinks for curled petal shadows, and olive greens for the wreath structure.
Use the guidance below to keep the roses dimensional, the wreath balanced, and the stitching practical for a confident beginner or relaxed intermediate embroiderer.
Suggested DMC floss palette
A soft rose-wreath palette with enough contrast for curled petals, layered leaves, and delicate outline work.
| Swatch | DMC | Color name | Practical use notes |
|---|---|---|---|
| B5200 | Snow White | Brightest highlights on ivory petals, small sparkle stitches, and clean reflected light. | |
| 712 | Cream | Main ivory rose petals and soft outer petal planes. | |
| 739 | Tan - Ultra Very Light | Warm ivory shadows, petal folds, and soft transition areas. | |
| 818 | Baby Pink | Light blush wash on petal tips and tender bud highlights. | |
| 819 | Baby Pink - Light | Primary blush-pink rose tone for open petals and small buds. | |
| 3326 | Rose - Light | Medium rose shading at curled petal bases and inner folds. | |
| 3350 | Dusty Rose - Ultra Dark | Deepest petal creases, underside shadows, and a few accent outlines. | |
| 772 | Yellow Green - Very Light | Soft leaf highlights and pale new growth near blossoms. | |
| 3012 | Khaki Green - Medium | Main leaf fill, wreath foliage, and balanced greenery around roses. | |
| 3011 | Khaki Green - Dark | Leaf shadows, stems, and darker underside foliage. | |
| 420 | Hazelnut Brown - Dark | Warm branch and twig accents within the wreath structure. | |
| 844 | Beaver Gray - Ultra Dark | Selective definition for tiny deep creases where black would feel too harsh. |
Design elements to notice
Classic rose centers
Keep the innermost petals darker and tighter, then let outer petals open into cream and pale blush.
Wreath balance
Repeat blush roses around the circle so the eye travels evenly. Avoid placing every deep shadow on one side.
Ivory highlights
Use white and cream sparingly as lifted petal edges, not as a flat fill across every rose.
Muted greenery
Khaki and sage greens support the flowers without overpowering the gentle pink-and-ivory mood.
Stitch types
Choose stitches that emphasize petal layering, soft edges, and leafy wreath texture.
Thread-count guidance
- 1 strand: fine petal crease lines, tiny leaf veins, and delicate final definition.
- 2 strands: the main working count for petal fills, stems, outlines, and most leaves.
- 3 strands: fuller focal petals, bolder outer leaves, and slightly raised rose centers.
- 4-6 strands: reserve for chunky French knots or padded accents only; too much bulk can hide the petal shape.
Blending and shading guidance
- Rose petals: start with 712 or 818 on the lightest outer edges, move into 819 for the main blush tone, then add 3326 and a few 3350 stitches at the deepest folds.
- Needle blending: combine one strand of 712 with one strand of 818 for creamy blush highlights; combine 819 with 3326 for mid-depth petals.
- Ivory shadows: use 739 sparingly below curled petal lips so the ivory roses do not look flat.
- Leaves: shade from 772 at the tip into 3012 through the center and 3011 near the base or underside.
- Outlining: outline only the outer rose edges and key overlapping petals. Too much outline can make the wreath look cartoon-like.
- Deep definition: use 844 in tiny touches only where a rose, stem, or leaf needs stronger separation.
Texture suggestions
- Add a few padded satin stitches under the central rose curls for gentle dimension.
- Vary leaf direction around the wreath so the foliage feels natural rather than stamped.
- Use small French knots in blush or cream to suggest unopened buds and filler blossoms.
- Keep twig details thin with one or two strands of 420 so they support rather than dominate.
- Let a few petal edges remain unoutlined for a softer watercolor-like finish.
Beginner-friendly stitch order
- Transfer the wreath circle and mark rose centers clearly.
- Stitch stems and vines first so the floral shapes sit neatly on top.
- Fill the largest roses from the center outward, one flower at a time.
- Add smaller buds and filler flowers to balance the wreath.
- Stitch leaves last, tucking them behind rose edges where possible.
- Finish with French knots, fine veins, and selective outline corrections.
Practical finishing tips
- Use a sharp embroidery needle for tight rose centers and a slightly larger needle for blended two-strand fills.
- Keep fabric drum-tight in the hoop to prevent puckering around dense rose areas.
- Shorten satin stitches on curved petals; long straight spans can snag or loosen.
- Step back after every rose to check that the wreath still feels evenly weighted.
- Press finished work face down on a towel so raised stitches keep their texture.
- Ivory, pale linen, soft blush, or warm oatmeal fabric will all flatter this palette.