
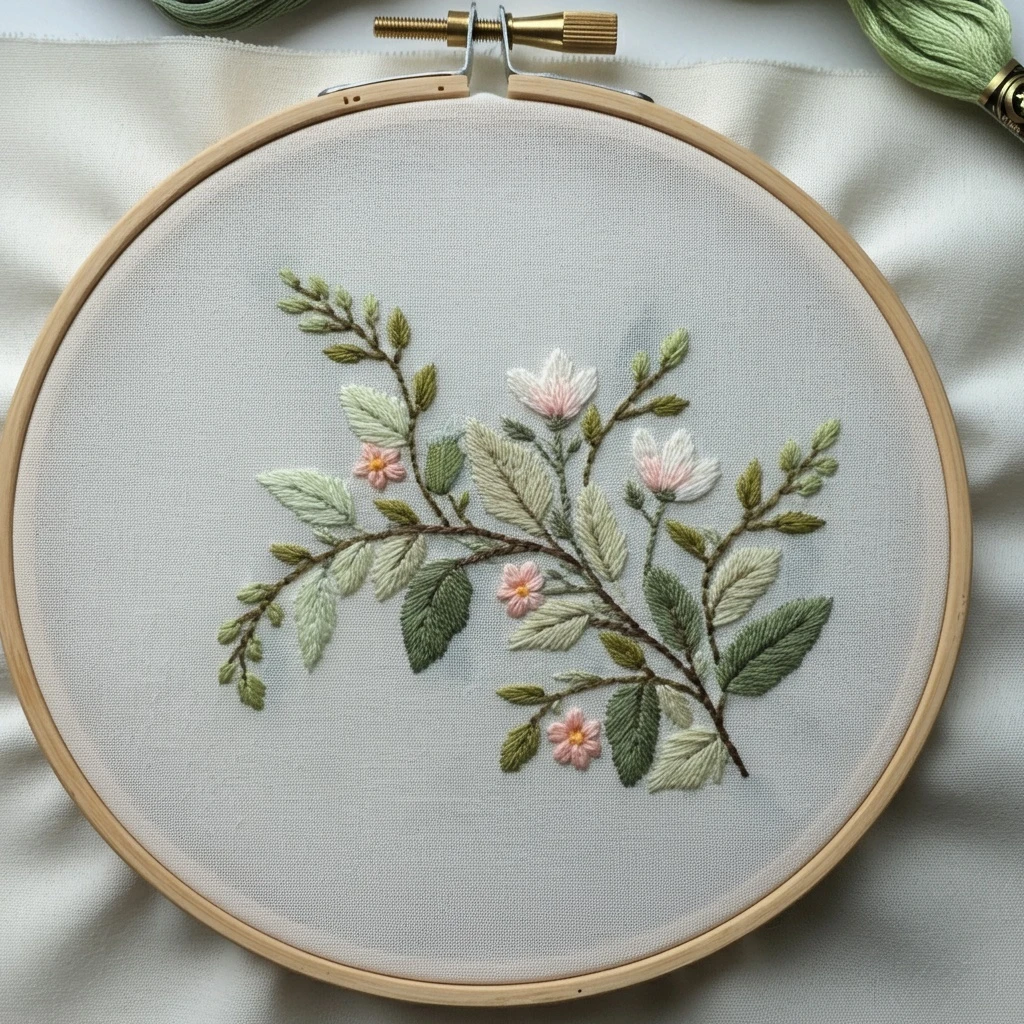
Botanical Study in Soft Greens
This soft botanical study is designed around quiet foliage: slender stems, pale sage leaves, deeper olive shadows, seed-head details, and gentle negative space. The embroidery should feel calm and natural, with tone-on-tone greens doing most of the work rather than high-contrast flowers.
Polished DMC Color Palette
The palette emphasizes soft greens from pale sage to dark olive, with a few warm neutral shades for dried stems, seed heads, and subtle natural highlights. Use the darkest tones sparingly so the overall mood remains airy and botanical.
Stitch Map by Design Element
Thread Count & Blending Guide
Fine botanical lines
Use 1 strand for thin stems, tendrils, tiny veins, seed stems, small outlines, and airy filler marks. This preserves the sketch-like botanical quality.
Leaf fills
Use 2 strands for fishbone leaves, satin-filled leaves, and larger detached chain leaves. Two strands give even coverage without making the design heavy.
Seed texture
Use 1–2 strands for seed stitches and French knots. One strand gives delicate dots; two strands adds visible raised texture for focal seed heads.
Shading, Outlining & Texture Suggestions
Keep the greens soft
- Use 3052 as the visual anchor and reserve 3051 or 3021 for very small areas.
- Place pale 772 highlights at leaf tips and outer edges only.
- Do not overfill every space; negative fabric areas are part of the botanical look.
- Repeat each green in several places so the hoop feels balanced and cohesive.
Create natural leaf depth
- Shade the underside or stem-side of leaves with 3051 or 3346.
- Use fishbone stitch direction to form a natural center vein.
- Add one pale stitch on the light side instead of filling half the leaf in a light color.
- Let some leaf edges remain unoutlined for a gentle illustrated finish.
Seed and pod texture
- Use tiny knots in uneven clusters to suggest seed heads and dried flowers.
- Combine 612 and 613 for warm beige variation.
- Add 3865 dots only as highlights, not as a main fill.
- Keep seed stems thin so the knots remain the texture focus.
Outlining approach
- Outline after filling so edges sit cleanly on top of satin and fishbone stitches.
- Use green outlines for living foliage and beige-brown outlines for dried elements.
- Switch to split stitch on curves and back stitch on short straight segments.
- Use 3021 only for the deepest dots or very fine contrast; too much can darken the design.
Beginner-Friendly Stitching Order
- Transfer lightly: mark main stems, leaf shapes, seed heads, and branch directions with a fine removable pen. Keep marks faint under pale greens.
- Stitch central stems first: use stem stitch in 3052, changing to 3051 for lower shaded sections.
- Add larger leaves: use fishbone stitch or satin stitch, placing darker tones near the stem and pale tones at the tips.
- Fill smaller sprigs: use lazy daisy leaves and short straight stitches in 3053, 3013, and 772.
- Work seed heads last: add knots and seed stitches after stems so the raised texture stays crisp.
- Finish with selective outlines: add veins, tiny edge corrections, and the few darkest dots only after the main foliage is complete.
Practical Tips for a Clean Finish
Fabric choice
Use natural linen, cotton-linen, or high-quality cotton in ivory, oatmeal, or pale cream. Soft greens are subtle, so a warm neutral ground helps the foliage show without harsh contrast.
Needle choice
A sharp embroidery needle size 7–9 is ideal for one- and two-strand botanical work. For French knots in seed heads, choose a needle that allows the wrapped thread to pass through smoothly.
Thread handling
Strip floss strands before recombining them. This keeps fishbone leaves smooth and makes long stem stitches sit neatly along curved lines. Shorter lengths prevent pale greens from becoming fuzzy.
Composition check
After each color group, hold the hoop at arm’s length. The design should feel evenly airy. If one cluster looks too heavy, balance it with a pale sprig or a few tiny seed stitches rather than another dark leaf.