
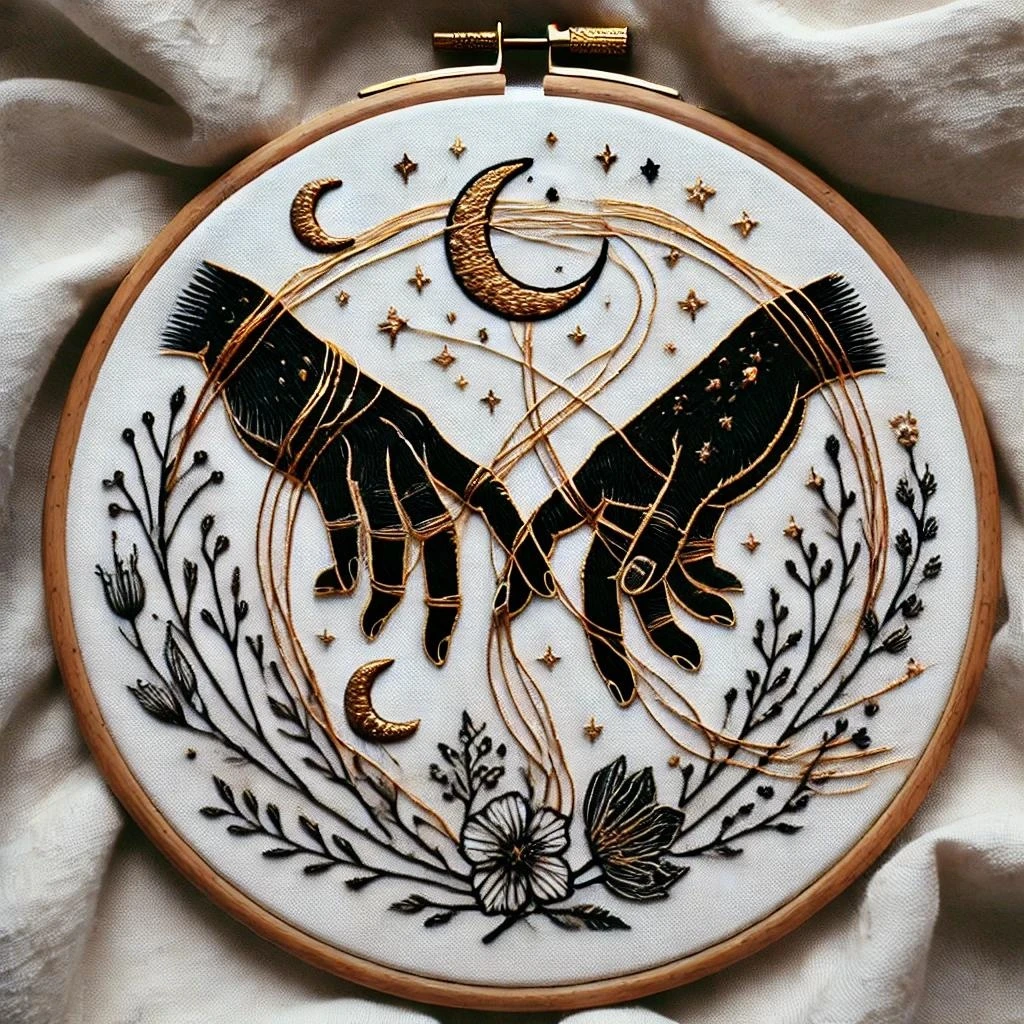
Celestial Connection
This celestial design is built around linked stars, moonlit details, delicate constellation lines, and a soft cosmic color story. The embroidery should feel airy and connected: fine stitched lines joining small luminous points, gentle lavender-blue glow, warm gold accents, and enough negative space to let the constellation structure breathe.
Polished DMC Color Palette
The palette below is made for a refined constellation-style hoop: cream and gold for star points, lavender and blue for cosmic glow, plum and pewter for subtle depth, and a touch of rose for warm decorative contrast.
Stitch Map by Design Element
Thread Count & Blending Guide
Fine linework
Use 1 strand for constellation links, star rays, small outlines, moon edges, and tiny decorative details. This is the most important setting for keeping the design delicate.
Main motifs
Use 2 strands for crescent fills, larger stars, small filled shapes, and any floral or symbolic accents. Two strands give coverage without losing refinement.
Raised sparkle
Use 2–3 strands for larger French knots and focal star nodes. Three strands should be reserved for the most important connection points.
Shading, Outlining & Texture Suggestions
Clean celestial connections
- Stitch connector lines after the star nodes are placed so the lines meet each point neatly.
- Keep line tension relaxed; tight stitches can pucker long constellation paths.
- Use shorter stitches on curves and longer stitches only on straight sections.
- Vary node sizes slightly so the design feels hand-drawn and alive.
Glow and sparkle
- Reserve B5200 for the brightest pinpoints so it feels like true sparkle.
- Use 822 beside cream or white areas to create soft shadow and glow.
- Scatter lavender and blue stitches around gold details for a cool cosmic contrast.
- Leave open fabric between star clusters so the composition stays airy.
Moon and star texture
- Use padded satin stitch only for focal moon shapes, not every small motif.
- Use French knots for round stars and straight stitches for sparkling rays.
- Keep the longest star rays consistent in direction if the design has a central flow.
- Add a final one-strand highlight after all surrounding stitches are complete.
Outlining approach
- Use 414, 154, or 3799 only where pale motifs need extra definition.
- Avoid outlining every star; many should remain simple dots or knots.
- Use split stitch for curves and back stitch for straight constellation segments.
- Finish outlines last to avoid burying them under knots or satin fills.
Beginner-Friendly Stitching Order
- Transfer lightly: mark the largest star nodes, moon shapes, and main connecting lines. Add smaller sparkles freehand at the end.
- Stitch focal shapes first: complete any moon, central symbol, or largest star so the layout is anchored.
- Add star nodes: place knots or small satin dots at the main connection points before stitching the lines between them.
- Work connector lines: use one-strand back stitch or couching to link the nodes cleanly.
- Add secondary stars: stitch small straight-stitch stars, seed stitches, and tiny dots around the main structure.
- Finish with glow: add pale highlights, lavender-blue haze stitches, and any final outline corrections last.
Practical Tips for a Clean Finish
Fabric & hoop
Warm cream cotton, linen, or cotton-linen keeps the palette soft and celestial. Keep the fabric drum-tight, especially for long constellation lines, to prevent puckering.
Needle choice
Use a sharp embroidery needle size 7–9 for one- and two-strand details. For three-strand knots, move to a slightly larger needle so the wraps pull through smoothly.
Spacing control
Step back often while adding tiny stars. It is easy to overfill a celestial design; open space is what makes the connections feel meaningful and elegant.
Thread handling
Use shorter lengths for pale floss so white and cream stitches stay clean. Strip and recombine strands before stitching long connector lines for a smoother finish.