
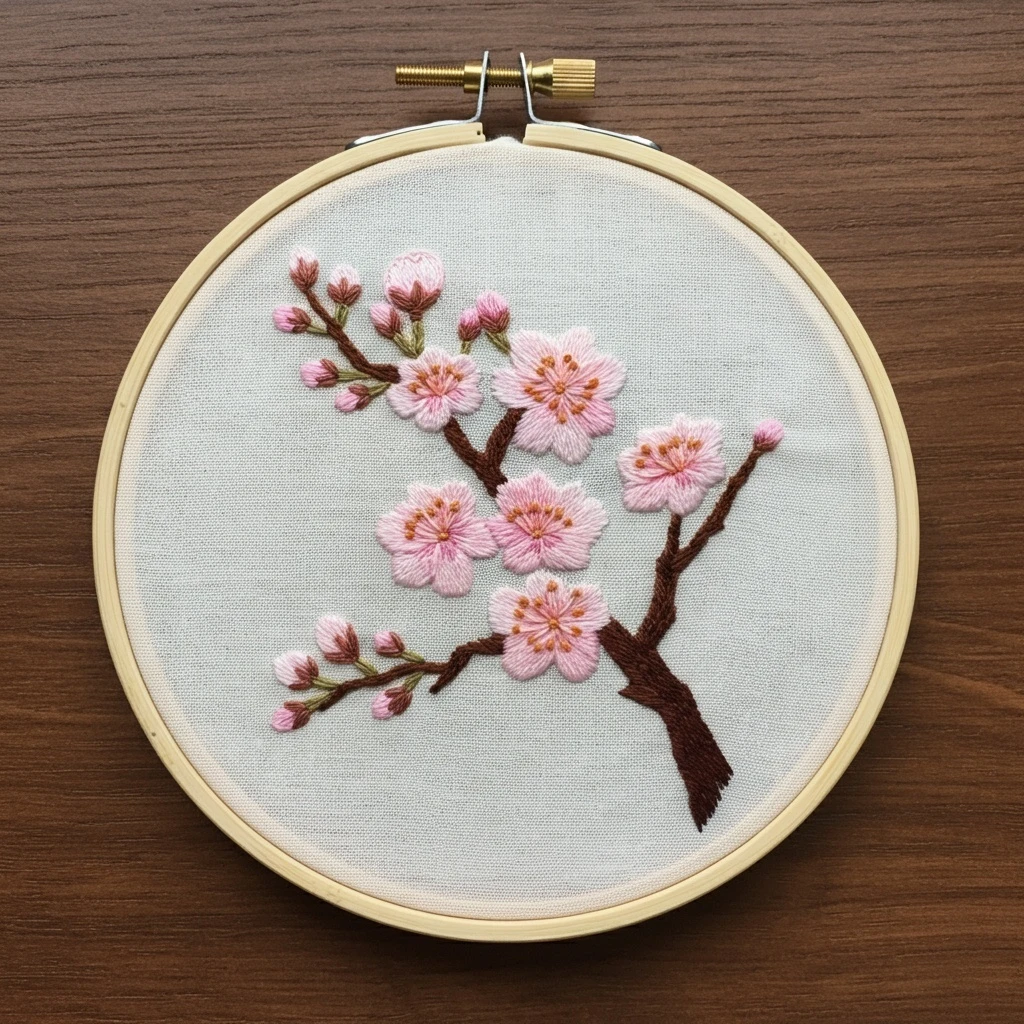
Cherry Blossom Branch
This delicate spring branch design centers on soft cherry blossoms, small buds, slender twigs, and airy open space. The stitched version should feel light and graceful: warm brown branch texture, pale blush petals, deeper rose centers, tiny buds along the stems, and fine outlines that keep the blossoms refined rather than heavy.
Polished DMC Color Palette
This palette combines soft blossom pinks, warm bark browns, tiny golden centers, and muted green-brown bud accents. Use the lightest pinks for open petals and the deeper rose tones only at petal bases and flower centers.
Stitch Map by Design Element
Thread Count & Blending Guide
Fine linework
Use 1 strand for twig tips, petal veins, tiny flower centers, bud stems, and final outline corrections. One strand is key to preserving the delicate spring look.
Main flowers
Use 2 strands for blossom petals, branch structure, larger buds, and small leaves. Two strands give soft coverage while keeping the petals light.
Raised centers
Use 2–3 strands for French-knot centers only on larger blossoms. Smaller blossoms should use one or two strands so the centers stay proportional.
Shading, Outlining & Texture Suggestions
Airy blossom shape
- Keep petal tips lighter and petal bases deeper for natural flower depth.
- Stitch petals from the outer tip toward the center, or center outward, but stay consistent within each flower.
- Leave a tiny open space between some petals so the blossoms do not become solid pink circles.
- Use darker rose only near the center and bud bases.
Branch texture
- Follow the branch direction with bark stitches to create a natural curve.
- Use dark brown at twig intersections and the underside of the branch.
- Add short broken highlight strokes instead of continuous bright lines.
- Keep the branch slightly stronger than the twigs so the structure is clear.
Bud detail
- Place darker rose at the base of closed buds and lighter pink at the tips.
- Add a small green-gray sepal under each bud for a botanical finish.
- Use padded satin only on foreground buds; background buds can be simple small stitches.
- Cluster buds near branch tips for a natural spring growth pattern.
Outlining approach
- Outline petals only where they overlap or need definition.
- Use soft rose or pale brown outlines instead of harsh black.
- Use split stitch for blossom curves and stem stitch for branch curves.
- Add outlines after fills but before final knots and highlights.
Beginner-Friendly Stitching Order
- Transfer lightly: mark the main branch, twig directions, blossom centers, petal outlines, buds, and tiny leaves. Keep pale petal lines faint.
- Stitch the branch first: build the main branch and twigs with dark-to-light bark strokes.
- Add buds and sepals: place small buds along the twigs before larger flowers so the growth pattern is clear.
- Stitch open blossoms: work the back petals first, then the front petals, keeping petal bases slightly darker.
- Add centers: place compact knots or seed stitches after the petals are complete.
- Finish with details: add tiny leaves, petal veins, soft highlights, and final outline corrections last.
Practical Tips for a Clean Finish
Fabric & hoop
Warm cream, natural linen, or pale blush cotton-linen complements the spring palette. Keep the hoop drum-tight so satin petals and fine twig lines remain smooth.
Needle choice
Use a sharp embroidery needle size 7–9 for one- and two-strand stitching. Use a slightly larger needle only for raised knots in larger blossom centers.
Keeping blossoms delicate
Use fewer dark stitches than you think you need. Cherry blossoms look best when the rose depth is concentrated at the center and the petal edges stay pale.
Preventing thread show-through
Do not carry dark brown branch thread behind pale blossoms. End dark threads cleanly and restart nearby so the pink petals remain fresh and translucent.