
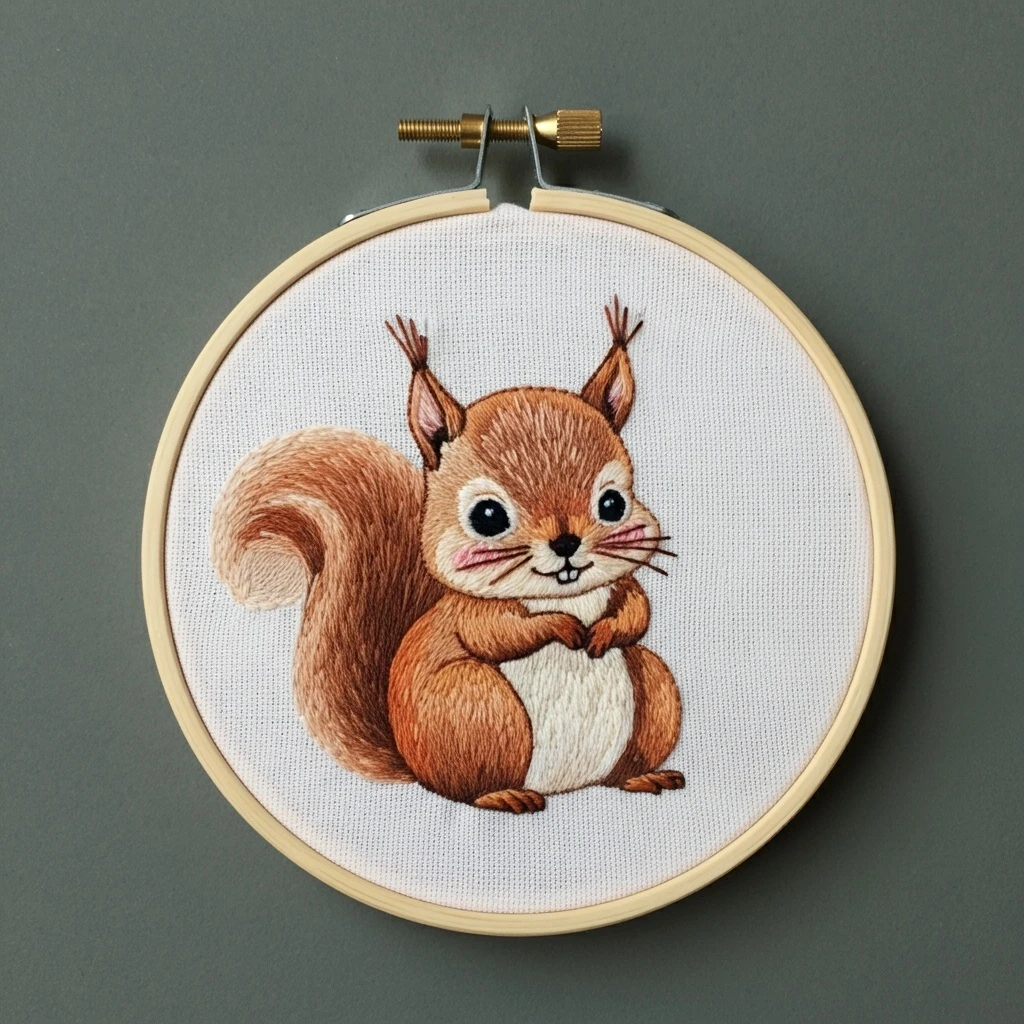
Chubby Cheek Squirrel Needle Art
This woodland squirrel design is all about soft rounded cheeks, a plush curled tail, tiny paws, bright eye detail, and warm nut-brown character. The embroidery should feel cozy and dimensional: layered brown fur, pale cheek and belly highlights, a lightly textured tail, a small pink blush, and optional acorn or leaf accents to support the autumn woodland mood.
Polished DMC Color Palette
This palette builds a warm squirrel with believable fur depth: dark coffee browns for shadows, coppery browns for body and tail, cream for cheeks and belly, soft pink for blush and ear warmth, plus muted greens and golds for acorns, leaves, or small woodland details.
Stitch Map by Design Element
Thread Count & Blending Guide
Fine details
Use 1 strand for whiskers, eye, nose, toe marks, tiny fur flicks, acorn cap texture, and final outline corrections. One strand keeps the face cute and delicate.
Main fills
Use 2 strands for body fur, tail shading, cheeks, ears, belly, acorns, and leaves. Two strands gives good coverage while still allowing soft fur direction.
Raised texture
Use 2–3 strands for selected French-knot fur tufts, acorn cap dots, or leaf texture. Use three strands only on foreground accents, not on the face.
Shading, Outlining & Texture Suggestions
Round cheek effect
- Keep the cheek center pale and place darker shading only around the lower edge.
- Add blush with just a few short pink stitches so it stays soft.
- Use curved stitch direction around the cheek, not straight horizontal rows.
- Place the eye and nose after cheek shading so the expression stays balanced.
Fluffy tail texture
- Follow the tail’s curl with every fur stitch to create motion.
- Layer dark stitches underneath and lighter copper strokes on top.
- Use broken, flicked stitches at the edge for a fuzzy silhouette.
- Do not overfill the outer edge; a little fabric showing keeps it airy.
Small animal details
- Use tiny dark stitches sparingly; too much outline can make the squirrel look harsh.
- Keep paws simple and rounded with one-strand curves.
- Use 3865 only for a tiny eye glint and a few fur highlights.
- Step back before adding more whiskers; three per side is often enough.
Outlining approach
- Outline after filling so the body and tail edges stay crisp.
- Use 801 or 938 instead of black for most fur outlines.
- Use split stitch for curves and short back stitch for paws, acorns, and small props.
- Keep the tail outline broken in places to suggest fluff.
Beginner-Friendly Stitching Order
- Transfer lightly: mark the squirrel outline, tail curl, cheek shape, eye, nose, paws, ear centers, and any acorn or leaf accents.
- Stitch the body first: fill the main squirrel shape with warm browns, adding darker underside shadows and lighter cheek transitions.
- Add the tail: work from the inner curl outward, layering dark-to-light fur strokes along the tail direction.
- Work face details: stitch cheeks, ears, eye, nose, whiskers, and small paws with fine thread counts.
- Add woodland accents: stitch acorns, leaves, or ground sprigs after the squirrel is established.
- Finish with texture: add sparse fur flicks, cheek blush, eye catchlight, tiny highlights, and final outline corrections last.
Practical Tips for a Clean Finish
Fabric & hoop
Warm cream, natural linen, or oatmeal cotton-linen supports the squirrel’s cozy woodland palette. Keep the fabric drum-tight so fur strokes and tiny facial details do not pucker.
Needle choice
Use a sharp embroidery needle size 7–9 for one- and two-strand stitching. Use a slightly larger needle only for raised knots on acorn caps or foreground texture.
Keeping the face cute
Use the smallest possible stitches for the eye, nose, and mouth. A tiny highlight and soft cheek color are more charming than heavy facial outlines.
Preventing muddy browns
Keep the darkest browns limited to shadows and outlines. Let 433, 434, 435, and copper tones carry the warmth so the squirrel looks lively rather than flat.