
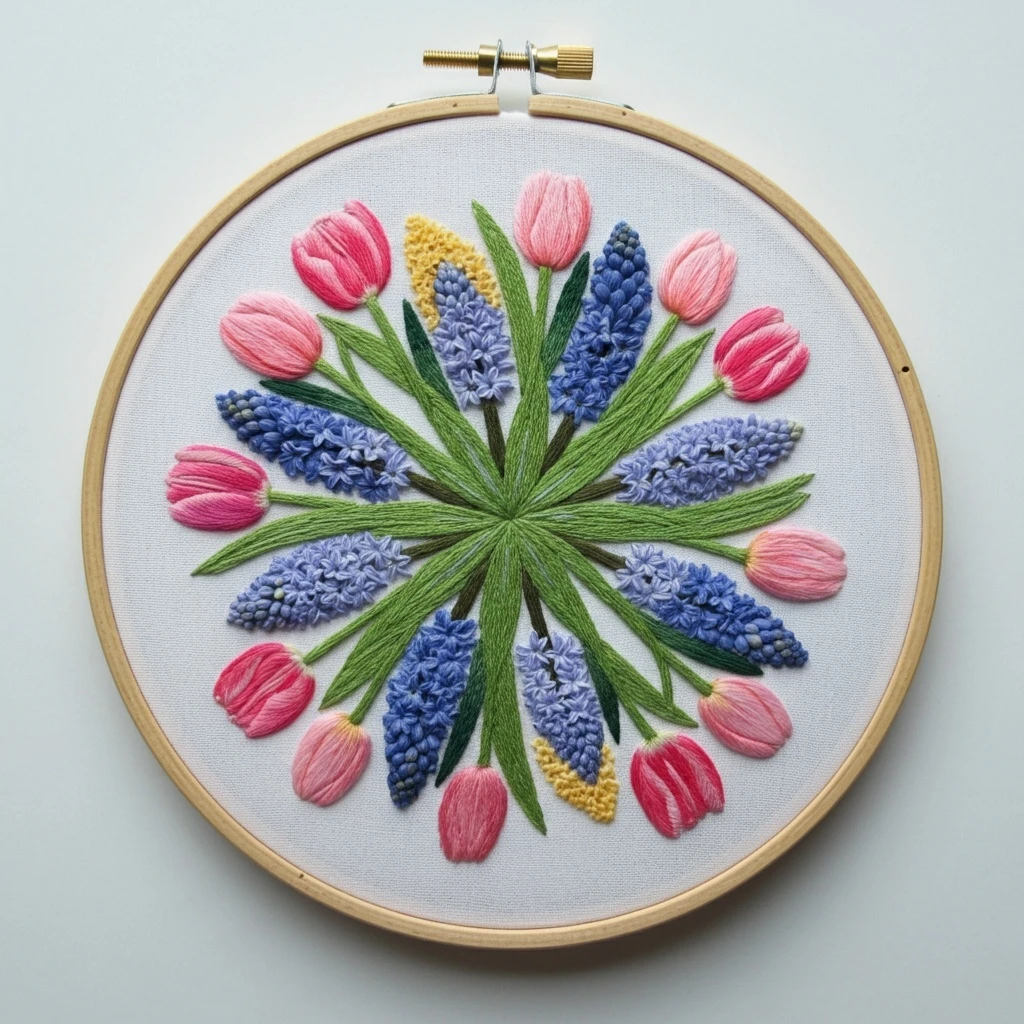
Circular Spring Bouquet Beginner
This beginner-friendly bouquet design uses a circular arrangement of small spring flowers, leafy sprigs, and airy filler stitches. The embroidery should feel fresh, balanced, and approachable: simple flower shapes placed around a soft circle, pastel petals, cheerful yellow centers, muted green stems, and enough open space to keep the bouquet light rather than crowded.
Polished DMC Color Palette
This palette keeps the spring bouquet soft and easy to stitch: pink, coral, yellow, lavender, and blue flowers supported by sage greens. Beginners can use fewer colors for a simpler version, then add the secondary shades for petal shadows and polished variety.
Stitch Map by Design Element
Thread Count & Blending Guide
Fine beginner details
Use 1 strand for tiny stems, petal veins, small buds, filler dots, and final corrections. One strand keeps the circular bouquet delicate.
Main stitching
Use 2 strands for flowers, leaves, main stems, and larger buds. This is the simplest thread count for clean beginner coverage.
Raised centers
Use 2–3 strands for French-knot flower centers. Use three strands only on the largest flowers so the small bouquet does not become bulky.
Shading, Outlining & Texture Suggestions
Balanced bouquet circle
- Place the largest flowers first at roughly even points around the circle.
- Fill gaps with leaves, buds, and tiny dots rather than adding too many big blooms.
- Leave the center open so the circular shape stays airy and beginner-friendly.
- Repeat each flower color in at least two areas for balance.
Simple flower depth
- Use darker shades at petal bases and lighter shades at petal tips.
- For a fast version, stitch all petals in one color and add a contrasting center.
- Add small petal highlights only to the largest flowers.
- Mix lazy daisy and tiny satin flowers for easy variety.
Leaf texture
- Keep stems finer than flowers so the bouquet stays light.
- Alternate leaf direction around the circle for natural movement.
- Use darker green near flower bases and lighter green at outer sprig tips.
- Use only a few pale leaf highlights; too many can flatten the design.
Outlining approach
- Avoid black outlines; use darker matching flower or leaf shades instead.
- Outline only the largest flowers if they need definition.
- Back stitch is easiest for small stems; stem stitch looks smoother on curves.
- Add outlines after flowers and leaves are filled, before final knots.
Beginner-Friendly Stitching Order
- Mark the circle: lightly draw the bouquet guide and mark the largest flower positions. Keep tiny filler dots freehand for the end.
- Stitch main stems: use stem stitch or back stitch in 3052, following the circle but leaving small breaks for flowers.
- Add larger flowers: stitch pink, coral, lavender, blue, and yellow flowers at balanced points around the circle.
- Add leaves: place leaves behind and between flowers, using darker green near the base and lighter green on tips.
- Add buds and filler flowers: use small straight stitches, lazy daisy stitches, or French knots around the open areas.
- Finish with centers and highlights: add yellow centers, white dots, petal glints, and final tidy-up stitches last.
Practical Tips for a Clean Finish
Fabric & hoop
Warm cream cotton, natural linen, or pale oatmeal cotton-linen suits a soft spring bouquet. Keep the fabric drum-tight so lazy daisy petals and French knots sit neatly.
Needle choice
Use a sharp embroidery needle size 7–9 for one- and two-strand work. A slightly larger needle can help with three-strand knots, but two strands is enough for most beginner stitches.
Keeping the circle tidy
Step back after every few flowers. If one side looks heavier, add a small leaf, bud, or dot on the opposite side instead of another large flower.
Avoiding bulk
Keep knots and raised stitches limited to flower centers and filler dots. Flat petals with a few raised centers create a cleaner beginner finish.