
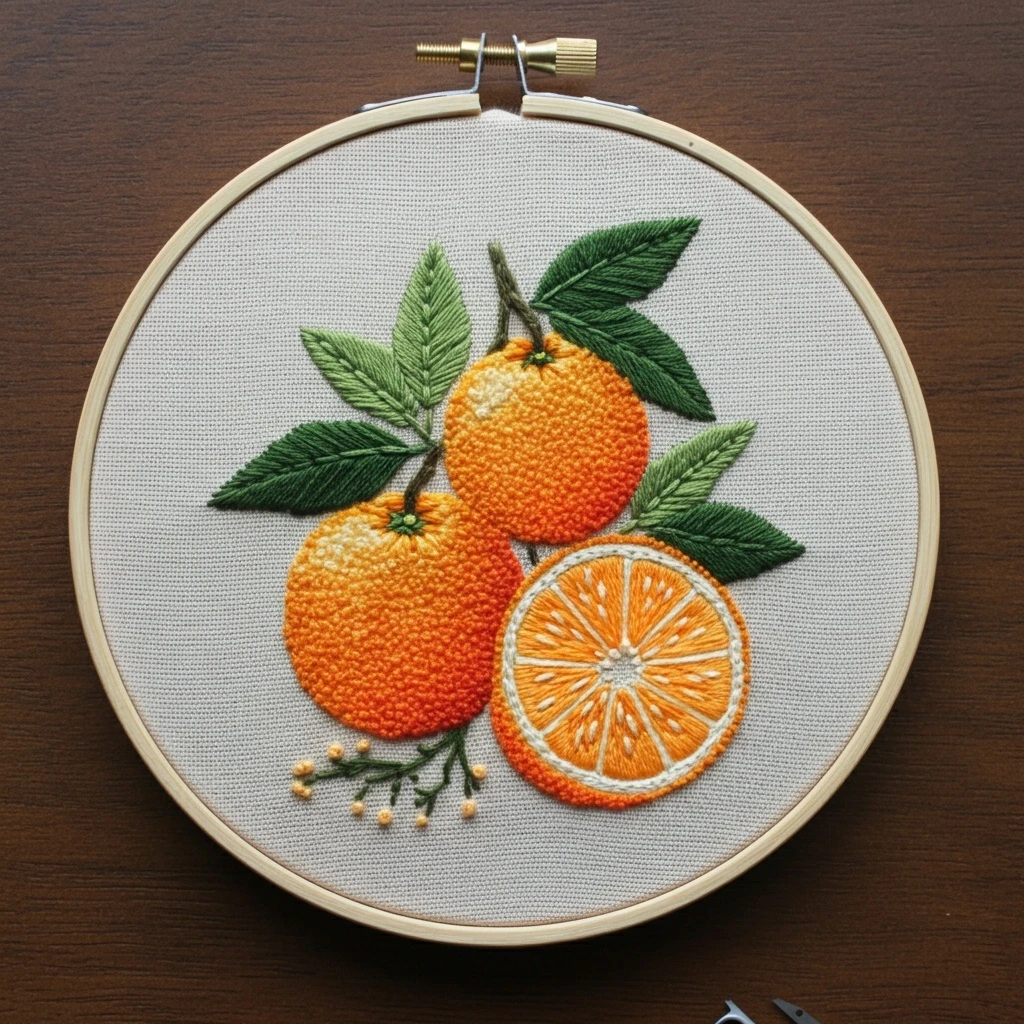
Citrus Harvest
This bright citrus harvest design is all about sunny fruit, glossy leaves, small blossoms, and warm orchard abundance. The embroidery should feel fresh and juicy: oranges, lemons, and tangerine tones with rounded shading, darker dimples near fruit bases, crisp green leaf veins, pale blossom accents, and a few warm highlights that make the fruit look ripe and dimensional.
Polished DMC Color Palette
This palette combines juicy oranges, lemon yellows, golden rind shadows, glossy citrus greens, and soft blossom whites. Use the brightest yellows and creams as final highlights, and keep the deepest greens tucked under leaves and fruit to build depth.
Stitch Map by Design Element
Thread Count & Blending Guide
Fine details
Use 1 strand for rind dots, leaf veins, segment lines, blossom centers, tiny stems, and final outline corrections. This keeps the citrus texture controlled.
Main fills
Use 2 strands for fruit bodies, leaves, blossoms, and thicker stems. Two strands give saturated color and smooth coverage without bulky fruit edges.
Raised texture
Use 2–3 strands for blossom centers, prominent rind knots, or small fruit dimples. Use three strands only for foreground details.
Shading, Outlining & Texture Suggestions
Rounded citrus fruit
- Curve stitches around the fruit form rather than stitching straight across.
- Keep the brightest highlight on the same upper side of each fruit.
- Use darker orange or golden brown near the stem and lower edge.
- Add rind dots last, using fewer dots on highlighted areas and more in shadows.
Glossy leaves
- Use fishbone stitch on larger leaves to create a clean central vein.
- Place darkest green where leaves tuck behind fruit or overlap stems.
- Add narrow 701 or 3053 highlights along one side of the leaf.
- Vary leaf direction so the harvest arrangement feels natural and abundant.
Blossom contrast
- Use white blossoms sparingly to break up the warm orange and yellow palette.
- Add cream or beige-gray at the petal base for soft depth.
- Place tiny gold centers after the petals are finished.
- Keep blossoms flatter than fruit so they feel delicate and light.
Outlining approach
- Use darker matching shades instead of black: 947 for oranges, 783 for lemons, 895 for leaves.
- Outline only the shadow side of fruit for a softer botanical look.
- Use split stitch for curved fruit edges and stem stitch for branches.
- Add final outlines after fills but before tiny highlight dots.
Beginner-Friendly Stitching Order
- Transfer main shapes: mark whole fruits, slices, leaves, stems, blossoms, and a few major rind or segment details. Save tiny rind dots for the end.
- Stitch branches and stems: establish the harvest structure before filling fruit and leaves.
- Fill the citrus: work oranges and lemons from shadow side to highlight side, following the round shape.
- Add leaves: stitch larger leaves next, using darker greens behind fruit and lighter greens at tips.
- Add blossoms and buds: work small white flowers and yellow centers after the greenery is placed.
- Finish with texture: add rind dots, segment lines, fruit glints, leaf veins, and final outline corrections last.
Practical Tips for a Clean Finish
Fabric & hoop
Warm cream, natural linen, or pale oatmeal cotton-linen makes the citrus colors glow. Keep the hoop drum-tight so satin fruit fills stay smooth and round.
Needle choice
Use a sharp embroidery needle size 7–9 for one- and two-strand stitching. For raised rind dots or flower centers, use a slightly larger needle if the knots feel tight.
Keeping fruit juicy
Do not over-outline the fruit. A soft shadow edge, curved stitch direction, and a small bright highlight will make citrus look more natural than a heavy dark border.
Color balance
Repeat each warm fruit shade in more than one place, then use greens to separate neighboring oranges and lemons. A few white blossoms help calm the saturated palette.