
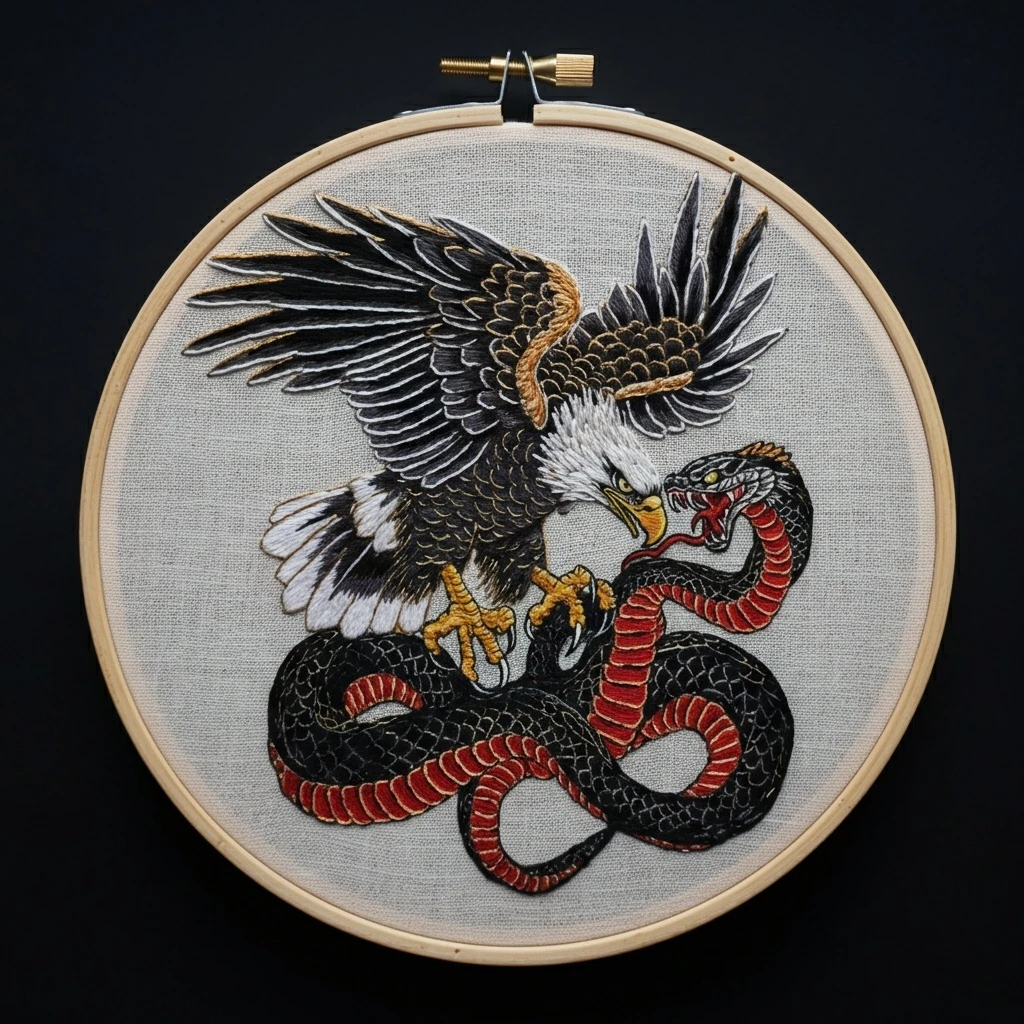
Clash of the Wild Detailed Animal
This dramatic wildlife design calls for strong contrast, directional animal texture, expressive eyes, and layered natural colors. Treat it like a detailed animal portrait: deep shadows around overlapping forms, warm fur or mane tones, cool gray contour shading, sharp eye and nose definition, and carefully placed highlights that make the animals feel alert and powerful.
Polished DMC Color Palette
This palette is designed for detailed wildlife work: deep black-browns for contrast, warm browns and coppers for fur, cream for highlights, grays for cool shadow, and muted greens for natural accents. Use the darkest shades sparingly so the portrait stays dimensional rather than heavy.
Stitch Map by Design Element
Thread Count & Blending Guide
Fine animal detail
Use 1 strand for eyes, whiskers, nostrils, eyelids, tiny fur strokes, and sharp edge corrections. One strand is essential for facial realism and clean contrast.
Main fur layers
Use 2 strands for most fur fills, mane or coat texture, ears, cheeks, and body masses. Two strands give coverage while preserving directional texture.
Raised accents
Use 2–3 strands for a few foreground tufts, heavy mane strokes, or textured ground details. Avoid three strands around eyes and muzzle, where bulk can blur expression.
Shading, Outlining & Texture Suggestions
Dramatic contrast
- Place the darkest thread only at pupils, nostrils, deep overlaps, and strongest shadow edges.
- Use medium browns for most fur so the animal does not become too dark.
- Reserve 3865 for eye catchlights and a few important fur glints.
- Keep highlight placement consistent with one imagined light direction.
Fur direction
- Change stitch angle as the fur moves around cheeks, brows, neck, and body.
- Use shorter stitches around the face and longer strokes through mane or body areas.
- Layer dark stitches first, then medium tones, then broken highlights on top.
- Leave a few tiny gaps between highlight strokes so fur looks natural.
Facial expression
- Stitch eyes late in the process, after surrounding facial shading is in place.
- Keep eyelids and pupils crisp with one-strand outlines.
- Add the catchlight last and do not overwork it.
- Use tiny angled stitches around the brow to create intensity.
Outlining approach
- Use dark brown or pewter outlines instead of pure black across every edge.
- Break the outline along fur edges with short flicked stitches for a natural silhouette.
- Use split stitch for facial curves and straight stitch flicks for fur tips.
- Outline after base fills but before final whiskers and highlights.
Beginner-Friendly Stitching Order
- Transfer key features: mark the animal outlines, eyes, nose, mouth, major shadow shapes, fur direction arrows, and any background accents.
- Block in shadows: stitch the deepest fur shadows and overlap areas first using dark browns and pewters.
- Build mid-tone fur: fill the main coat areas with directional long-and-short stitches in warm browns and tans.
- Add facial details: refine cheeks, muzzle, brow, ears, nose, and mouth with shorter controlled stitches.
- Stitch eyes: add eye outlines, golden iris color, dark pupils, and final catchlights.
- Finish texture: add fur highlights, whiskers, background stitches, and final outline corrections last.
Practical Tips for a Clean Finish
Fabric & hoop
Warm cream, natural linen, or oatmeal cotton-linen supports the wildlife palette beautifully. Keep the fabric drum-tight so dense fur stitches do not pucker around the face.
Needle choice
Use a sharp embroidery needle size 7–9 for one- and two-strand work. For dense fur, re-thread often so cotton stays smooth and does not fray.
Managing complexity
Work in small zones: one cheek, one ear, one section of mane or body at a time. Finishing small areas prevents the many similar browns from becoming confusing.
Avoiding flat fur
Do not fill large areas with identical parallel stitches. Vary stitch length, direction, and value so the animals feel alive and dimensional.