
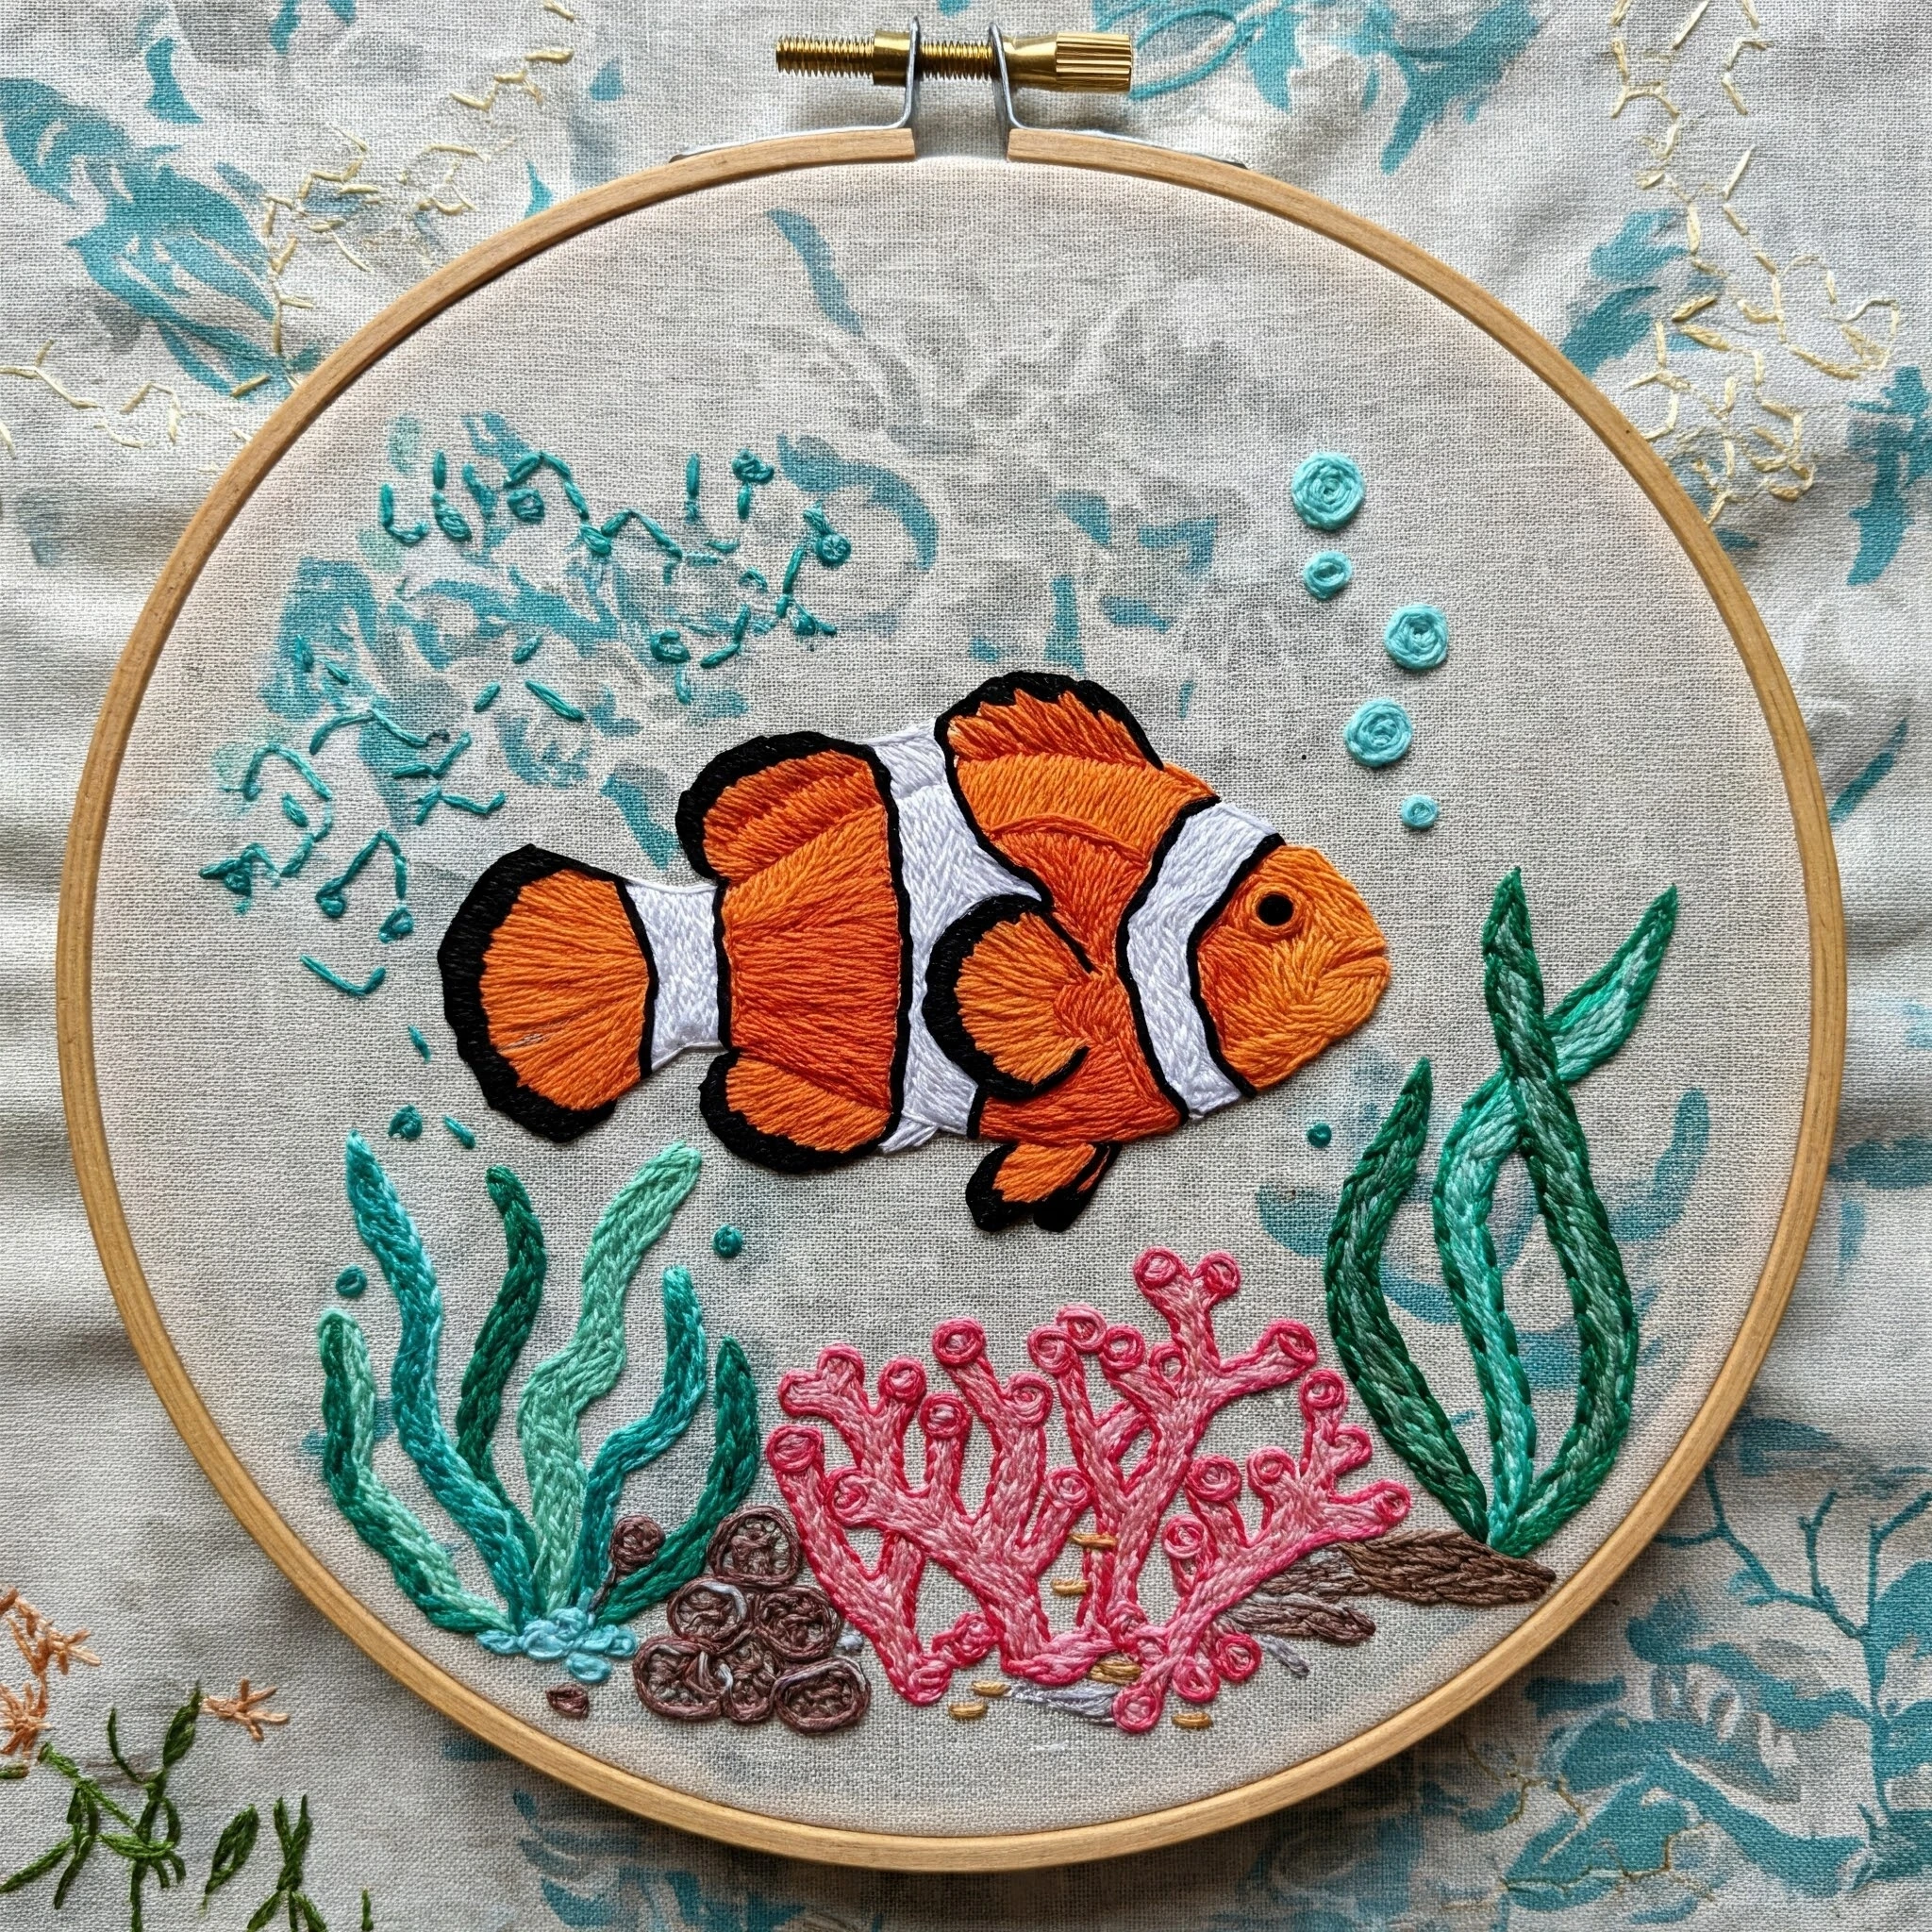
Clownfish Coral Reef
This underwater design centers on a bright clownfish swimming through coral, sea plants, and reef textures. The embroidery should feel lively and dimensional: saturated orange fish panels, crisp white bands edged with dark outlines, soft blue-green water, pink and coral reef shapes, tiny bubble accents, and varied stitch textures that separate smooth fish from bumpy coral.
Polished DMC Color Palette
This palette balances iconic clownfish orange with creamy white stripes, deep outlines, turquoise water, and reef corals. Keep the fish colors bold and smooth, while using more varied stitch textures in the coral and sea plants.
Stitch Map by Design Element
Thread Count & Blending Guide
Fine outlines
Use 1 strand for the clownfish black edges, eye, bubble outlines, coral branch tips, fin rays, and final corrections. Fine linework is what makes the fish recognizable.
Main fills
Use 2 strands for the orange fish body, white bands, larger fins, coral fills, seaweed, and reef shapes. Two strands gives bold color while keeping the details tidy.
Raised reef texture
Use 2–3 strands for French-knot coral tips, bubbly reef dots, and anemone texture. Keep raised stitches behind or below the fish so they do not distract from the focal body.
Shading, Outlining & Texture Suggestions
Rounded clownfish form
- Follow the fish’s body curve with every orange stitch.
- Keep highlights on one consistent upper side of the body and fins.
- Use darker orange near the tail base, belly, and under the white bands.
- Stitch black band edges last so they stay clean over the fills.
Crisp white striping
- Use off white for the main stripe fill and winter white for the brightest center or edge.
- Add a very small beige-gray shadow where the band curves away from light.
- Use one-strand dark edging rather than thick black fill.
- Avoid carrying dark thread behind white bands to prevent show-through.
Coral reef texture
- Use knots, seed stitches, and short detached stitches for bumpy reef surfaces.
- Mix coral, salmon, mauve, and cream so reef sections look varied.
- Keep background coral slightly less saturated than the fish body.
- Use darker coral colors at the base and lighter tips at branch ends.
Water and depth
- Use turquoise stitches sparingly as movement lines rather than solid background fill.
- Place deeper blue-green behind coral and lighter aqua near bubbles or highlights.
- Use bubbles as small bright knots or circles to add scale.
- Keep water stitches soft so the clownfish remains the main focal point.
Beginner-Friendly Stitching Order
- Transfer carefully: mark the fish outline, white bands, eye, fins, main coral shapes, seaweed, and bubbles. Keep tiny reef dots for later.
- Stitch background reef first: add coral bases, seaweed, and water movement behind the fish.
- Fill the fish body: stitch orange body panels from shadow side to highlight side, following the curve.
- Add white bands: fill the bands smoothly, then add their dark edging with one strand.
- Stitch fins, tail, and eye: add fin rays, tail shading, the eye, and small body outlines.
- Finish with texture: add coral knots, bubble highlights, reef speckles, tiny water glints, and final outline corrections last.
Practical Tips for a Clean Finish
Fabric & hoop
Pale aqua, soft seafoam, warm cream, or natural linen all suit this design. A blue-green fabric can reduce background stitching while making the orange clownfish pop.
Needle choice
Use a sharp embroidery needle size 7–9 for one- and two-strand stitching. For raised coral knots or fluffy anemone stitches, use a slightly larger needle if needed.
Keeping the fish bold
Finish reef texture after the fish is complete. This helps you avoid overworking the background and keeps the clownfish bright, clean, and centered.
Avoiding muddy outlines
Use dark outline thread sparingly and cleanly. Thick black borders can overwhelm the small white bands, while fine split stitch keeps the clownfish graphic and neat.