
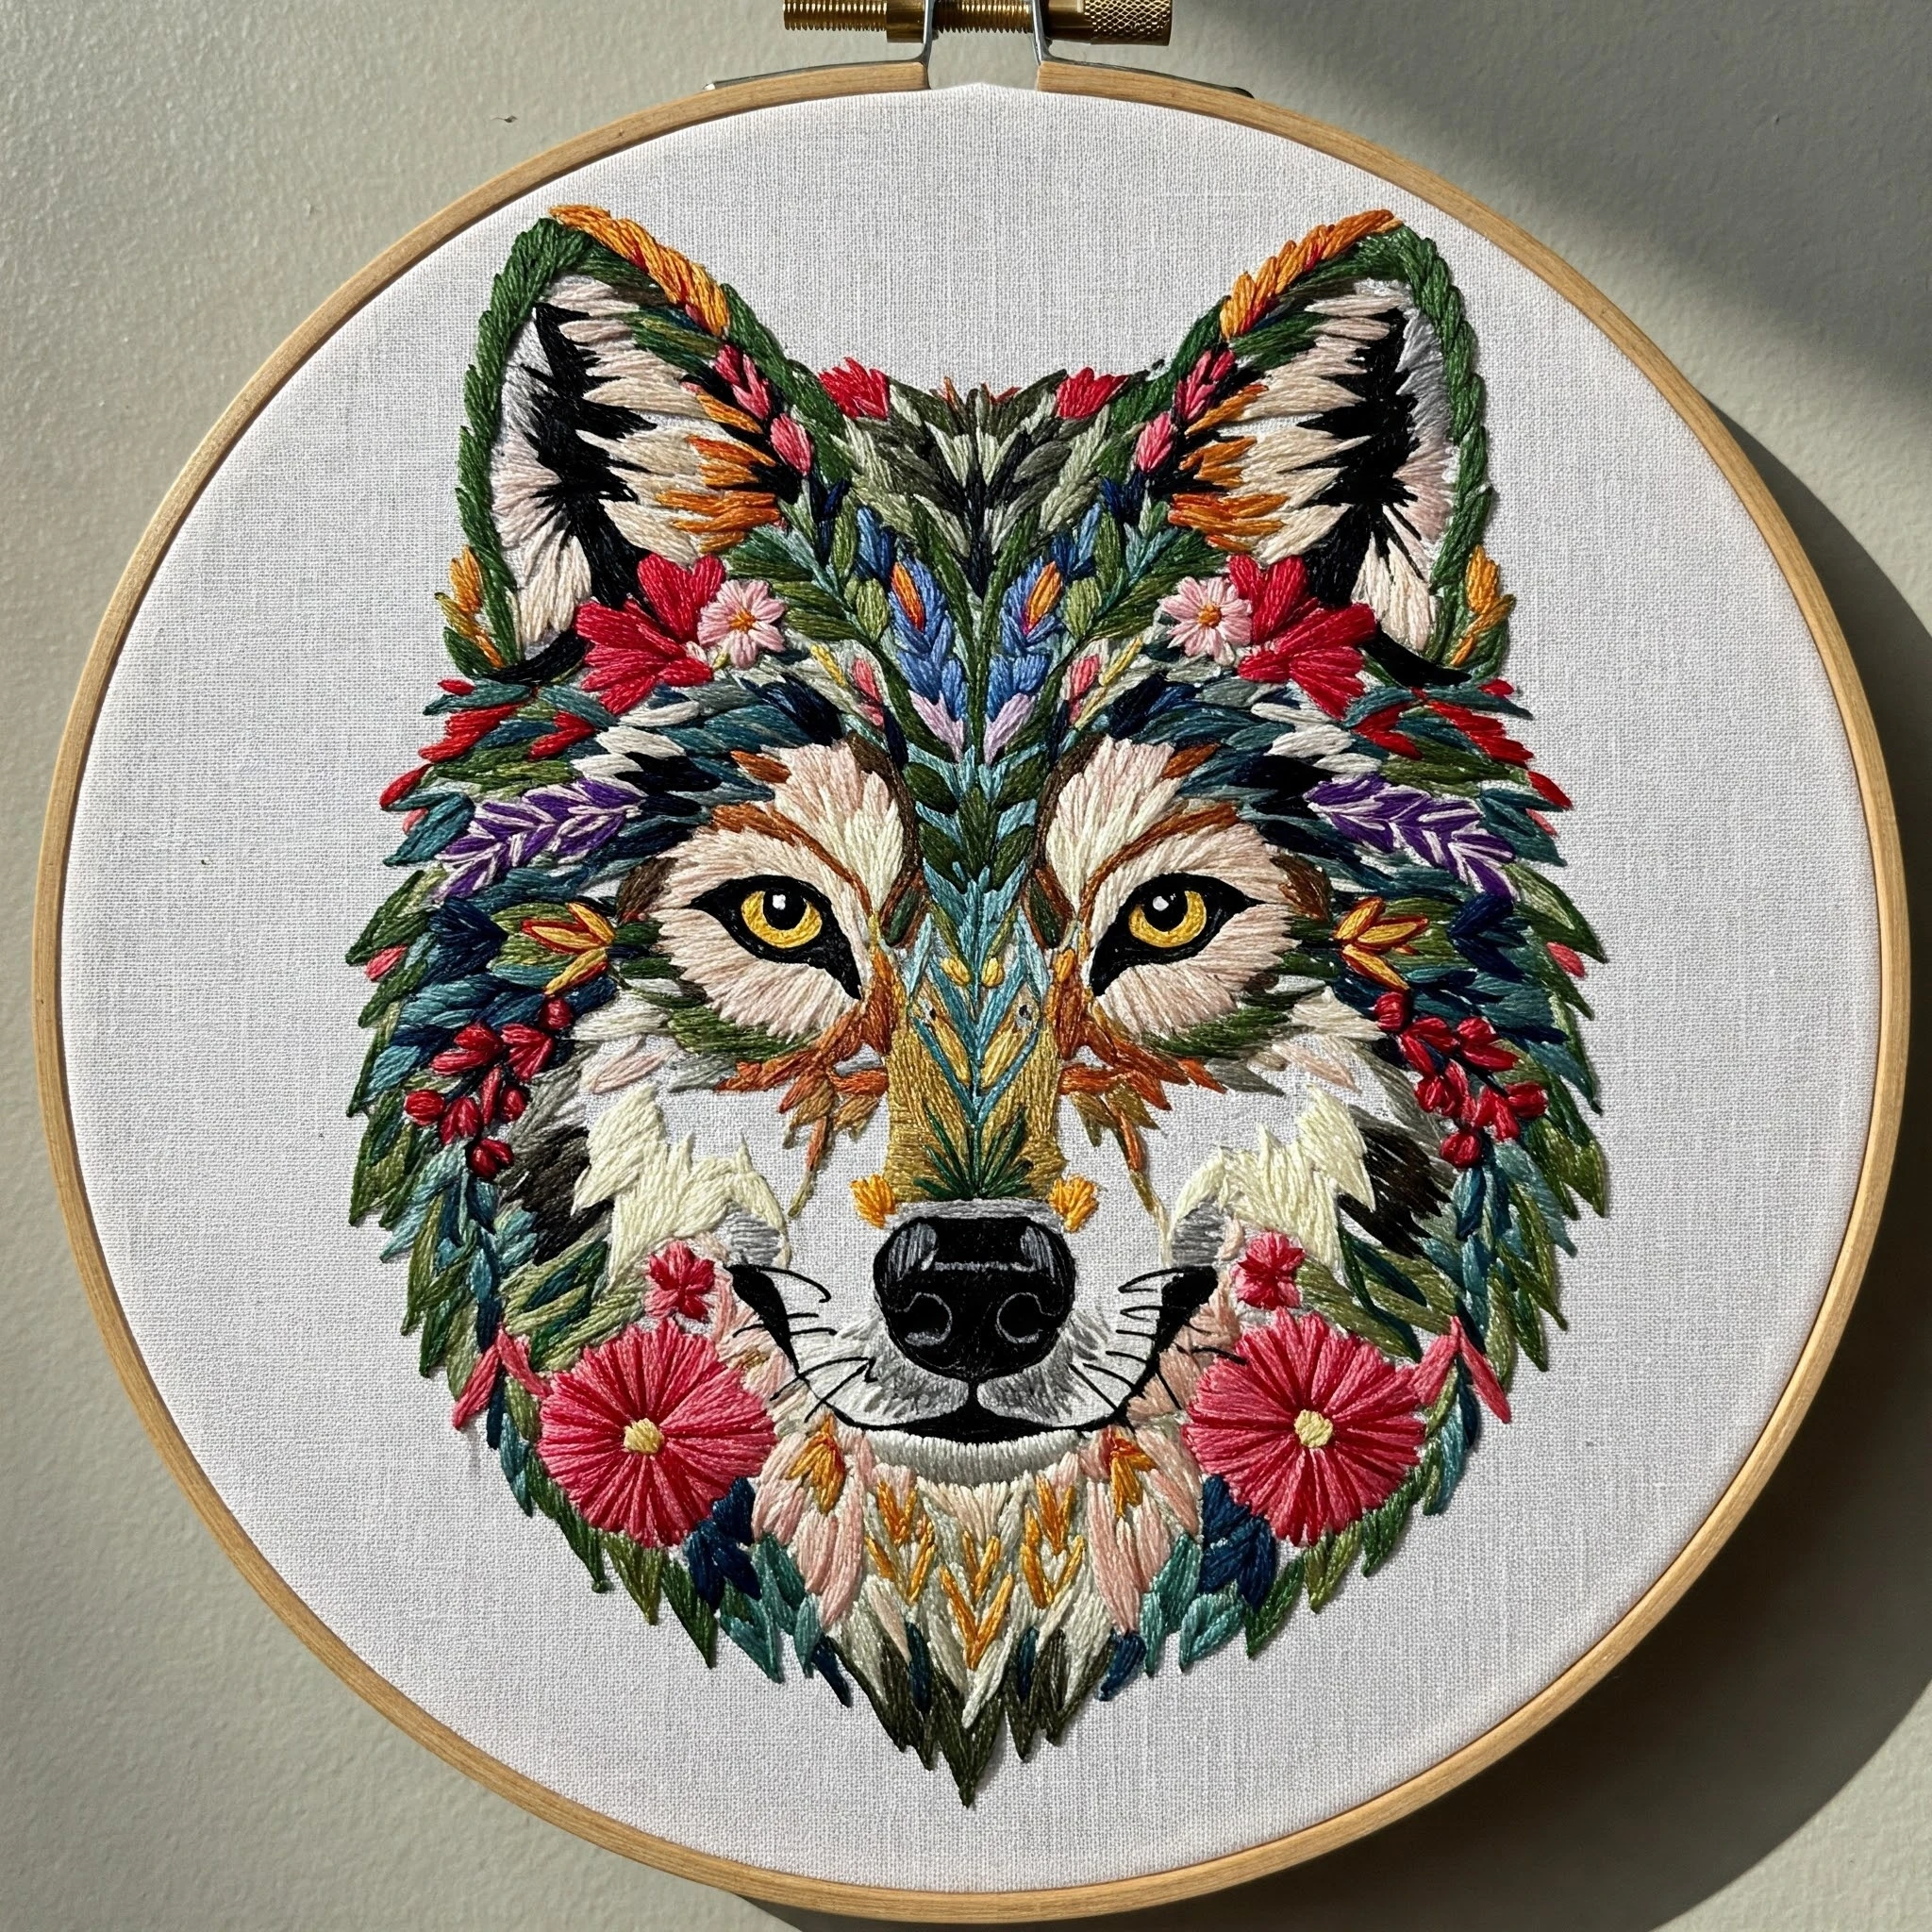
Fierce Werewolf Warrior
A dramatic fantasy embroidery plan built around smoky wolf fur, weathered armor, fiery battle accents, and cool moonlit highlights. The palette favors layered neutrals with controlled rust, gold, and steel tones so the warrior reads powerful without becoming muddy.
Polished DMC Color Palette
Use the dark tones sparingly in outlines and deepest fur shadows, then build volume with mid grays, bark browns, and selective bright highlights.
Use 1 strand for eyes, nose, claw tips, armor cracks, and the sharpest silhouette points. Avoid filling large fur areas with solid black.
Excellent for under-fur, cheek shadows, ear interiors, and places where armor overlaps the body.
Primary mid-tone for wolf fur. Stitch in directional strokes following the muzzle, shoulders, and chest ruff.
Use for fur highlights on brow, muzzle bridge, shoulder edges, and any moonlit rim lighting.
Tiny touches on fangs, eye glints, armor shine, and snow/moon accents. Keep it delicate for a sharp fantasy finish.
Use for leather straps, weapon grips, deep bark-like fur streaks, and warm shadows under armor.
Blend into gray fur for a natural animal pelt, especially on chest, paws, and rough mane sections.
Good for warm fur tips, leather highlights, weathered armor trim, and torchlit edges.
Use for scars, war paint, rusted metal marks, or deep red-brown accents around the warrior details.
Adds dramatic warmth in eyes, decorative markings, fire glow, or shield/armor embellishment.
For brass buckles, amulet details, weapon inlays, and tiny gold highlights against the dark fur.
Use for pine shadows, background foliage, grounding tufts, and cool contrast behind the warrior.
Stitch Map by Design Area
| Area | Suggested stitches | Thread count |
|---|---|---|
| Wolf fur and mane | Long-and-short stitch, split stitch rows, scattered straight stitches for ragged texture. | 1 strand for facial detail; 2 strands for chest and shoulder masses. |
| Face, eyes, fangs | Tiny satin stitches, back stitch, seed stitch glints, and single-strand couching around the eye shape. | 1 strand only for crisp expression. |
| Armor plates | Satin stitch for small metal shapes, split stitch outlines, and short straight stitches for dents. | 2 strands for fill; 1 strand for scratches and highlights. |
| Leather straps and weapon grips | Stem stitch, whipped back stitch, and diagonal straight stitches to suggest worn leather grain. | 2 strands for structure; 1 strand for highlight ridges. |
| Background moon/forest accents | Back stitch, fly stitch, detached chain leaves, and seed stitch stars or snow flecks. | 1–2 strands depending on distance. |
Layering & Shading Guidance
- Start with structure: outline major shapes in DMC 3799 or 938 before filling so the warrior silhouette stays bold.
- Build fur directionally: stitch from root to tip, changing stitch length often. Point strokes away from the muzzle and down the chest ruff.
- Reserve black: DMC 310 is strongest as a final accent, not a base fill. Too much black can flatten the face.
- Use warm accents intentionally: DMC 920 and 3777 work best near eyes, scars, and armor trim to create a fierce focal point.
- Highlight last: add DMC 318 and 762 only after the mid-tones are complete, placing highlights on raised fur and metal edges.
Blending Ideas
Use mixed needles where the design needs painterly transitions, especially around the muzzle, shoulders, and metal shine.
Keep the face sharp
Work the eyes, nose, fangs, and brow with one strand and short stitches. A fantasy creature becomes readable when the expression is clean.
Vary fur lengths
Alternate 3 mm, 6 mm, and 10 mm straight stitches. Slight irregularity makes the pelt look fierce and wind-tossed rather than flat.
Texture the armor
Add tiny horizontal scratches in DMC 762 and shadow notches in 3799. Keep highlights to one side for a believable light source.
Anchor dark areas
When filling large charcoal sections, tuck in scattered 413 and 839 strokes so the fur keeps movement and does not become a solid patch.
Use metallics lightly
If desired, substitute a strand of gold metallic for a few DMC 783 stitches on buckles or amulets, but avoid using metallic thread on every edge.
Finish with tension checks
Dark thread shows puckering easily. Hoop fabric drum-tight, relax your pulling hand, and press from the back over a towel when finished.
Beginner-Friendly Working Order
- Transfer the outline with a fine washable pen; mark fur direction arrows lightly.
- Stitch the main silhouette and armor outlines first using DMC 3799, 938, or 310.
- Fill mid-tone fur with DMC 413 and 839, then layer darker shadows.
- Add armor fills, leather straps, and warm decorative accents.
- Finish with eyes, fangs, claws, steel highlights, and small background details.
Practical Notes for a Clean Hoop
- Use a size 7–9 embroidery needle for one-strand detail and a size 5–7 needle for two-strand fills.
- Keep thread lengths under 18 inches to reduce fuzzing in dark grays and browns.
- For dense fur, stitch in small patches and rotate the hoop instead of forcing your wrist angle.
- Back the fabric with lightweight cotton if the design has many dark fills or metallic accents.
- Test red-brown accents on scrap fabric first; intense warm colors can dominate a muted warrior palette.