
Honey Bear Bees
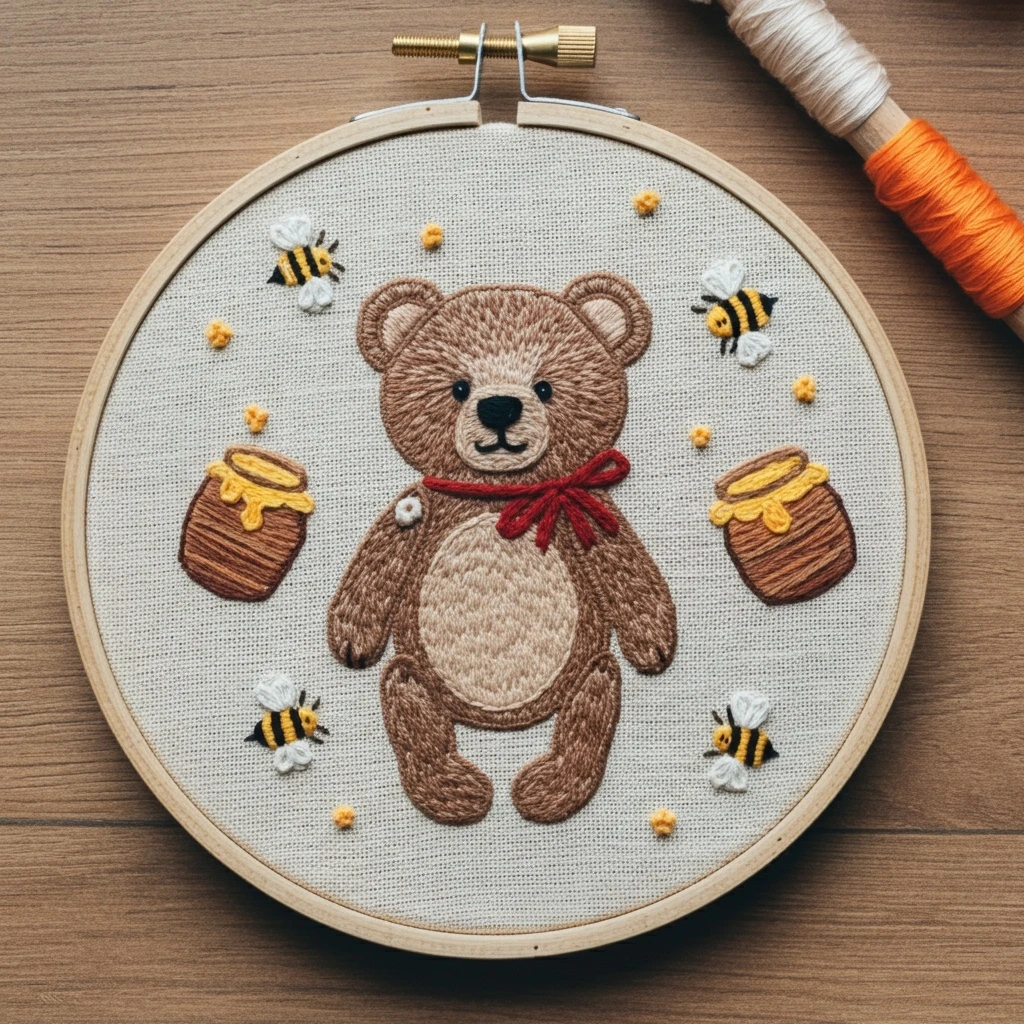
A warm nursery-style hoop with a plush teddy bear, tiny hovering bees, honey jars, pollen dots, and a deep red neck bow. The palette centers on soft caramel browns, golden honey yellows, creamy linen whites, and small black accents for cheerful definition.
Design color read
The image shows a central teddy bear stitched in medium warm brown with a lighter cream muzzle and belly. A red bow provides the main contrast. Around the bear are four small bees with yellow-and-black striped bodies and pale wings, two honey jars with amber-brown sides and bright golden dripping honey, plus scattered raised yellow pollen dots. The linen ground is neutral oatmeal, so colors should stay cozy rather than neon.
For best results, choose slightly muted DMC browns and yellows so the finished embroidery looks handmade, soft, and vintage rather than cartoon-flat.
Suggested DMC floss palette
Use as the anchor brown for bear limbs, ears, and jar side strokes.
Blend with 433 in alternating long-and-short stitches for plush movement.
Add sparingly along cheeks, forehead, and upper belly to prevent a solid block of brown.
Use as the creamy teddy contrast; shade edges with one strand of 436.
The main honey shade. Excellent for satin stitch and French knot texture.
Add one-strand highlight lines on the honey caps and the top of pollen knots.
Use only 1 strand for outlines; use 2–3 strands for the satin-stitched nose.
Pairs softly with linen without looking stark. Outline wings with pale grey if desired.
Use one strand for wing veins or shadow lines under white stitches.
Deep red keeps the bow rich. Add DMC 816 or 817 for brighter bow highlights.
Use where the bear overlaps the belly, feet, ears, and jar rims need separation.
Useful for soft shine on the muzzle, belly center, and wing fill on darker fabric.
Stitch map by design area
| Area | Recommended stitches | Practical notes |
|---|---|---|
| Teddy bear body | Long-and-short stitch, split stitch outline, directional satin stitch | Follow the body curves: vertical strokes on the torso, angled strokes on arms and legs, circular direction around ears. Work with 2 strands for coverage and 1 strand for final fur lines. |
| Muzzle, belly, inner ears | Satin stitch or padded satin, split stitch edging | Fill with 738, then add 436 near the lower edges to create a rounded plush look. Keep the belly oval smooth and slightly lighter than the fur. |
| Eyes and nose | Satin stitch, tiny straight stitch, single French knot highlight | Use black for the nose and eyes. Add a single white highlight stitch only if the scale allows; too much white can make the face look surprised. |
| Red bow | Stem stitch cord, satin stitch loops, straight stitch tails | Outline the knot first, fill each loop with satin stitches angled toward the center, then add 1-strand darker red folds for dimension. |
| Bees | Satin stitch bands, back stitch outline, detached chain or satin wings | Use 1 strand of black for legs and antennae. Stitch yellow bands first, then black bands so the striping stays crisp. |
| Honey jars | Long straight stitches, satin stitch rims, stem stitch outlines | Layer 433, 434, and 801 as vertical/curved woodgrain-like strokes. Use 725 and 726 for thick honey drips along the rim. |
| Pollen dots | French knots, colonial knots, seed stitch clusters | Use 2 wraps with 2 strands for raised dots. Vary the knot size so the scattered pollen feels natural. |
Thread-count and blending guidance
Fine details
Use 1 strand for bee legs, antennae, wing veins, facial mouth lines, and the darkest inner outlines. This keeps the small motifs clean.
Standard fill
Use 2 strands for bear fur, honey jars, bow fills, and bee bodies. Two strands give good coverage without becoming bulky.
Raised texture
Use 2–3 strands for pollen knots and honey-drip accents. For a puffier teddy nose, pad with a few horizontal stitches before satin stitching over them.
Outlining, shading, and texture tips
Outlining details
Use split stitch for the teddy outline because it creates a soft edge that merges with fur stitches. Reserve back stitch for the bees, jar rims, and small black accents where a crisp graphic line is needed. Dark coffee brown is gentler than black for teddy contours.
Shading approach
Place darkest browns under the arms, around ear rims, at the lower feet, and along the jar sides. Keep the center of the belly and muzzle light. Short highlight stitches radiating from the bear’s face center will make the head appear rounded.
Texture suggestions
For a fuzzy teddy effect, finish the body with scattered 1-strand straight stitches in 436 and 738, following the direction of the fur. For bees, keep stitches smooth and compact so they contrast with the softer bear. Pollen dots should be raised and playful.
Fabric and hoop
A natural linen or cotton-linen blend in oatmeal, ivory, or warm grey works best. Use a 5–6 inch hoop, keep fabric drum-tight, and avoid carrying dark threads across the back behind pale wings or belly areas.
Beginner-friendly stitching order
- Transfer the main outlines lightly, marking the bear’s face, belly, bee stripes, honey jar rims, and bow knot clearly.
- Stitch the teddy bear outlines in split stitch, then fill the body sections from back to front: ears, head, torso, arms, legs.
- Fill the muzzle and belly with lighter tan, adding edge shading after the main fill is complete.
- Stitch the eyes, nose, and mouth carefully with short, controlled stitches.
- Work the honey jars and honey drips, keeping the yellow rim bright and slightly raised.
- Stitch the bees last so their black-and-yellow stripes remain sharp and clean.
- Add pollen French knots and final fur/highlight details only after all larger shapes are complete.