
DMC palette & hand embroidery notes
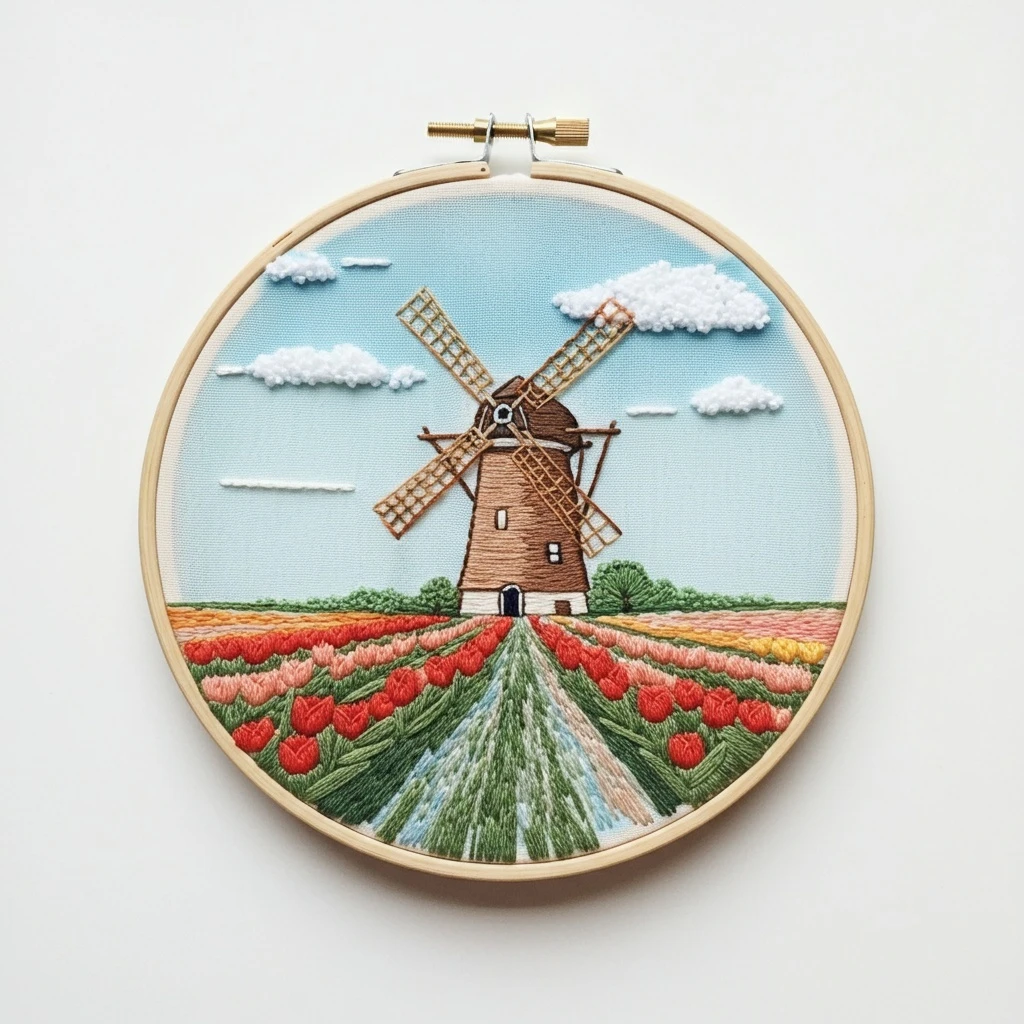
Tulip Fields Windmill Landscape
A polished stitching guide for a bright Dutch-inspired landscape: layered tulip rows in rosy reds and pinks, fresh green field lines, a soft blue sky, and a charming windmill focal point with crisp architectural details.
Suggested DMC Color Palette
Use the warm tulip colors as the visual anchor, then balance them with calm sky blues, leafy greens, and earthy neutrals for the windmill and paths. The palette below is designed for practical substitutions and smooth shading rather than exact thread-by-thread copying.
Stitch Map by Design Area
Tulip rows
Work rows directionally with short-and-long stitch, detached chain, or tiny satin strokes. Keep foreground flowers larger and more separated, then reduce stitch length as rows recede.
Leaves and stems
Use stem stitch for crisp row lines and split stitch for fine stems. Add a few straight stitches in DMC 165 over DMC 470 to create sunlit leaf texture.
Windmill
Outline first with one strand of DMC 3371, then fill walls with two-strand satin or brick stitch. Use back stitch for blades so the silhouette stays neat and readable.
Sky and clouds
Keep the sky airy: one-strand horizontal long stitches or widely spaced seed stitches. Clouds can be softly suggested with DMC 747 and a few tiny couching stitches.
Thread Count, Blending & Shading
Start with the horizon and windmill
Use 1 strand for distant edges and 2 strands for the windmill body. Stitch the central structure early so the tulip rows can be angled toward it.
Build the tulip field in bands
Use 2 strands for foreground flowers, then 1 strand in the distance. Blend 321 + 956 for vivid red-pink areas, and 956 + 3716 for lighter petal tips.
Deepen shadows without muddying the color
Add DMC 814 at the base of red tulips and DMC 987 beneath greenery. Make shadow stitches short and broken rather than solid blocks.
Finish with fine outlines
Use one strand for windmill blades, window marks, fence rails, and a few selective tulip outlines. Avoid outlining every flower; let color masses do most of the work.
Texture & Practical Tips
Shorten stitches as rows move upward. This creates depth without needing complicated shading.
Back stitch around the windmill after filling, not before, so the final lines hide uneven satin edges.
Sky first, windmill second, fields third, outlines last. This keeps pale areas clean and avoids snagging on raised flowers.
Needle and fabric guidance
- Use a size 7–9 embroidery needle for 1–2 strand work.
- A medium-weight cotton or linen in ivory, pale blue, or natural cream works well.
- Keep the hoop drum-tight so long sky stitches and satin fills stay smooth.
Finishing suggestions
- Press face down on a towel to protect raised tulip texture.
- Trim jump threads behind pale sky areas so they do not show through.
- For extra charm, add a few French knots in DMC 742 or 3716 near the foreground flowers.