
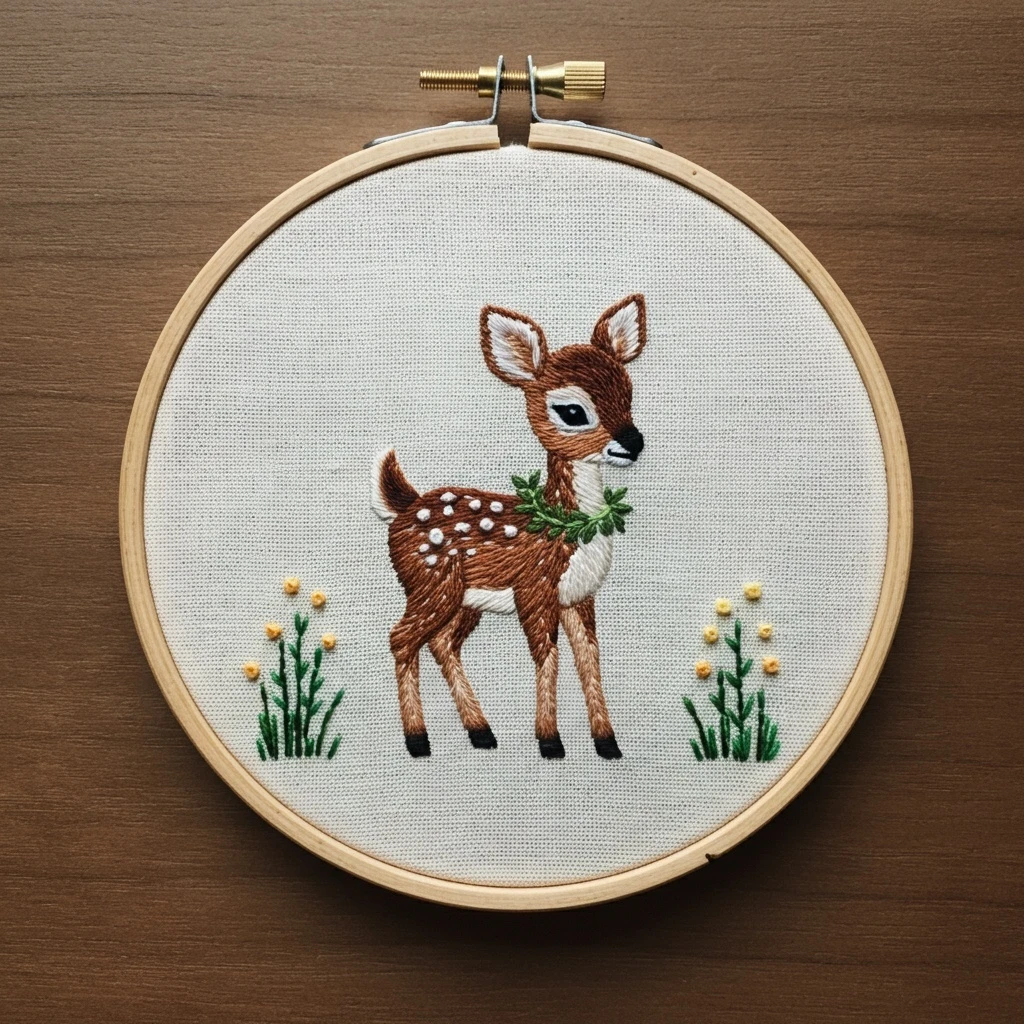
Winter Fawn
A soft woodland winter design built around a gentle tawny fawn, creamy snow highlights, muted pine greenery, warm twig browns, and tiny seasonal accents. The stitching should feel delicate and plush: smooth fur direction, crisp facial details, airy snow, and restrained winter botanicals.
Design read & color strategy
The artwork reads as a cozy winter woodland portrait: a young fawn is the focal point, framed by cool snow, evergreen foliage, fine brown branches, and small warm accents. The strongest contrast should sit at the eye, nose, ear interiors, and silhouette edge; the body should remain softly blended rather than heavily outlined.
Palette approach: choose warm browns for the fawn, off-whites and pale blue-grays for snow, olive greens for winter foliage, and a few berry/gold notes for seasonal sparkle. Keep pure white for the brightest snow and eye glints only.
Suggested DMC floss palette
Stitch map
Thread-count guidance
| Area | Strands | Why it works |
|---|---|---|
| Face details | 1 strand | Keeps eyes, nose, mouth, and ear lines fine and expressive. |
| Body fill | 2 strands | Gives enough coverage while still allowing soft fur blending. |
| Snow dots | 1-2 strands | Use 1 strand for distant sparkle and 2 strands for foreground knots. |
| Pine needles | 1 strand | Creates crisp, tapered greenery without bulky intersections. |
| Outer silhouette | 1 strand | Prevents a cartoon outline; use broken split stitch instead of a hard border. |
Blending ideas
- Blend 437 + 433 in the needle for transition fur along the neck and cheek.
- Blend Ecru + 3865 for creamy snow and the fawn’s pale chest.
- Use 3011 + 3012 in alternating stitches for dimensional pine sprigs.
- For a frosty cast, add a few 762 stitches beside white snow, not on top of it.
Outlining details
- Outline the fawn with split stitch in 3024 or 433, changing color by edge.
- Use 898 only at the eye, nostril, and deepest ear fold.
- Keep snow edges broken and dotted; avoid continuous outlines on frost.
- Back stitch branches with uneven lengths for natural twig movement.
Texture suggestions
- Add tiny seed stitches over the body after the main fill to suggest winter coat fluff.
- Use French knots for berries and raised snow crystals.
- Work pine needles with straight stitches radiating from a central stem.
- Keep facial texture very light so the expression stays clean.
Beginner-friendly workflow
- Transfer lightly: mark only the main silhouette, eye, nose, inner ear, and major botanical stems. Extra fur lines can be added while stitching.
- Stitch the face first: secure the expression with 1-strand details before filling the body. This helps you avoid covering important guide marks.
- Build fur from light to dark: place Ecru/3865 highlights, fill with 437, then add 433 shadows. Finish with only a few 898 accents.
- Add greenery behind and around: stitch stems first, then needles and berries. Let some sprigs overlap the fawn edge for a natural woodland feel.
- Finish with snow: add French knots and seed stitches last so the white thread stays clean and dimensional.
Practical tip: use shorter thread lengths for whites and creams, wash your hands before the snow stitches, and rotate the hoop often so fur direction follows the curve of the fawn rather than the direction of your wrist.
Shading notes for a soft winter fawn
Keep the fawn’s center areas warm and gentle. The darkest values should be concentrated in small places: the eye line, nose base, inner ear depth, and where the neck tucks beneath the head. Use 3024 as a buffer between cream and brown so the transition does not look striped. For the snow, stitch fewer marks than you think you need; open fabric space helps the scene feel cold, quiet, and airy.