
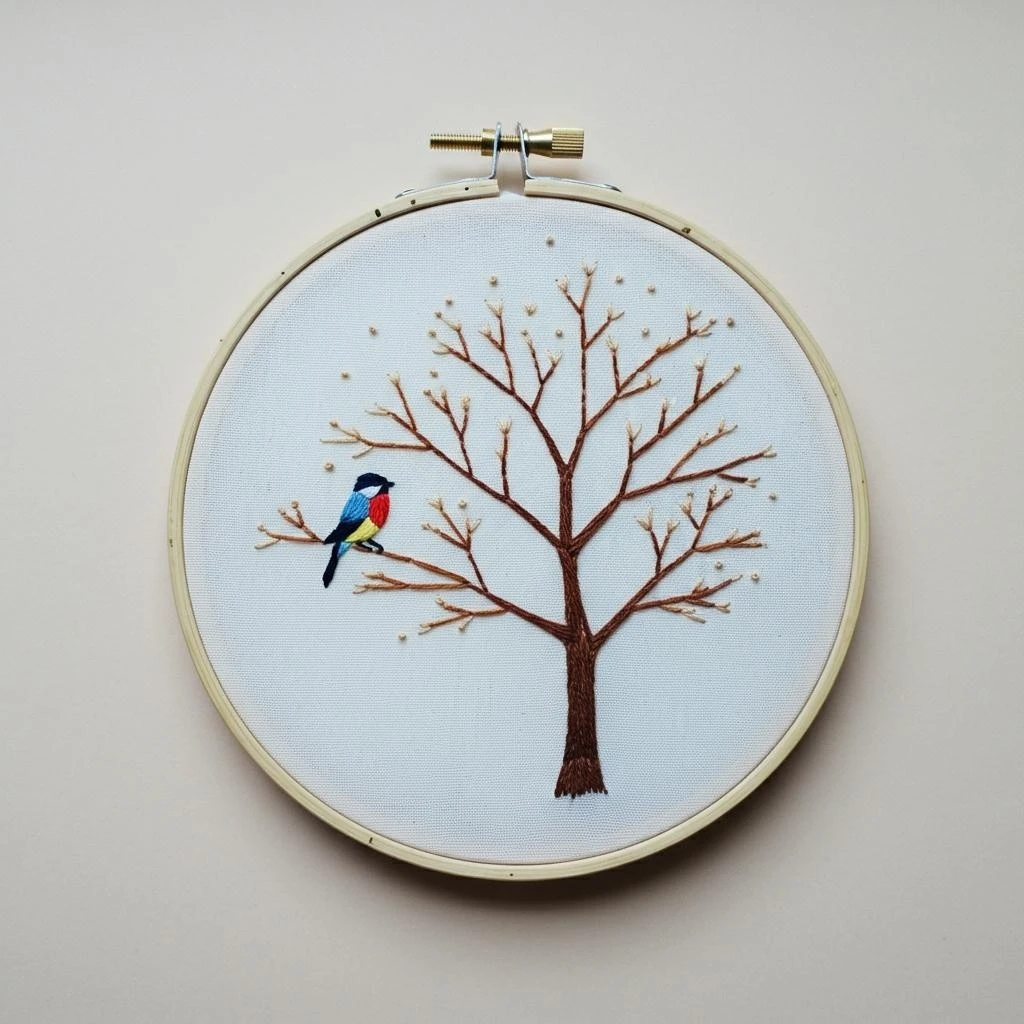
Beginner Friendly Winter Bird on a Tree
A polished color and stitch planning page for a simple hoop design featuring a bright winter bird perched on bare branches, with soft snow tones, bark texture, and gentle seasonal accents.
Design color read
This design works best with a small but expressive palette: a warm red bird as the focal point, deep charcoal accents for the eye and beak details, layered browns for the bare winter tree, and cool off-whites and greys to keep the scene airy. The beginner-friendly finish comes from clean outlines, short directional fills, and restrained shading rather than heavy color changes.
Use saturated reds on the bird’s body so it remains crisp against the pale fabric and branch shapes.
Browns and taupes define branch direction, bark splits, and small twig endings without overpowering the bird.
Soft white, light grey, and a hint of blue-grey suggest snow, chill, and highlights while keeping the hoop uncluttered.
Suggested DMC palette
Choose 10–12 colors for the full look, or simplify to the starred core shades for a first project. Color names are practical descriptions for planning; dye lots can vary slightly.
Stitch plan by design area
Thread-count and blending guidance
Thread counts
- 1 strand: eye, beak, feet, twig ends, small feather marks, and delicate outlines.
- 2 strands: most branch lines, bird body fill, medium snow accents, and simple leaves.
- 3 strands: only for bold branch bases or a chunky folk-art look; avoid it on the bird’s face.
Blending ideas
- Blend 1 strand DMC 321 + 1 strand DMC 816 for a soft red shadow on the wing base.
- Blend 1 strand DMC 839 + 1 strand DMC 840 for natural bark mid-tones.
- Blend 1 strand DMC 3865 + 1 strand DMC 415 for snow that reads white but not flat.
Outlining, shading, and texture suggestions
Beginner-friendly practical tips
Before stitching
- Use a tightly woven cotton or linen blend in cream, oatmeal, or pale grey.
- Hoop the fabric drum-tight; winter branch lines look best when the fabric does not ripple.
- Mark only the main branch and bird outline first, then add tiny twigs as you stitch.
While stitching
- Use shorter thread lengths, about forearm length, to prevent fuzzy red and dark brown floss.
- Start with branches, stitch the bird next, then add snow, eye, and final highlights last.
- Step back after every major color to check that the bird remains the strongest focal point.