
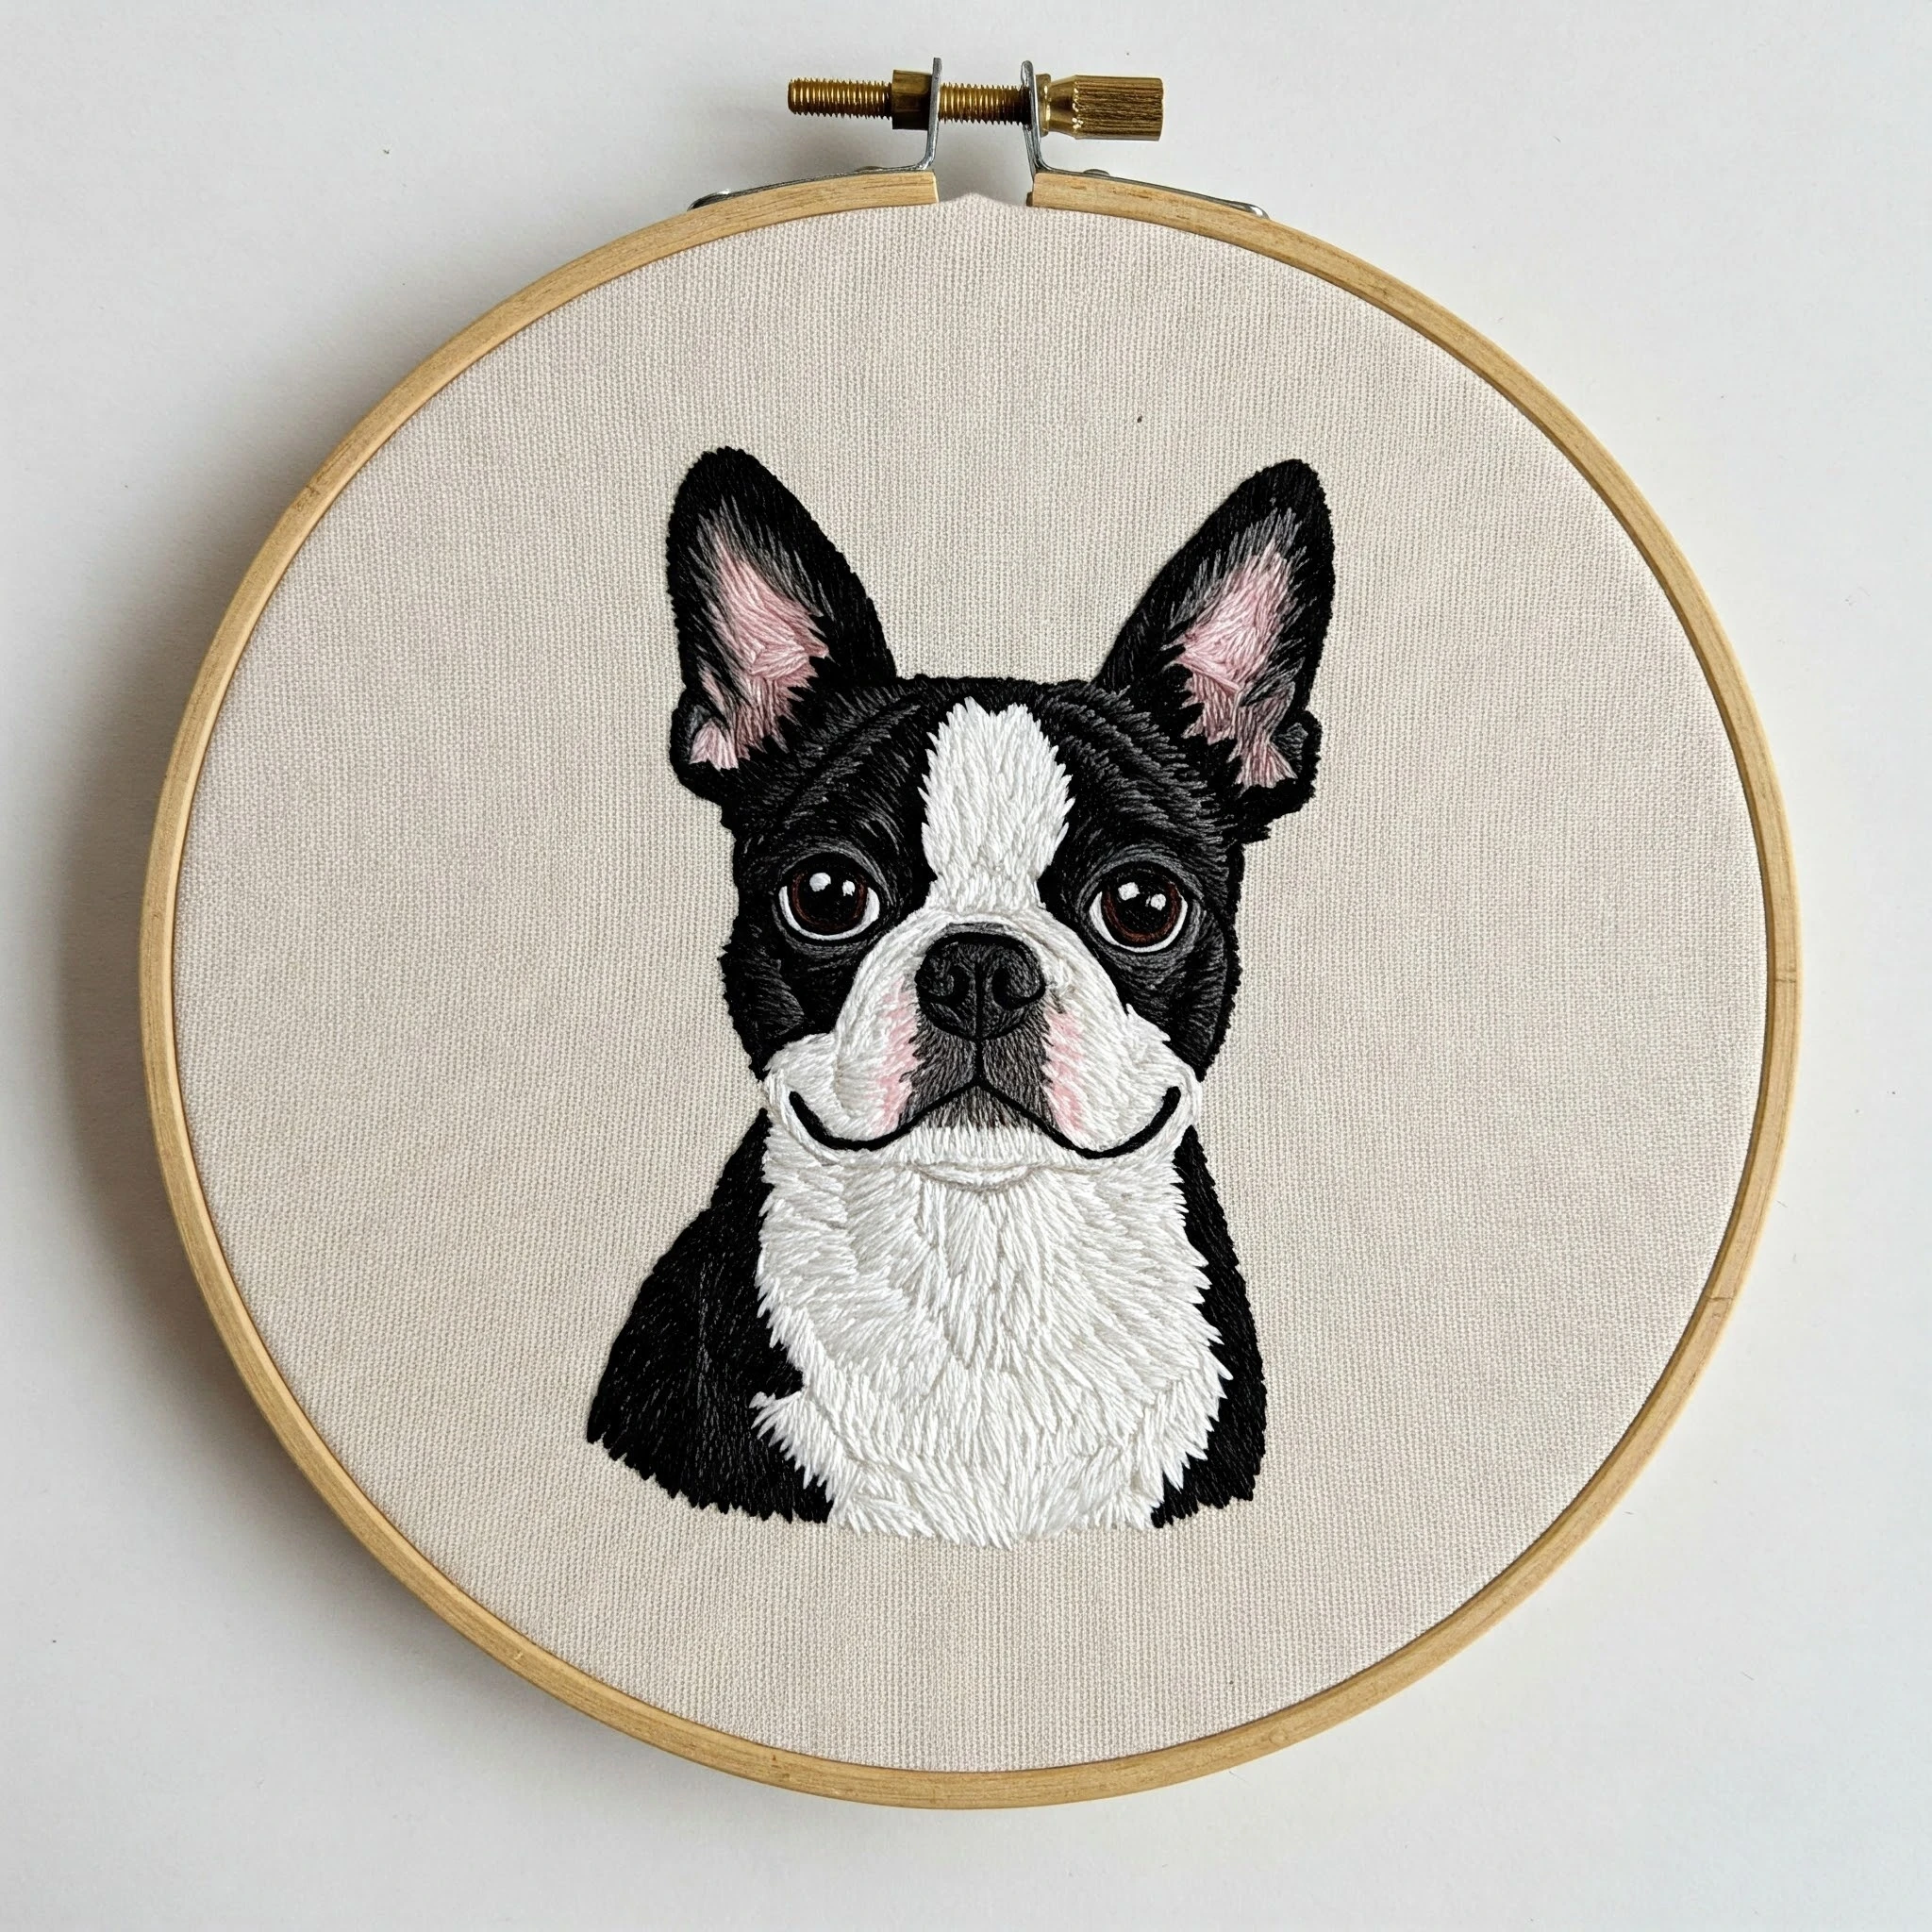
Boston Terrier
A crisp Boston Terrier portrait calls for bold black-and-white contrast, a clean tuxedo chest, soft gray shaping around the muzzle, warm tan or pink touches inside the ears, and tiny glossy eye highlights. The best stitched result balances smooth satin areas with short directional fur marks so the portrait stays polished without losing dog-like texture.
Polished DMC Color Palette
This palette is built for a Boston Terrier portrait with strong graphic contrast and subtle facial modeling. Keep the black areas rich but not flat by adding charcoal and brown-black shadows, then use creamy whites and pale grays to sculpt the blaze, muzzle, and chest.
Stitch Map by Design Element
Thread Count & Blending Guide
Facial details
Use 1 strand for eyes, nostril shape, mouth line, whisker dots, ear outlines, and short fur strokes around the blaze. One strand is essential for keeping the Boston Terrier expression crisp.
Main filled areas
Use 2 strands for most black coat, white chest, muzzle fills, and inner-ear color. Two strands cover well while still allowing directional texture.
Raised highlights
Use 2 strands over a tiny padding stitch for the nose shine, front muzzle, and bright chest sections if you want a slightly dimensional portrait.
Shading, Outlining & Texture Suggestions
Build a smooth short-haired coat
- Use short stitches that follow the skull curve rather than straight vertical rows.
- Add charcoal highlights only in narrow clusters so the black coat remains dark and glossy.
- Let black and white stitches meet with a slightly feathered edge, especially around cheeks.
- Keep the upper head smoother and add more texture around the lower muzzle and chest.
Keep the face symmetrical
- Stitch the white blaze first enough to establish the center line, then balance black sections on both sides.
- Place both eyes before finishing surrounding fur so the expression stays aligned.
- Use the same catchlight position in each eye for a lively but calm gaze.
- Check the nose shape before outlining; a small uneven nose can change the whole expression.
Outlining approach
- Use split stitch for curved facial lines and back stitch for the clean outer silhouette.
- Use 3371 instead of 310 where a softer outline is needed against white areas.
- Do not outline every gray shadow; let some shading strokes remain soft.
- For the ears, outline the outer edge strongly and the inner ear lightly.
Optional decorative accents
- If the pattern includes leaves or florals, keep them muted with 3051 and 3052.
- Use simple lazy daisy leaves and tiny seed stitches so the portrait remains the focus.
- A tan hoop or neutral background pairs well with the black-white coat palette.
- Do not add bright colors near the eyes; they can distract from the expression.
Beginner-Friendly Stitching Order
- Transfer the essentials: mark ear tips, eye placement, nose shape, white blaze boundary, chest bib, and any simple decorative accents. Avoid over-marking tiny fur lines.
- Start with the eyes and nose placement: lightly tack these areas or outline them so the expression remains centered while you fill the face.
- Fill large black patches: use 310 with directional stitches, then add 3799 and 3371 texture before outlining.
- Work the white blaze and muzzle: fill with 3865, brighten with B5200, and shade with 762 around the nose bridge and lower muzzle.
- Add ears and chest: use warm 758/356 in the ears and long curved white stitches for the tuxedo chest.
- Finish with fine details: eye catchlights, whisker dots, mouth line, nostril highlights, final split-stitch outline, and any tiny botanical accents.
Practical Tips for a Clean Finish
Fabric choice
Choose a warm natural cotton, linen, or cotton-linen blend. A cream or oatmeal fabric softens the black-and-white contrast and makes the white face sections easier to see while stitching.
Managing black thread
Black floss shows lint and twist quickly. Use shorter lengths, separate and recombine strands, and run the thread gently through your fingers before stitching for a smoother finish.
Prevent show-through
Do not carry black floss behind white blaze or chest areas. Start and end threads cleanly on the back, especially around the muzzle where pale stitches are close to dark patches.
Needles & tension
A sharp size 7–9 embroidery needle works well for one- and two-strand portrait details. Keep the fabric drum-tight so satin stitches stay smooth and long-and-short fur stitches sit evenly.