
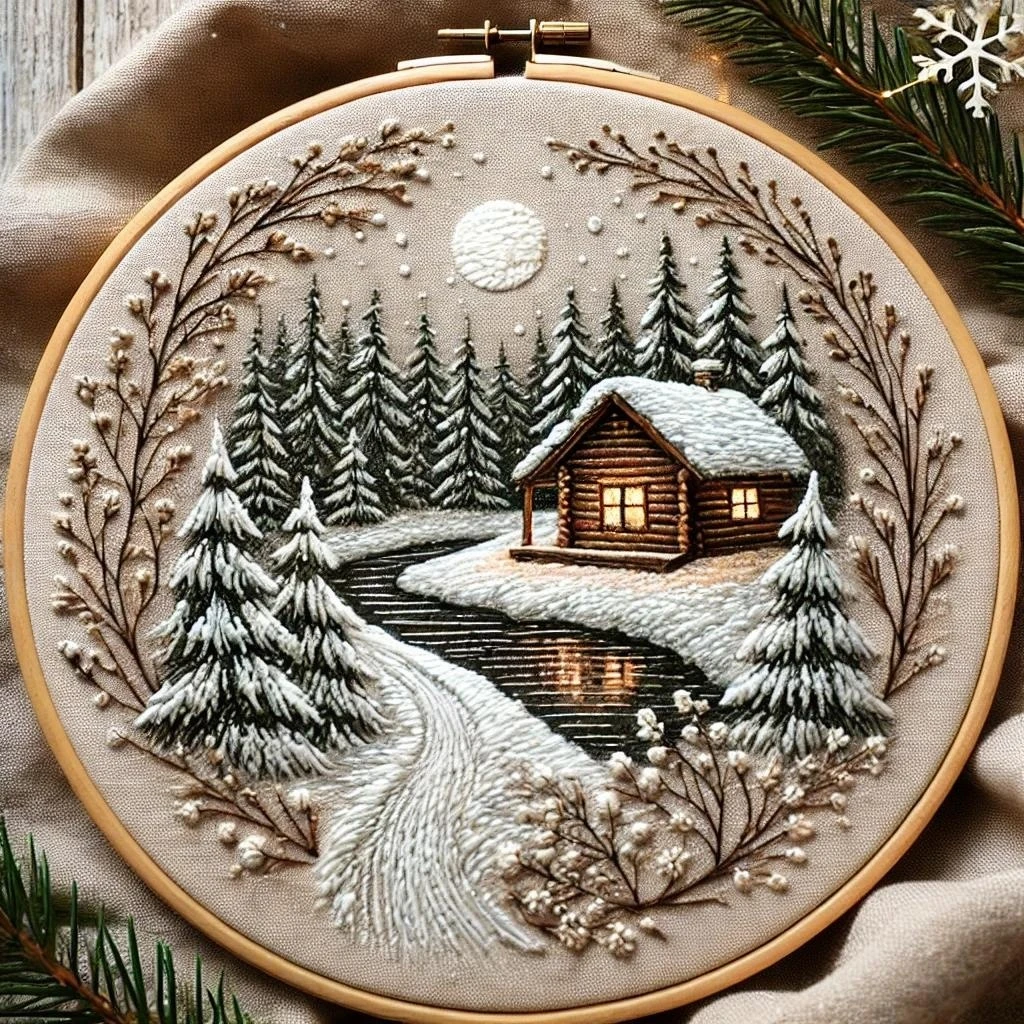
Cozy Cabin in a Snowy Winter Forest
This winter hoop scene features a warm little cabin surrounded by snowy pine trees, soft drifts, cool blue shadows, and a quiet forest atmosphere. The embroidery should feel cozy and crisp: textured cabin logs, glowing windows, dark evergreen silhouettes, pale snow layers, frosty branch tips, and subtle blue-gray shading that keeps the white areas visible without overfilling the fabric.
Polished DMC Color Palette
This palette combines warm cabin browns with cool snow shadows and deep pine greens. Use the cabin and window glow as the warm focal point, then keep the forest and snow calm with green-gray, icy blue, cream, and white.
Stitch Map by Design Element
Thread Count & Blending Guide
Fine winter detail
Use 1 strand for window outlines, smoke curls, small snow sparkles, pine tip snow, tree trunks, door marks, and distant sky stitches.
Main shapes
Use 2 strands for cabin logs, roof, pine boughs, snowbank lines, and the main forest structure. Two strands gives clear shapes without overcrowding the scene.
Raised accents
Use 2–3 strands only for a few snow knots, berry knots, or strong window glints. Use three strands sparingly so the winter scene stays delicate.
Shading, Outlining & Texture Suggestions
Cozy cabin warmth
- Stitch the cabin before foreground snow so drifts can overlap the base naturally.
- Keep darkest browns in log gaps, roof underside, door edges, and cabin corners.
- Use golden window stitches sparingly but brightly so the cabin feels warm.
- Add tiny cream highlights near the windows to suggest reflected light on snow.
Snow that stays visible
- Do not fill every white area; let pale fabric act as part of the snow.
- Use blue and beige-gray stitches only along shadow edges and drift curves.
- Place winter white last on the brightest snow caps and branch tips.
- Keep snowbank lines gently curved rather than perfectly straight.
Forest depth
- Use the darkest green for background tree centers and branch undersides.
- Add medium green on outer boughs and tiny white stitches for snow clumps.
- Vary tree height and branch length to keep the forest natural.
- Leave narrow gaps between trees so the cabin silhouette remains readable.
Outlining approach
- Use dark brown for cabin edges, pine green for trees, and cool blue-gray for snow shadows.
- Avoid black outlines; the winter mood is softer with tonal definition.
- Use split stitch for cabin edges, fly stitch for trees, and running stitch for snow curves.
- Add final outlines before snow sparkle and window glints.
Beginner-Friendly Stitching Order
- Transfer lightly: mark the cabin, roof snow, window positions, major pine trunks, snowbank curves, and any smoke or sky details.
- Stitch background pines: work the tallest, darkest trees first, then add medium green boughs and light snow tips later.
- Build the cabin: stitch log rows, roof, door, trim, and window glow before adding foreground snow.
- Add roof and ground snow: layer cream, white, beige-gray, and blue stitches to shape the snow caps and banks.
- Add smoke and tiny accents: stitch broken pale smoke curls, berries, path dots, or sky marks.
- Finish with sparkle: add branch snow, window glints, tiny white highlights, and final outline corrections last.
Practical Tips for a Clean Finish
Fabric & hoop
Natural linen, pale oatmeal, cool gray, soft blue, or warm cream cotton-linen works well. A slightly tinted fabric helps the white snow stitches stand out without needing heavy filling.
Needle choice
Use a sharp embroidery needle size 7–9 for one- and two-strand stitching. A size 9 needle is useful for tiny window panes, smoke curls, and snow sparkles.
Keeping it beginner-friendly
Use simple stitch families repeatedly: back stitch for cabin lines, fly stitch for pines, straight stitches for snow, and French knots for berries or sparkle.
Avoiding bulky snow
Snow looks best when stitched lightly. Use fabric as the base, add shadow lines for shape, then finish with a few bright white strokes on top.