
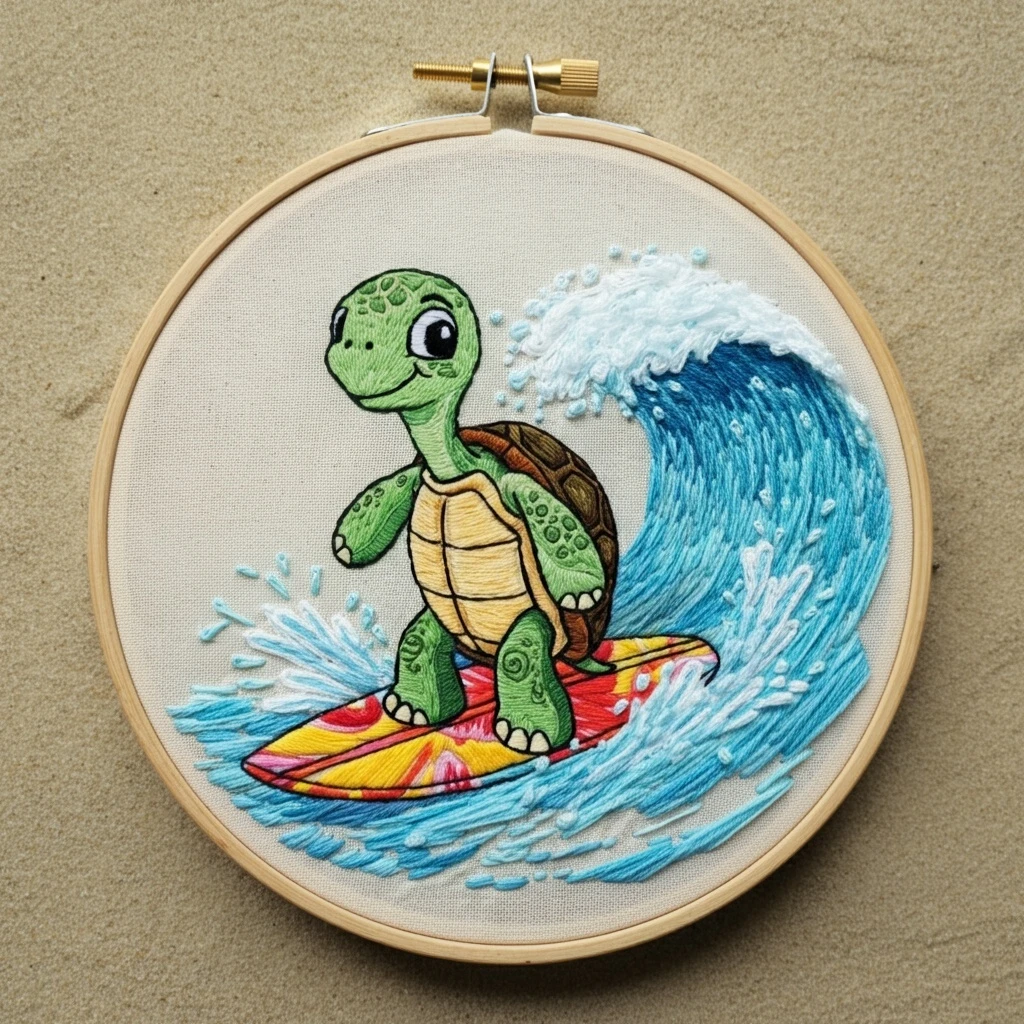
Surfin Turtle
A bright, playful embroidery guide for the turtle-on-a-surfboard hoop: rolling turquoise water, foamy splash texture, warm shell browns, sunny board stripes, and expressive cartoon-style outlines.
Likely DMC Color Palette
The design is dominated by aqua wave stitches and white foam, balanced by fresh turtle greens, dark shell outlines, cream belly plates, and vivid surfboard accents.
Stitching Suggestions
Build the piece from large moving shapes to tiny character details. The design works best when the wave curves stay directional and the turtle remains neatly outlined.
| Design element | Recommended stitch | Practical notes |
|---|---|---|
| Curling wave body | Long and short stitch, curved satin stitch, or rows of stem stitch | Follow the curl from lower left to upper right. Use darker turquoise inside the wave and lighter aqua toward the foam edges so the wave feels rounded. |
| White foam crest | Turkey work, loose straight stitch, whipped backstitch, or dense split stitch | Keep the crest fluffy and irregular. Trim turkey work lightly only if you want a soft raised spray; otherwise layer short white stitches over pale aqua. |
| Splash droplets | French knots, colonial knots, detached chain, and tiny straight stitches | Use one strand for tiny dots and two strands for larger beads of spray. Mix white with pale aqua for lively water sparkle. |
| Turtle face and limbs | Long and short stitch with split-stitch edges | Shade from light green on the top of the face to deeper green under the chin and flippers. Keep stitch direction following the roundness of each limb. |
| Turtle belly plates | Satin stitch or long and short stitch with backstitched divisions | Fill each plate separately in pale yellow. Add brown or dark green dividing lines after the fill is finished for clean shell geometry. |
| Shell scutes | Satin stitch, fishbone stitch, and backstitch | Use golden brown for warm shell panels and black-brown for the deepest separations. A few lighter brown stitches on upper edges add roundness. |
| Surfboard stripes | Satin stitch and split stitch | Stitch each bright color section separately so the red, pink, yellow, and white shapes stay crisp. Outline last to sharpen the board silhouette. |
| Eyes and expression | Satin stitch, tiny backstitch, and single white highlight | Use black-brown or black for the pupil, white for the catchlight, and one-strand dark outline for the eyelid and smiling mouth curve. |
Thread Count & Layering Plan
1 strand
Use for nostrils, mouth, shell cracks, toe separations, delicate wave highlights, and tiny final outlines where bulk would blur the cartoon expression.
2 strands
Best for most filling: turtle greens, belly plates, surfboard color blocks, shell panels, and medium water lines. This keeps coverage solid without becoming lumpy.
3 strands
Reserve for bold foam strokes, raised splash marks, outer wave swirls, and strong final outlines if your fabric weave is open enough to support heavier texture.
Blending, Shading & Texture
Wave blending
- Blend one strand of DMC 3844 with one strand of DMC 3846 for the dark-to-mid water transition.
- Blend one strand of DMC 3846 with one strand of DMC 959 near foam so the wave does not jump abruptly from blue to white.
- Angle every water stitch in the direction of the curl; consistent direction matters more than perfect stitch length.
Turtle shading
- Use DMC 907 on the sunlit top planes of the head, flippers, and legs.
- Add DMC 702 under the chin, along lower limbs, and around spots for soft shadow.
- Backstitch with DMC 890 or 3371 only after all green fill is complete, so outlines sit cleanly on top.
Where to Start
Start with the big wave shape first, because it sets the movement behind the turtle. Fill the surfboard next, then the turtle body, shell, and belly. Leave the darkest outlines, eye details, foam knots, and tiny sparkle stitches for the final pass.
Step 1 · Water base
Sketch the direction of the wave with a few guide stitches, then build from darker inner blue toward lighter outer aqua.
Step 2 · Character fill
Complete the board and turtle fills before outlining. This prevents dark lines from being disturbed by later satin stitches.
Step 3 · Final sparkle
Add foam, French knots, eye highlights, toe tips, and white spray last so the whole piece feels fresh and dimensional.
Beginner-Friendly Practical Tips
- Use a 6-inch or larger hoop if possible so the wide wave curve can stay smooth and the fabric remains evenly tensioned.
- Do not overpack the foam; leave small gaps of fabric and pale aqua between white stitches for a bubbly ocean effect.
- For the shell and belly plates, stitch one compartment at a time instead of dragging thread across the back of the fabric.
- Keep surfboard satin stitches short and parallel inside each stripe. Long stitches across the full board can snag or look uneven.
- When adding spots on the turtle, vary size slightly with seed stitches, small detached chains, or tiny satin ovals.
- Outline with a single strand first. If the line looks too delicate, whip over it or add a second pass rather than starting too heavy.
Encouraging Finish
This design shines when the wave feels energetic and the turtle stays charmingly crisp. Let the water stitches sweep freely, keep the board bright and graphic, and finish with tiny white foam accents for that lively “just caught the wave” look.